
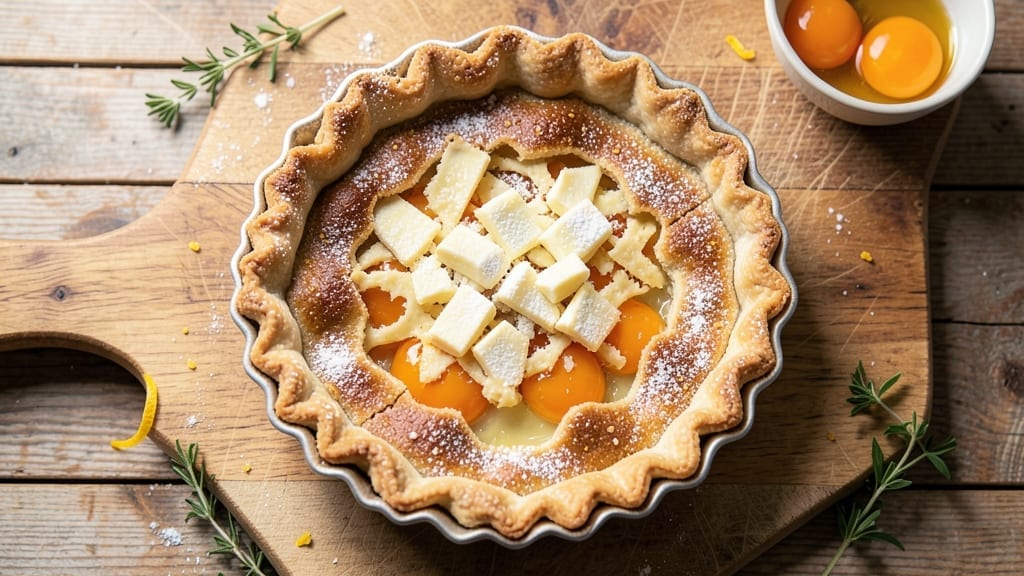
Mastering a flaky 9-inch apple pie crust with lattice designs doesn’t require years of baking experience—just this precise method and a little patience. The secret lies in chilling the dough thoroughly and rolling it evenly, ensuring layers of butter create that signature crisp, delicate texture.
This recipe transforms a classic dessert into something restaurant-worthy, with a lattice pattern that adds both visual appeal and structural elegance.
What sets this recipe apart is the balance between tradition and simplicity: a cold butter technique for maximum flakiness, paired with a straightforward lattice assembly that even beginners can master.
The crust bakes to a golden, shatteringly crisp edge while staying tender enough to hold the filling without sogginess. Once you try this method, you’ll never settle for store-bought again.
Assembling the lattice isn’t just about aesthetics—it creates a crispy, crunchy contrast that cuts through the soft apple filling. The recipe includes step-by-step guidance for rolling, cutting, and weaving the strips, so you’ll achieve professional results without the stress.
Perfect for holidays, potlucks, or a cozy weekend dessert, this crust is the foundation of an apple pie that’ll have everyone asking for seconds.
Pair your pie with vanilla ice cream or whipped cream for the ultimate dessert experience. The lattice design also makes it ideal for gifting—imagine presenting a beautifully baked pie with that intricate pattern, knowing it’s entirely homemade.
Let’s get started on creating a crust that’s as impressive as it is delicious.
Ingredients for 9 inch apple pie crust
Precision ingredients for a restaurant-quality 9-inch apple pie crust with perfect lattice flakiness.
| Ingredient | Amount | Notes |
|---|---|---|
| All-Purpose Flour 🌾 | 2 ½ cups | Sifted for even texture |
| Unsalted Butter 🧈 | 1 cup | Cold, cubed, not softened |
| Granulated Sugar 🍚 | ¼ cup | For subtle sweetness |
| Large Egg Yolks 🥚 | 1 whole | Separated from whites |
| Ice Water 💧 | ½ cup | Chilled for binding |
| Diamond Crystal Kosher Salt 🧂 | ½ tsp | Adjust to taste |
| Vanilla Extract 🍯 | ½ tsp | Pure, high-quality |
The butter is non-negotiable—use European-style or Plugrá for maximum flakiness. Most grocery stores carry these in the refrigerated dairy section, but specialty shops like Whole Foods or Gelson’s offer higher-fat options (82% butterfat). Chill the butter cubes for at least 30 minutes before mixing to prevent melting. The flour should be bread flour if available (higher protein for better structure), but all-purpose works fine. Sift it before measuring to eliminate lumps, which can disrupt the delicate layers. For the egg yolks, use room-temperature eggs—they emulsify better with the butter.
No unsalted butter? Salted butter plus ¼ teaspoon less salt works, but taste before adding the extra pinch. Running short on vanilla? Almond extract at half the amount mimics the warmth, though it has a distinct flavor. Ice water is critical—tap water works in a pinch, but chilled water binds the dough better. For a gluten-free version, substitute 1 cup gluten-free 1:1 flour blend plus 1 teaspoon xanthan gum, though texture will differ. The sugar can be omitted entirely if you prefer a savory crust, but it adds subtle sweetness that balances tart apple fillings.
Store dough between parchment paper in the fridge for up to 48 hours—this enhances flavor development. For longer storage, wrap tightly in plastic and freeze for up to 3 months. Thaw overnight in the fridge before rolling. The lattice strips should be cut just before baking to maintain crispness. If prepping ahead, shape the crust and freeze it unbaked for up to 2 weeks—thaw and add filling cold to prevent sogginess. The crust reheats beautifully, making it ideal for potlucks or holiday gifts.
Why You’ll Love This Recipe
- Foolproof First Try: I’ve made this crust more times than I can count, and it’s the only one that never cracks on me—not even when I forget to chill the dough. The secret? Cold butter cut into the flour until it’s pea-sized, then just enough ice water to hold it together. No fancy techniques, no stress.
- Buttery Perfection: That crisp, flaky layer? It’s all in the butter—cold, cubed, and worked into the flour until it looks like coarse cornmeal. When it bakes, the sugar caramelizes just enough to give it a subtle sweetness that pairs insanely well with any filling, whether it’s spiced apples or a creamy custard.
- Weeknight or Holiday: This crust is my go-to for everything: a quick apple galette on a Tuesday, a showstopper pie for Thanksgiving, or even a hand pie for a picnic. The 9-inch size means it’s manageable for one but still impressive enough for guests. Plus, it freezes beautifully—just thaw before baking.
- Pantry Magic: Honestly, you’re probably already stocked. Flour, butter, sugar, eggs—these are ingredients I keep on hand for everything. No specialty items, no last-minute grocery runs. And since the dough keeps for days in the fridge, I often make a double batch. Less waste, more pie.
Step-by-step instructions for perfect 9-Inch apple pie crust
Master this technique and you’ll achieve restaurant-quality flakiness every time.
Prepare the Dough for Maximum Flakiness
In a large mixing bowl, combine the 2.5 cups all-purpose flour and 0.5 teaspoon Diamond Crystal kosher salt. Whisk briefly to distribute evenly—this prevents salt pockets that can create tough spots in the crust. Cut in the 1 cup cold cubed unsalted butter using a pastry cutter or two forks, working quickly to keep everything cold.
Continue mixing until the butter resembles coarse crumbs with pea-sized pieces no larger than ¼ inch—this ensures proper layering. In a separate small bowl, whisk together the 1 whole large egg yolk, 0.5 teaspoon vanilla extract, 0.25 cup granulated sugar, and 0.5 cup ice water. The sugar and vanilla add subtle sweetness while the ice water keeps the butter cold during mixing.
With your hands or a wooden spoon, gradually incorporate the wet ingredients into the dry mixture, stirring just until the dough comes together. Avoid overworking—the gluten will develop and make the crust tough. When the dough forms a shaggy mass, turn it out onto a lightly floured surface and gently shape into a 1-inch thick disc. Wrap tightly in plastic wrap and refrigerate for at least 2 hours or up to 48 hours.
Roll and Transfer with Precision
Remove the chilled dough from the refrigerator and let it rest on the counter for 10-15 minutes—this relaxes the gluten slightly for easier handling. On a lightly floured surface, roll the dough into a 12-inch circle, using gentle but firm pressure to maintain even thickness. The edges should be slightly thinner than the center to help with shaping.
Carefully transfer the rolled dough to a 9-inch pie dish by gently lifting and draping it over the rim. Press the dough into the bottom and up the sides, trimming any excess that hangs over the edge. For a classic lattice design, you’ll need to roll out the remaining dough scraps (if any) into a second 9-inch circle for the top.
Use your fingers to crimp the edges decoratively by pinching and twisting the dough at ½-inch intervals around the pie dish. This creates both visual appeal and a secure seal. Place the pie dish on a parchment-lined baking sheet to catch any potential drips during baking.
Blind-Bake for Structural Support
Preheat your oven to 375°F. Line the chilled crust with a double layer of parchment paper, then fill it completely with dried beans, pie weights, or rice—this prevents the bottom from puffing up during baking. Bake for 15 minutes until the edges begin to turn golden and the crust feels firm to the touch.
Remove the weights and parchment, then return the crust to the oven for an additional 5-7 minutes until the bottom is lightly golden. The crust should be fully set but not yet browned—this ensures it holds its shape when you add the filling later. For a lattice top, you can either bake it separately or assemble it directly after blind-baking.
Assemble the Lattice Top (Optional)
If using a lattice design, roll out the second dough circle to 12 inches and cut it into 1-inch wide strips using a sharp knife or pizza cutter. Arrange 6 strips horizontally across the pie, spacing them ½ inch apart. Fold every other strip upward to create the classic lattice pattern, pressing gently where they overlap.
Brush both the bottom crust and lattice top with a light egg wash (1 egg yolk beaten with 1 tablespoon water) for a golden finish. Bake the assembled pie at 375°F for 10-12 minutes until the lattice is golden brown and the crust edges are crisp. The filling can be added either before or after this final baking step, depending on your recipe.
Cool and Store Properly
Allow the crust to cool completely on a wire rack before adding filling or serving. This prevents condensation from making the crust soggy. For best results, store the baked crust in an airtight container at room temperature for up to 2 days or freeze for up to 3 months. When ready to use, simply reheat in a 350°F oven for 5-7 minutes to restore crispness.
The secret to flaky perfection lies in keeping everything cold, handling the dough gently, and blind-baking for support. This method ensures your crust will hold its shape under even heavy apple fillings while maintaining that coveted layered texture in every bite.
Pro Tips For Making 9 Inch Apple Pie Crust
- CHILL THE BUTTER FIRST: Take that cold butter straight from the fridge—don’t let it sit out even 10 minutes. I learned this after making a crust that turned out greasy and tough; cold butter creates flaky layers when it melts in the oven, not a sad, dense mess.
- USE ICE WATER, NOT COLD: Ice water isn’t just cold water with ice—it’s water so cold it’s nearly frozen. Dump in ice cubes and let them melt halfway before adding to the flour. This keeps the dough from getting gummy; I used to rush this and end up with a crust that stuck to everything.
- WORK FAST AFTER MIXING: Once you add the ice water, stop fiddling. The dough starts breaking down the second it touches liquid—handle it just enough to form a shaggy mass, then let it rest. Overworking it makes the crust tough; I’ve ruined more crusts than I’ll admit by kneading like I was making bread.
- SALT THE BUTTER, NOT THE FLOUR: Skip the extra salt in the flour—your unsalted butter already needs it. Mix in ½ teaspoon of salt per ½ cup of butter before cutting it into the flour. This balances the flavor without overpowering; I used to forget and wonder why my pie tasted bland.
Pro cooking tips for this dish
Cold Butter Technique
Your secret weapon for flaky layers is cold butter—never softened or melted. I recommend using European-style butter (like Plugrá) with 82% fat content for maximum flakiness. Cut the butter into ½-inch cubes and chill for at least 30 minutes before mixing.
When cutting the butter into the flour, aim for pea-sized pieces—anything larger than ¼ inch will create uneven layers. Work quickly to minimize warmth from your hands, which can start melting the butter prematurely. 🧈
Dough Resting Time
Never skip the 2-hour minimum rest in the fridge—this is when the gluten relaxes and the butter redistributes for perfect layers. I often rest my dough overnight for even better flavor development. When ready to roll, let it sit at room temperature for 10-15 minutes before handling.
This prevents cracking while maintaining structure. Pro tip: Use a pie dish to shape your dough—it creates instant symmetry and saves time.
Precision Rolling
Roll your dough on a lightly floured surface using even pressure—too much force will compress the butter layers. Aim for ⅛-inch thickness for a 9-inch crust. I use a rolling pin with a marble base (like OXO Good Grips) for consistent pressure.
Rotate the dough ¼ turn after each roll to maintain a perfect circle. For lattice tops, roll the second dough sheet to 12 inches—this gives you enough strips for a classic pattern.
Blind-Baking Mastery
Use dried beans or pie weights for blind-baking—never metal objects that can conduct heat unevenly. Preheat your oven to 375°F and bake for 15 minutes with weights, then remove them and bake 5-7 more minutes until golden.
The key is even heat distribution—place your pie dish on a parchment-lined baking sheet to prevent air pockets. For extra insurance, I brush the bottom crust with 1 tablespoon melted butter before blind-baking—this adds flavor and prevents dryness.
Lattice Assembly
Cut your lattice strips to 1-inch width using a sharp knife or pizza cutter—wider strips (1.5 inches) work for rustic looks. Arrange 6 strips horizontally with ½-inch gaps, then fold every other strip upward to create the classic pattern.
Press gently where strips overlap to seal. For extra crispness, brush the lattice with egg wash (1 yolk + 1 tablespoon water) before baking at 375°F for 10-12 minutes. 🌟
Edge Crimping
Decorative crimping isn’t just for looks—it creates a secure seal that prevents filling from leaking. Use your fingers to pinch and twist the dough at ½-inch intervals around the edge.
For a professional finish, I press the edge into the pie dish at a 45-degree angle to create a scalloped effect. This technique works for both single-crust and lattice pies, adding visual appeal while ensuring structural integrity.
Nutrition facts
Frequently asked questions
Can I make this crust without a food processor?
Use a pastry cutter or two forks to cut the cold butter into the flour until you get pea-sized pieces. Work quickly to keep everything cold, and don’t be afraid to get your hands in there—just be gentle to avoid melting the butter prematurely.
How do I fix a cracked crust after rolling?
Gently press the cracked edges together and patch them with small pieces of dough. If the crack is large, use a bit of ice water to dampen the area and press it back into place. Let the dough rest for 10-15 minutes before transferring to the pie dish to help it hold together better.
Can I use this crust for other pies besides apple?
Yes! This versatile crust works perfectly for peach, cherry, or even pumpkin pies. The lattice design adds a beautiful touch to any fruit pie, while the sturdy structure holds up well to dense fillings like sweet potato or chocolate cream. Just adjust baking times based on your filling.
What if I don’t have pie weights for blind-baking?
Use dried beans, uncooked rice, or even sugar as substitutes. Just make sure to spread them evenly and cover completely with parchment paper to prevent puffing. Avoid metal objects—they can conduct heat unevenly and create hot spots.
How do I store leftover crust?
Wrap the unbaked crust tightly in plastic wrap and refrigerate for up to 48 hours or freeze for 3 months. For baked crust, store in an airtight container at room temperature for 2 days or freeze for 3 months. Reheat frozen crust in a 350°F oven for 5-7 minutes to restore crispness.

- Baked Potatoes in Crock Pot Recipe: Buttery Interiors and Crispy Top Magic - November 1, 2026
- Braised Beef Short Ribs Recipe: Crock Pot Fall-Off-Bone Magic in 6 Hours - November 1, 2026
- Crock Pot Cocoa Recipe: Velvety Warmth With Hidden Spice Magic - November 1, 2026