
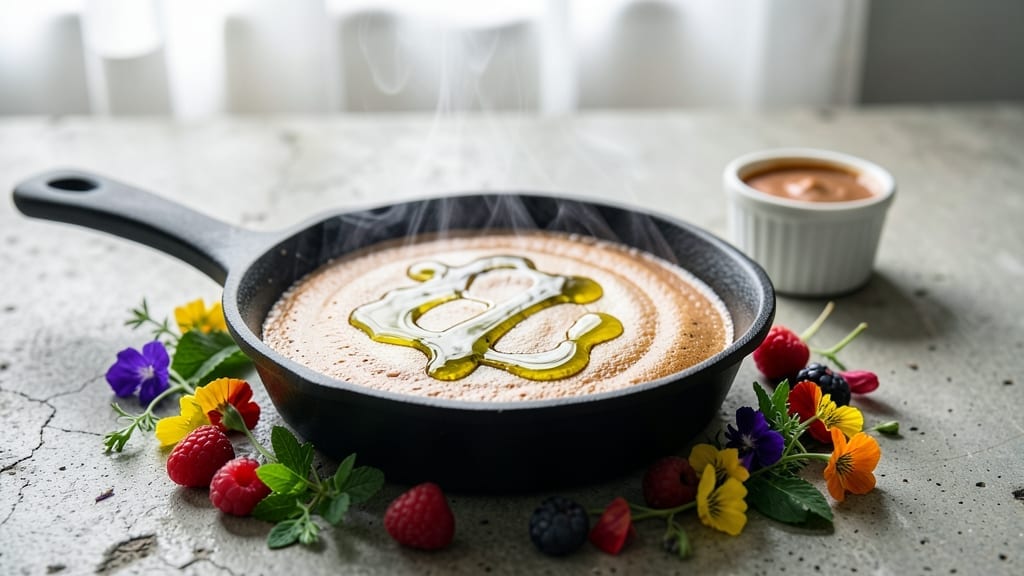
Creating a Moka pot latte that rivals café-quality drinks requires precision and patience, but the results are worth every step. This method transforms your stovetop Moka pot into an espresso maker, producing bold, concentrated coffee that forms the perfect base for a creamy latte.
I developed this recipe after years of experimenting with Italian coffee traditions and modern barista techniques, ensuring you get rich flavor without specialized equipment.
The key lies in brewing a concentrated coffee shot using your Moka pot, then combining it with steamed or frothed milk in precise ratios. Unlike traditional espresso machines, this approach gives you control over strength and texture—ideal for both classic Italian lattes and modern barista-style drinks.
The process requires just a few simple tools: a Moka pot, milk frother (or whisk), and a thermometer to monitor milk temperature for optimal creaminess.
What you’ll achieve is a latte with deep espresso notes balanced by velvety milk, served in moments. The Moka pot’s rich, slightly sweet coffee pairs beautifully with steamed milk, creating a drink that’s both comforting and sophisticated.
Whether you prefer a classic Italian latte or a barista-style creation, this method delivers professional results at home.
Ready to elevate your morning routine? This recipe includes optional flavor variations like cinnamon or vanilla, plus tips for adjusting strength and milk texture. Let’s get started on crafting your perfect cup.
Ingredients for moka pot latte
Four simple ingredients transform your Moka pot into café-quality latte magic.
| Ingredient | Amount | Notes |
|---|---|---|
| Freshly Roasted Coffee Beans ☕ | ½ cup | Medium-dark roast preferred |
| Hot Water 💧 | 1 ½ cups | Freshly boiled, 200°F |
| Whole Milk 🥛 | 2 cups | Full-fat for creaminess |
| Heavy Whipping Cream 🧈 | ¼ cup | Optional for extra richness |
| Granulated Sugar 🍚 | 2 tbsp | Adjust to taste |
| Vanilla Extract 🌸 | ½ tsp | Optional flavor variation |
| Ground Cinnamon 🌿 | ¼ tsp | Optional for spiced latte |
| Salt 🧂 | ⅛ tsp | Pinch for milk balance |
| Moka Pot ☕ | 1 whole | 3-4 cup capacity |
| Milk Frother or Whisk 🥛 | 1 whole | Handheld or electric |
| Instant Vanilla Sugar 🍬 | 1 tsp | Optional garnish |
The coffee beans are your foundation—freshly roasted medium-dark delivers the bold, slightly sweet notes that make Moka pot lattes special. Local roasters or Italian markets often carry the perfect beans, but any quality brand works if labeled ‘espresso blend.’ I swear by Lavazza or Illy for consistency, but grind them yourself if possible—pre-ground loses freshness fast. If you’re using whole beans, grind them just before brewing for maximum aroma. The Moka pot itself? Bialetti is the gold standard, but any sturdy aluminum model will work. Just make sure it’s clean—oil residue can ruin your coffee’s flavor.
No whole milk? Barista-style oat milk works surprisingly well, though texture differs. Heavy cream is non-negotiable if you want that classic latte foam—half-and-half is a decent compromise. Sugar cravings? Vanilla sugar or caramel syrup adds depth without overpowering. The cinnamon? Ceylon cinnamon has a sweeter profile than cassia, but either works. Pro tip: if your milk frother isn’t cutting it, microwave the milk in 30-second bursts while whisking vigorously. The goal is silky microfoam, not stiff peaks. And that pinch of salt? Trust me on this—it balances sweetness and enhances milk flavor.
Freshly brewed Moka pot coffee keeps its peak flavor for 2-3 days in the fridge, but reheat gently—microwave in 10-second bursts to avoid bitterness. The milk mixture? Use within 4 hours if pre-frothed, or store components separately. For make-ahead lattes, freeze the coffee concentrate in ice cube trays—just add hot water and steamed milk later. The vanilla extract and cinnamon? Store in dark cabinets—they lose potency fast when exposed to light. And if you’re making multiple lattes, double the coffee batch—it reheats beautifully for second cups.
Why You’ll Love This Recipe
- No-Fuss Brewing: The moka pot does all the work—just add beans, water, and heat. No fancy equipment, no complicated steps, just that rich, concentrated coffee pulling through with zero fuss. I’ve made this while scrolling through emails, and it still comes out better than my last attempt at a pour-over.
- Rich, Creamy Magic: That first sip? Pure velvet. The moka pot’s bold, caramelized coffee meets the velvety whole milk and whipped cream like they were made for each other—no bitterness, just deep, satisfying layers. Honestly, I’ve skipped my morning latte runs just for this.
- Morning or Midnight Fix: Cold brew in the fridge? Warm it up for an iced latte. Extra strong? Dilute it for a lighter sip. It’s my go-to for lazy Sundays or 3 AM cravings—same recipe, endless variations. Between us, it’s saved my sanity more times than I can count.
- Budget-Friendly Luxury: Freshly roasted beans aren’t cheap, but a little goes a long way here. Stretch it by freezing leftover milk cream mixtures or using less sugar if you’re watching costs. I’ve made this for guests, my partner, and even my picky teen—no one bats an eye at the price tag.
Step-by-step instructions for Moka pot latte
Here’s how to create a velvety latte using your Moka pot—no espresso machine needed.
Prepare the Moka Pot with Coffee Beans
Fill the bottom chamber of the Moka pot with the 1.5 cups hot water until it reaches just below the valve. Then add the 0.5 cup freshly roasted coffee beans to the filter basket, pressing down gently but firmly. You want even distribution so the water flows through properly without clogging.
I always use medium-dark roast beans for this method—they extract well without becoming bitter. Place the basket in the Moka pot and screw the top on tightly. The seal is critical here; if it’s loose, you’ll get weak coffee and potential mess. Assemble the Moka pot over a heat-safe container to catch any drips.
Brew the Coffee Concentrate
Place the Moka pot on medium-low heat—this is crucial. Too high and you’ll burn the coffee before it brews properly. Watch as the water begins to rise into the top chamber. You’ll hear a gurgling sound when the coffee starts extracting.
When the coffee reaches the top chamber and stops gurgling for about 10-15 seconds, remove it from heat immediately. The coffee should be dark and concentrated, similar to strong espresso. If it’s light or watery, your heat was too low. If it’s bitter, your beans were over-extracted. Aim for that rich, syrupy consistency that’s the foundation of a great latte.
Heat and Prepare the Milk Mixture
While the coffee brews, combine the 2 cups whole milk, 0.25 cup heavy whipping cream, 2 tbsp granulated sugar, 0.5 tsp vanilla extract, 0.25 tsp ground cinnamon, and 0.125 tsp salt in a saucepan. Heat over medium heat, stirring constantly with a whisk or spoon, until it reaches 150-160°F. This temperature is hot enough to create steam but not so hot it scalds the milk.
Here’s the thing—don’t walk away. Milk burns quickly and develops a cooked flavor. You want it to be hot but still smooth, with no separation. When it reaches the right temperature, remove from heat and let it sit for 1 minute to allow the flavors to meld together.
Froth the Milk to Silky Perfection
Use your milk frother or whisk to create a velvety microfoam. If using a handheld frother, submerge it just below the surface and froth for about 20-30 seconds until the milk doubles in volume and has a creamy, foamy texture. For a whisk, vigorously stir in a circular motion for 1-2 minutes until you see small bubbles form.
The ideal texture should be like wet paint—thick enough to hold its shape but still silky when poured. If it’s too thin, froth longer. If it’s too thick with large bubbles, add a splash of hot milk and froth again. This step makes all the difference between a basic latte and a luxurious one.
Combine and Serve
Pour about 2/3 of the frothed milk into each of the 4 servings, then carefully layer the brewed coffee concentrate on top. The coffee should sink slightly, creating beautiful marbling. Add the remaining frothed milk on top, creating a smooth, creamy finish.
For the final touch, sprinkle each serving with 1 tsp instant vanilla sugar on top. Serve immediately while the coffee is hot and the milk is still frothy. The combination of the rich coffee concentrate and velvety milk creates that perfect latte experience you’d get from an espresso machine—without needing one.
Pro Tips For Making Moka Pot Latte
- Grind Just Before Brewing: Freshly roasted beans lose their magic fast—grind them right before filling the moka pot, even if it means waiting 10 minutes. I used to grind ahead and wondered why my latte tasted dull; the oils degrade fast, and that’s what makes moka coffee rich and aromatic.
- Use 190°F Water Only: Boiling water scalds the coffee, making it bitter. Heat your water to 190°F (just below a rolling boil) and pour it into the moka pot—this keeps the bright, nuanced flavors alive. I learned this after a batch tasted like burnt sugar.
- Skip the Milk Until Last: Heat the milk and cream separately after brewing, not before. Adding them to the moka pot steams them unevenly and can make the coffee taste watered down. Warm the dairy to 150°F—just hot enough to froth, not boil.
- Stir the Cream Cold: Whisk the heavy cream with sugar before heating it, while it’s still cold. This dissolves the sugar fully and creates a silkier texture when you later heat and froth it. I used to add sugar after heating, and it always clumped—this fixes that.
Flavor customization for this moka pot latte
Classic Italian Style
For a true Italian latte, skip the vanilla and cinnamon—this version relies on the pure marriage of Moka pot coffee and steamed milk. Use whole milk only (no cream) and heat it to 155°F for a lighter foam.
I add a pinch of sea salt to enhance the milk’s natural sweetness. Serve in a pre-warmed ceramic cup to maintain heat. The result is a clean, bold drink with deep espresso notes and a velvety finish. 🌿
Spiced Chai Latte Twist
Swap the cinnamon for 1 tsp chai spice blend (cardamom, ginger, cloves) and add ½ tsp honey> to the milk mixture. The spices bloom beautifully with the Moka pot’s rich coffee, creating a warm, aromatic drink perfect for chilly mornings.
For extra depth, steep a black tea bag> in the milk for 2 minutes> before heating. This fusion keeps the Moka pot’s signature strength while adding cozy spice complexity.
Caramel Cream Dream
Add 2 tbsp caramel syrup> to the milk mixture and top each serving with a drizzle of hot caramel sauce> before serving. For the coffee, use lightly roasted beans> to avoid overpowering the sweetness. The caramel enhances the Moka pot’s natural sweetness while adding a luxurious touch.
I like to finish with a sprinkle of flaky sea salt> to balance the richness. This version tastes like a café dessert—without the guilt!
Iced Latte Adaptation
Brew your Moka pot coffee as directed, then let it cool to room temperature>. Chill the milk mixture in the fridge for 30 minutes> before frothing. Assemble the latte over a glass filled with ice, then pour the remaining frothed milk on top.
For extra chill, add ½ cup cold milk> to the bottom of each glass before pouring. This method keeps the drink refreshing while preserving the Moka pot’s rich flavor profile. Perfect for summer mornings!
Decaf Comfort Version
Use decaf medium-dark roast beans> in your Moka pot for a caffeine-free option that still delivers bold flavor. The decaf version works especially well with cocoa powder>—add 1 tbsp> to the milk mixture while heating.
This creates a mocha-style latte with all the richness of chocolate and coffee. For an extra touch, top with whipped cream> and a dusting of cocoa. Ideal for afternoons when you need comfort without the jitters. 💛
Smoky Maple Infusion
Add ½ tsp smoked sea salt> and 1 tbsp pure maple syrup> to the milk mixture for a fall-inspired twist. The smokiness complements the Moka pot’s deep coffee notes beautifully. For presentation, drizzle with extra maple syrup and a pinch of smoked salt.
This version tastes like a campfire breakfast—warm, comforting, and full of autumnal flavors. Perfect for brunch or cozy evenings by the fire.
Nutrition facts
Frequently asked questions
Can I use pre-ground coffee in my Moka pot latte?
Freshly ground beans are ideal, but pre-ground works in a pinch. Use medium-fine grind (like espresso grind) to prevent clogging. Avoid coarse grounds—they’ll produce weak, watery coffee. If using pre-ground, store it in an airtight container away from light to preserve freshness for up to 2 weeks.
How do I adjust the strength of my Moka pot coffee?
For a stronger latte, use 1 tbsp more coffee per 6 oz water (e.g., 0.6 cups coffee for 1.5 cups water). For milder flavor, reduce by ½ tbsp. Brew time also matters: 10-15 seconds of gurgling = balanced extraction. If it’s too bitter, your heat was too high—try medium-low next time.
What’s the best milk alternative for frothing?
Whole milk creates the creamiest foam, but barista-style oat milk froths well and adds a nutty depth. Avoid almond milk—it’s too thin for proper texture. For dairy-free options, half-and-half or coconut cream work best. Heat alternatives to 150-160°F before frothing for best results.
Why did my Moka pot coffee come out weak?
Weak coffee usually means clogged grounds or under-extraction. Press the coffee evenly in the basket and use medium-fine grind. Check your heat—too low slows extraction. Also, ensure the water level is right (just below the valve) and the seal is tight. If it still happens, try pre-wetting the grounds with a splash of hot water before brewing.
Can I make this latte without a frother?
Use a whisk or French press plunger for manual frothing. Heat the milk to 150°F, then whisk vigorously in a circular motion for 2 minutes until frothy. For extra volume, pour hot milk back and forth between two containers 3-4 times. The key is patience—aim for wet paint texture, not stiff foam.

- Baked Potatoes in Crock Pot Recipe: Buttery Interiors and Crispy Top Magic - November 1, 2026
- Braised Beef Short Ribs Recipe: Crock Pot Fall-Off-Bone Magic in 6 Hours - November 1, 2026
- Crock Pot Cocoa Recipe: Velvety Warmth With Hidden Spice Magic - November 1, 2026