
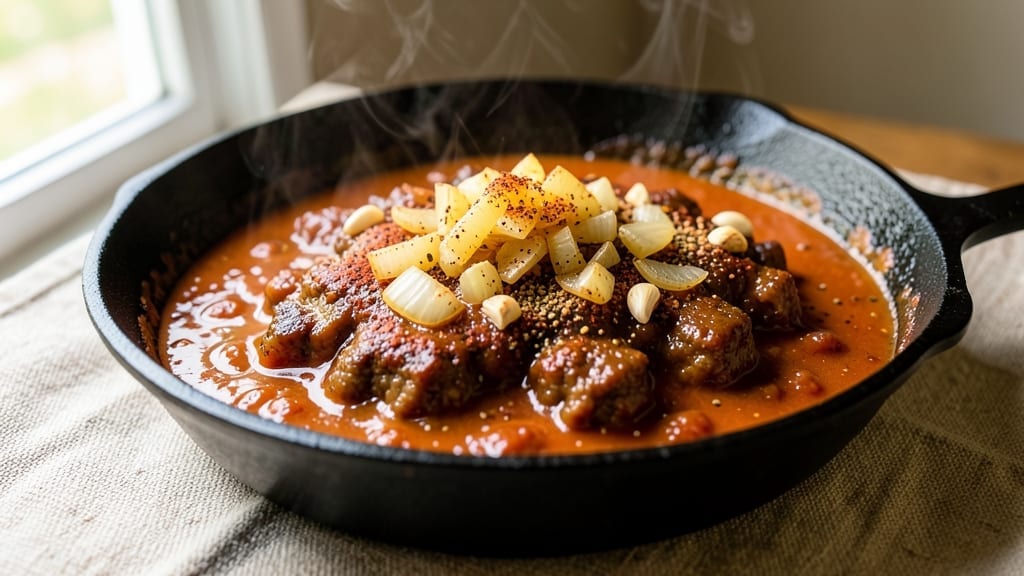
A 1 lb hamburger chili recipe transforms simple ground beef into a rich, hearty meal that’s perfect for weeknight dinners. The secret lies in browning the meat thoroughly—this step unlocks deep, caramelized flavors that store-bought seasonings can’t replicate.
With just 30 minutes of active prep and 1 hour of simmering, you’ll end up with a pot of chili that’s bold, balanced, and far from basic.
This recipe skips the mess of overloading the pot with too many ingredients, focusing instead on a perfect harmony of beef, beans, and spices.
The key is a two-step seasoning process: first, blooming spices in oil to release their aromas, then letting them meld into the chili as it simmers. No blender, no shortcuts—just layers of flavor built from scratch.
By the time you’re ready to serve, you’ll have a chili with tender beef, perfectly seasoned beans, and a thick, velvety sauce that clings to every bite.
The texture is just right—tender but not mushy, with a depth of flavor that makes it taste like it’s been simmering all day. Serve it with crusty bread or over rice, and top with your favorite garnishes for the perfect finishing touch.
Best of all, this recipe scales effortlessly—double the batch for leftovers or a crowd, and adjust the spices to suit your taste. Whether you’re feeding a family or meal prepping for the week, this chili delivers restaurant-quality results without the fuss. Let’s get started.
Ingredients for 1 lb hamburger chili
Simple, flavor-packed ingredients that turn ground beef into restaurant-style chili.
| Ingredient | Amount | Notes |
|---|---|---|
| Ground Beef (80/20 fat ratio) 🥩 | 1 lb | Lean but not too lean |
| Yellow Onion 🧅 | 1 whole | Medium, finely diced |
| Garlic Cloves 🧄 | 4 cloves | Fresh, minced |
| Tomato Paste 🍅 | 2 tbsp | Squeeze tube preferred |
| Chili Powder 🌶️ | 1 tbsp | Medium heat, not hot |
| Ground Cumin 🌿 | 1 tsp | Toasted for deeper flavor |
| Smoked Paprika 🌶️ | 1 tsp | Adds smoky depth |
| Dried Oregano 🍃 | 1 tsp | Mexican oregano if available |
| Black Pepper 🌶️ | ½ tsp | Freshly cracked |
| Salt 🧂 | 1 tsp | Kosher salt preferred |
| Beef Broth 💧 | 1 cup | Low-sodium preferred |
| Kidney Beans 🌱 | 1 cup | Canned, drained and rinsed |
| Vegetable Oil 🫒 | 1 tbsp | For browning meat |
| Dark Brown Sugar 🍚 | 1 tsp | Balances acidity |
The beef is where it all starts. 80/20 fat ratio is non-negotiable—it keeps the chili tender and adds richness. Walmart or Costco usually have it pre-packaged in 1 lb bags, but if you’re buying a bigger pack, freeze half for next time. The onions and garlic? Yellow onions hold up better than red, and fresh garlic makes a world of difference over the jarred stuff. I always grab a whole head and freeze the rest. For the tomato paste, those little squeeze tubes at Trader Joe’s are perfect—they last forever and you won’t waste half a can.
No chili powder? Mix 1/2 tsp each of paprika, cumin, and cayenne as a quick swap. The beans can be pinto or black too—just rinse them well. If you’re short on time, no-salt-added canned beans work fine, but I prefer draining and rinsing even those. The beef broth is your flavor base, so low-sodium is key—you can always add more salt at the end. Want to skip the sugar? A splash of apple cider vinegar (1/2 tsp) will balance the acidity just as well. And if you’re feeling fancy, a pinch of cinnamon (1/4 tsp) adds warmth without overpowering.
This chili tastes even better the next day—3-4 days in the fridge, no problem. For leftovers, I portion it into containers with a scoop of rice or cornbread on top. Freezes beautifully too—up to 3 months if you pack it tightly in airtight containers. Pro tip: Label with the date so you remember which one’s oldest. The spices lose potency after opening, so store them in a cool, dark place (that’s what your spice drawer is for). If your chili powder smells stale, toss it—it’s not worth the risk.
Why You’ll Love This Recipe
- One-Pot Magic: This chili comes together in a single pot—no chopping mountains of veggies, no extra bowls. Just brown the beef with onions and garlic, stir in the tomato paste, and let the spices work their magic while you do the dishes.
- Fat Meets Flavor: That 80/20 beef isn’t just for juicy burgers—it’s the secret to a chili that’s rich but not greasy. The tomato paste deepens the color and taste, while the chili powder gives it that warm, smoky kick that lingers.
- Game for Any Day: Make a double batch on Sunday and freeze half for lazy nights. It’s just as good reheated as it is fresh—perfect for game days, potlucks, or when you’re too tired to think.
- Budget-Friendly Powerhouse: A pound of beef and a few pantry staples stretch to feed four (or more, if you’re generous). Honestly, it’s the kind of recipe that makes grocery bills feel less painful while still delivering serious satisfaction.
Step-by-step instructions for 1 pound hamburger chili
This chili delivers bold, smoky flavor with minimal effort—just follow these simple steps.
Brown the Ground Beef Perfectly
Heat the 1 tablespoon vegetable oil in a large pot over medium-high heat until shimmering. Add the 1 pound ground beef (80/20 fat ratio) and break it apart with a wooden spoon, letting the pieces separate completely. Cook undisturbed for 3-4 minutes until the beef loses its raw color and begins to brown.
Here’s the thing—don’t stir constantly. Let the meat crisp slightly in spots, which builds deep flavor. Once it’s mostly browned (about 5-6 minutes total), drain most of the fat but leave about 1 tablespoon in the pot—this fat carries flavor. If you have too much fat, wipe the excess onto a paper towel.
Sauté Aromatics Until Fragrant
Add the 1 whole yellow onion (finely diced) and 4 cloves garlic (minced) to the pot. Stir for 2-3 minutes until the onions soften and become translucent. The garlic should smell pungent and vibrant—this is when it’s ready. If it starts to brown too quickly, reduce heat to medium.
Don’t skip this step. The onions and garlic form the flavor base for your chili, so cook them until they’re sweet and tender. If you rush, you’ll end up with raw garlic bits that make every spoonful taste sharp and unpleasant.
Build the Chili Base with Spices
Stir in the 2 tablespoons tomato paste, 1 tablespoon chili powder, 1 teaspoon ground cumin, 1 teaspoon smoked paprika, 1 teaspoon dried oregano, ½ teaspoon black pepper, and 1 teaspoon salt. Cook for 1-2 minutes, stirring constantly, until the spices are fragrant and the tomato paste darkens slightly—this releases their oils and deepens the flavor.
This is where the magic happens. The spices need time to bloom, so don’t add the broth just yet. Let them toast in the pot for 30-60 seconds until you can smell that rich, earthy aroma. If you add liquid too soon, you’ll dilute those flavors before they develop.
Simmer Until Thick and Flavorful
Pour in the 1 cup beef broth and bring the mixture to a gentle simmer. Stir in the 1 cup kidney beans (drained and rinsed) and 1 teaspoon dark brown sugar. Reduce heat to low and let it cook uncovered for 25-30 minutes, stirring occasionally. The chili should thicken as it simmers, and the flavors should meld together beautifully.
Here’s the key: taste and adjust seasoning after 20 minutes. You might need more salt, chili powder, or even a splash of broth if it’s too thick. The dark brown sugar balances the acidity from the tomato paste, so don’t skip it—it rounds out the flavors. If the chili looks too thin, let it simmer longer; if it’s too thick, add a little more broth.
Rest and Serve with Confidence
Once the chili reaches your desired consistency (it should coat the back of a spoon), remove it from heat and let it rest for 5-10 minutes. This resting time allows the flavors to settle and the texture to thicken slightly. Serve it hot, garnished with extra chili powder or a dollop of sour cream if you like.
Real talk: the best chili tastes even better the next day. If you have leftovers, store them in the fridge for up to 5 days or freeze for 3 months. The flavors deepen as it sits, making every bite more rewarding. Enjoy it with crusty bread or over rice—either way, it’s a winner.
Pro Tips For Making 1 Lb Hamburger Chili
- BROWN THE FAT FIRST: I learned this the hard way—skipping the initial sear means your chili will taste flat. Cook the raw ground beef in batches over medium-high heat until it’s deeply browned, breaking it up with a spoon. That caramelized fat is where all the flavor hides, and it’s non-negotiable for a rich-tasting chili.
- SWEAT THE ONIONS LOW: Onions burn faster than you think, especially when you’re distracted. Cook them slowly over medium-low heat for 8-10 minutes until they’re soft and translucent, not golden. If they start to stick, add a splash of water and scrape the pan—this keeps the base from tasting bitter and sets up the whole dish.
- STIR THE TOMATO PASTE: Don’t just dump the tomato paste and walk away. Stir it into the beef mixture constantly for the first 2-3 minutes after adding it, breaking up any clumps with the back of your spoon. Clumpy paste means uneven flavor distribution, and you’ll taste it in every bite—trust me, you don’t want that.
- SALT THE BEAN WATER: If you’re adding beans (even if the recipe doesn’t say to), salt the water you drain them in—just a pinch. It seasons them instantly, and that flavor carries through when you mix them into the chili. I skip this step sometimes, and the beans always feel bland afterward. (Yes, even if you’re impatient like me.)
Dietary considerations for this recipe
Gluten-Free Adaptations
This chili recipe is naturally gluten-free, but watch for hidden sources in other ingredients. Always check your beef broth label—some brands use wheat-based thickeners. I recommend Pacific Foods or Imagine gluten-free broths for a worry-free simmer.
The kidney beans and tomato paste are typically safe, but verify if you’re highly sensitive. 🌱
Low-Carb Options
Swap the beans for cauliflower rice or shirataki noodles to cut carbs while keeping texture. I use 1 cup chopped cauliflower sautéed with the onions for a low-carb base. Skip the dark brown sugar and add 1 tbsp erythritol instead for sweetness. The chili stays hearty without the bean bulk.
Dairy-Free Serving
Skip the sour cream topping and use cashew cream instead. Blend ½ cup soaked cashews with 2 tbsp water until smooth. Dairy-free cheese like Miyoko’s shreds also works well for garnish. The chili itself stays dairy-free—just watch toppings.
Vegetarian Swap
Replace the beef with 1 lb plant-based crumbles (like Beyond Meat) or textured vegetable protein. Brown them the same way, then proceed with the recipe. For extra umami, add 1 tbsp soy sauce when building the base. The texture stays satisfying while keeping it meat-free.
Allergen-Friendly Tips
For nut allergies, omit the cashew cream and use coconut yogurt instead. If you’re avoiding nightshades (tomatoes, peppers), substitute 1 cup diced zucchini for the tomato paste and reduce chili powder to ½ tbsp. Always read labels—some spices contain hidden allergens.
Protein Boost
Add ½ cup cooked quinoa or 1 egg per serving for extra protein. The quinoa blends right in, while the egg adds richness when stirred in during the last 5 minutes of cooking.
For a high-protein chili, I often double the beef to 2 lbs while keeping all other ingredients the same.
Nutrition facts
Frequently asked questions
Can I use lean ground beef instead of 80/20?
I don’t recommend it for this recipe. The 80/20 fat ratio keeps the chili tender and adds richness that leaner cuts can’t match. If you must use lean, add 1 teaspoon extra tomato paste and ½ teaspoon Worcestershire sauce to compensate for the lost fat and flavor. The texture will be slightly firmer but still delicious.
How do I make this chili spicier?
Add ½ teaspoon cayenne pepper with the other spices or stir in 1-2 teaspoons hot sauce at the end. For a smoky kick, increase the smoked paprika to 1½ teaspoons. Always taste as you go—you can adjust heat later, but you can’t take it out once it’s simmered!
Why does my chili taste bland?
Most likely, you didn’t brown the beef enough or skipped the spice-blooming step. Next time, cook the beef until deeply browned (not just pink) and let the spices toast in the pot for 1-2 minutes before adding liquid. If it’s already bland, boost flavor with 1 teaspoon soy sauce or ½ teaspoon fish sauce—they add umami depth without overpowering.
Can I make this chili in a slow cooker?
Brown the beef and sauté aromatics in a skillet first, then transfer everything to the slow cooker. Add the broth and beans, then cook on low for 6-8 hours or high for 3-4 hours. The slow cooker makes the chili even more tender, but you may need to add 1-2 tablespoons cornstarch mixed with water at the end to thicken it.
What’s the best way to reheat leftover chili?
Reheat gently on the stovetop over medium-low heat until bubbling, stirring occasionally. For best results, add 1-2 tablespoons water or broth to prevent drying out. Microwave reheating works too, but it can make the texture watery—cover with a damp paper towel and heat in 1-minute intervals, stirring between each.

- Baked Potatoes in Crock Pot Recipe: Buttery Interiors and Crispy Top Magic - November 1, 2026
- Braised Beef Short Ribs Recipe: Crock Pot Fall-Off-Bone Magic in 6 Hours - November 1, 2026
- Crock Pot Cocoa Recipe: Velvety Warmth With Hidden Spice Magic - November 1, 2026