
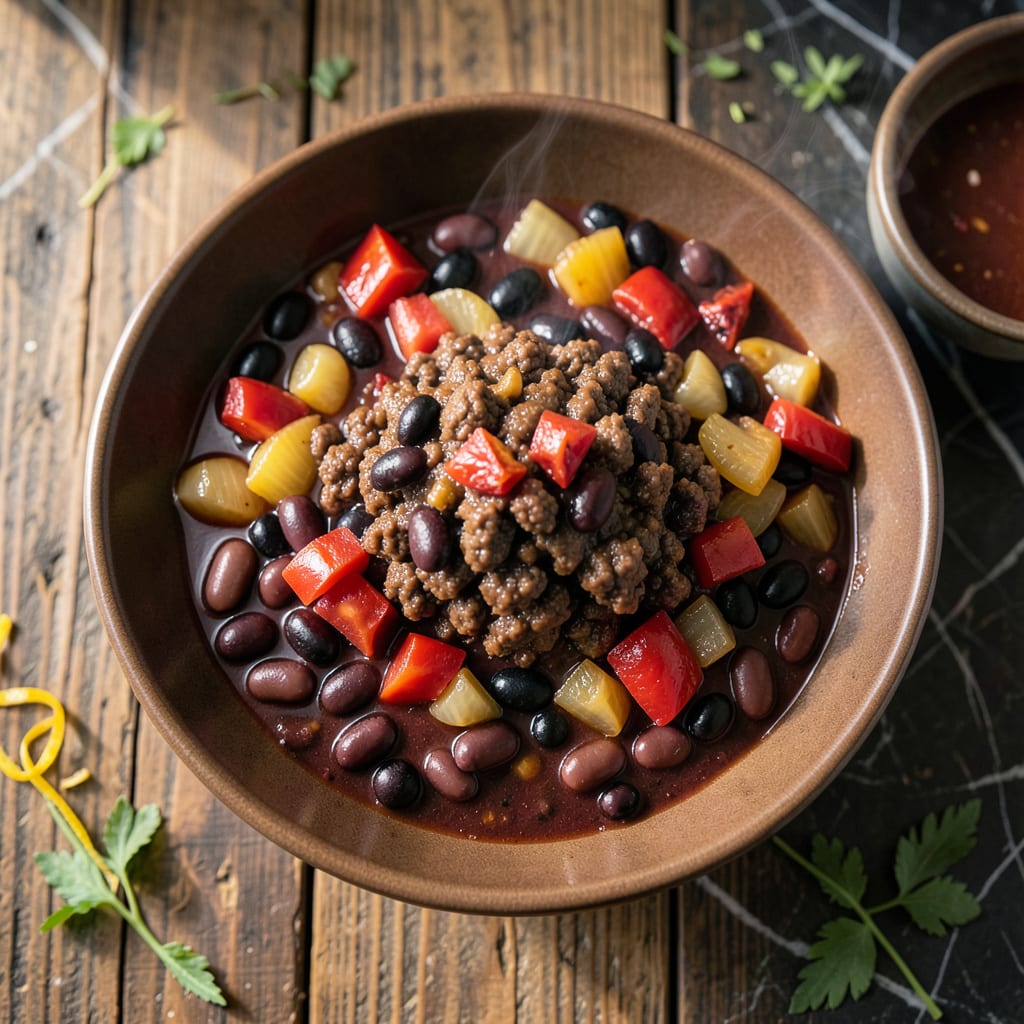
This one-pot chili delivers hearty flavor with minimal cleanup. I’ve perfected the balance of spices and textures to create a dish that’s both satisfying and straightforward.
With just one pot and simple ingredients, you’ll have a warm, comforting meal ready in under an hour. The flavors deepen as it simmers, making every bite rich and flavorful.
Ingredients for 1 Pot Chili
Nothing exotic here—just good stuff for a pot of chili that hits the spot.
| Ingredient | Amount | Notes |
|---|---|---|
| Ground Beef 🥩 | 1 lb | 80/20 lean-to-fat ratio |
| Yellow Onion 🧅 | 1 whole | Medium, finely diced |
| Garlic Cloves 🧄 | 4 cloves | Minced for depth |
| Red Bell Pepper 🌶️ | 1 whole | Diced, seeds removed |
| Kidney Beans 🫘 | 1 can | 15 oz, drained and rinsed |
| Black Beans 🫘 | 1 can | 15 oz, drained and rinsed |
| Diced Tomatoes 🍅 | 1 can | 28 oz, with juices |
| Tomato Paste 🍅 | 2 tbsp | For concentrated flavor |
| Beef Broth 🥫 | 2 cups | Low-sodium preferred |
| Chili Powder 🌶️ | 2 tbsp | Mild or hot variety |
| Ground Cumin 🌿 | 1 tbsp | Toasted for warmth |
| Smoked Paprika 🌶️ | 1 tsp | For smoky depth |
| Dried Oregano 🍃 | 1 tsp | Mediterranean variety |
| Salt 🧂 | 1 tsp | Kosher or sea salt |
| Black Pepper 🌶️ | ½ tsp | Freshly ground preferred |
[recipeingredientscaler]
The beef is the backbone. Ground chuck (80/20) gives you the right fat for flavor—leaner blends dry out. Most supermarkets carry it pre-packaged, but the butcher counter at Whole Foods or Kroger lets you specify the grind. I always grab mine fresh and cook it the same day for the best texture. Look for bright red color, no graying (that means it’s been sitting too long).
No ground beef? Ground turkey or plant-based crumbles work well—just add an extra tablespoon of oil. Swap the beans for pinto or black-eyed peas if that’s what’s in the pantry. Fresh out of chili powder? 1 tbsp cumin + 1 tsp cayenne gets you close. The smoked paprika is non-negotiable for that deep, campfire vibe though. If your tomatoes are watery, drain them a bit before adding.
This chili tastes even better the next day. Keeps 4-5 days in the fridge, freezes for 3 months (portion it first for easy reheating). Leftovers make killer loaded baked potatoes or nachos. The spices will mellow as it sits, so don’t worry if it seems sharp right off the stove.
Why You’ll Love This Recipe
- I’ll be real: it tastes even better the next day, and it freezes like a dream.
- One Pot Wonder: I toss in the beef, onions, and peppers, then let it simmer—no extra pans, no fuss.
- Smoky Depth: The garlic and kidney beans soak up all the rich, meaty flavor as it cooks low and slow.
- Feeds a Crowd: Honestly, it’s my go-to for game nights or when the whole family’s over.
Step-by-Step Instructions for 1 Pot Chili
One pot, minimal cleanup, maximum flavor—here’s how it comes together.
Step 1: Brown the Ground Beef with Aromatics
Heat a large pot or Dutch oven over medium-high heat. Add the 1 lb Ground Beef and cook, breaking it apart with a wooden spoon, until it’s no longer pink—about 5-7 minutes.
Once the beef is browned, add the finely diced Yellow Onion, minced Garlic Cloves, and diced Red Bell Pepper. Cook for 3-4 minutes until the onion softens and becomes translucent. The garlic should be fragrant but not browned—burnt garlic turns bitter.
Step 2: Build the Flavor Base
Stir in the 2 tbsp Tomato Paste and cook for 1-2 minutes, allowing it to darken slightly. This step intensifies its flavor and removes any raw taste. You’ll notice the mixture start to stick to the bottom of the pot—that’s the fond developing, which adds depth to your chili.
Add the 2 tbsp Chili Powder, 1 tbsp Ground Cumin, 1 tsp Smoked Paprika, 1 tsp Dried Oregano, 1 tsp Salt, and 0.5 tsp Black Pepper. Stir well to coat the beef and vegetables evenly. Cook for 30 seconds to toast the spices—this wakes up their flavors.
Step 3: Add Liquids and Simmer
Pour in the 1 can Diced Tomatoes (with juices) and 2 cups Beef Broth. Scrape the bottom of the pot to release any browned bits—this deglazing step ensures nothing goes to waste. Stir in the 1 can Kidney Beans and 1 can Black Beans, both drained and rinsed.
Bring the mixture to a boil, then reduce the heat to low. Cover and let it simmer for 25-30 minutes, stirring occasionally. The chili is ready when it thickens slightly and the flavors meld together. The beans should be tender but still hold their shape.
Step 4: Adjust and Serve
Taste and adjust the seasoning if needed. I often find it needs a touch more salt after simmering, but that depends on your broth. If it’s too thick, stir in a splash of water or broth. If it’s too thin, let it simmer uncovered for 5-10 minutes longer.
Ladle the chili into bowls while it’s hot. The consistency should be hearty but not soupy, with the beef and beans suspended in a rich, flavorful sauce. The smell alone will tell you it’s ready—deep, smoky, and slightly sweet from the tomatoes and bell pepper. Serve as is or with your favorite toppings.
Pro Tips For Making 1 Pot Chili
- Brown the Beef Well: Cook the ground beef until deeply browned, not just gray—about 5-7 minutes on medium-high heat. This builds a rich, meaty base that makes the chili taste far more complex.
- Dice Evenly: Cut the onion, bell pepper, and garlic into uniform, small pieces (about ¼-inch). Smaller, consistent bits distribute flavor better and prevent any one bite from being overwhelming.
- Drain the Beans: Rinse and drain the kidney beans before adding them to avoid a starchy, thin chili. I learned this the hard way after ending up with a pot of chili soup instead of a thick, hearty dish.
- Bloom the Spices: After browning the beef and veggies, push them aside and toast your spices in the same pot for 30 seconds. Sounds weird, but it works—it wakes up the flavors before the liquid goes in.
Flavor Customization for This Recipe
Spice It Up
For serious heat, add 1 tsp cayenne pepper or 1 chopped jalapeño with the aromatics. I love the slow-building warmth it adds. If you prefer smoky heat, swap in 1 tsp chipotle powder instead of regular chili powder. 🌶️
Sweet and Savory
Balance the richness with 1 tbsp brown sugar or 1 tbsp honey when you add the tomato paste. This sweetness complements the smoky spices beautifully. For depth, stir in 1 tbsp cocoa powder—it enhances the chili’s complexity.
Bean Variety
Swap in pinto beans or white kidney beans for a different texture. I’ve found pinto beans hold their shape better during long simmering. For extra creaminess, mash ½ cup of the beans before adding them.
Meat Swaps
For a leaner version, use ground turkey or ground chicken instead of beef. Brown it well to develop flavor. For a heartier dish, try ½ lb beef + ½ lb Italian sausage—the sausage adds a delicious herby note.
Veggie Boost
Add 1 diced zucchini or 1 cup corn kernels with the bell pepper for extra texture. I often throw in 1 cup frozen spinach (thawed and drained) at the end for a nutritional boost. 🥗
Topping Ideas
Set out shredded cheddar, sour cream, and sliced green onions for customization. For crunch, offer tortilla chips or diced avocado. I always include pickled jalapeños for tangy heat.
Nutrition Facts
Frequently Asked Questions
Can I make this chili ahead of time?
The flavors deepen after a day in the fridge. Store in an airtight container for up to 5 days or freeze for 3 months. Reheat gently on the stove, adding a splash of broth if needed.
What if my chili is too thin?
Let it simmer uncovered for 5-10 minutes to thicken. Alternatively, mash some beans or stir in 1 tbsp cornstarch mixed with water. The texture should coat the back of a spoon.
Can I use a slow cooker instead?
Yes! Brown the beef and aromatics first, then transfer everything to the slow cooker. Cook on low for 6-8 hours or high for 3-4 hours. The result will be even more tender.

- 4C Bread Crumbs Meatballs Recipe: Crispy Crust and Juicy Centers - September 25, 2026
- 6 Oz Chocolate Chip Cookie Recipe: Perfectly Balanced Crispy Edges and Chewy Hearts - September 25, 2026
- 6-Inch Coffee Cake Recipe: Vanilla Bean Swirls and Buttery Streusel Topping - September 25, 2026