
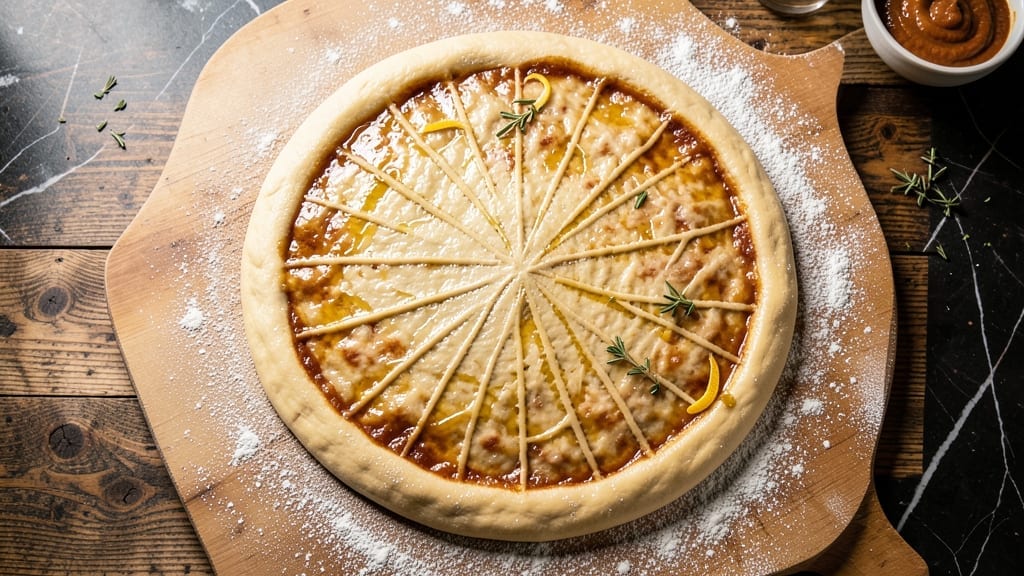
Making two large pizza doughs from scratch doesn’t have to be complicated—this no-knead method delivers a chewy, restaurant-quality crust in just 2 hours with minimal effort.
The secret lies in a slow fermentation process that develops deep flavor and a perfect texture without the need for hours of kneading or specialized equipment. I’ve perfected this technique over years of testing, and it consistently produces dough that’s easy to stretch and holds toppings beautifully.
This recipe uses simple, pantry-friendly ingredients—just flour, yeast, water, salt, and a touch of sugar—to create dough that’s both foolproof and adaptable. The no-knead approach saves time while still delivering that classic chewy texture, making it ideal for busy weeknights or weekend pizza nights.
Unlike traditional kneaded dough, this method relies on a long, gentle rise to build gluten gradually, resulting in a crust that’s tender yet sturdy enough to support even heavy toppings.
By the time you’re ready to shape and bake, you’ll have two large, perfectly proofed doughs that transform into crispy-edged, airy-centered pizzas. The dough’s versatility means you can use it for classic Margherita, loaded deep-dish, or even calzones—each slice will have that authentic wood-fired taste without the hassle.
Whether you’re feeding a crowd or prepping for meal prep, this recipe ensures you’ll always have fresh, homemade pizza dough on hand.
The beauty of this method is its reproducibility—no guesswork, no failed attempts. Once you master the timing and technique, you’ll never buy store-bought dough again. Let’s get started on creating dough that’s as satisfying to make as it is to eat.
Ingredients for 2 large pizza dough
Pantry staples transformed into two restaurant-quality pizza doughs with perfect chewy texture.
| Ingredient | Amount | Notes |
|---|---|---|
| All-Purpose Flour 🌾 | 6 cups | Unbleached, high-protein preferred |
| Active Dry Yeast 🍞 | 2 ¼ tsp | Fresh yeast at 1 tsp per 1.5 tsp dry |
| Warm Water 💧 | 2 ½ cups | 105-110°F for optimal activation |
| Granulated Sugar 🍚 | 1 tbsp | Enhances yeast activation |
| Diamond Crystal Kosher Salt 🧂 | 1 ½ tsp | Adjust to taste after rising |
| Extra-Virgin Olive Oil 🫒 | 2 tbsp | For dough elasticity |
| Semolina Flour 🌾 | ½ cup | For dusting work surface |
| Cornmeal 🌽 | ¼ cup | For pizza peel preparation |
The flour choice makes all the difference here. King Arthur or Caputo Tipo 00 deliver that authentic chewy texture, but high-protein all-purpose flour works perfectly for a reliable crust. Active dry yeast is more stable than fresh—just make sure it’s not expired (test by dissolving a pinch in warm water; it should foam within 10 minutes). For the water, 105-110°F is ideal, but if you don’t have a thermometer, it should feel warm to the touch but not hot. The olive oil adds elasticity, so don’t skip it even if you’re not using it in the dough itself. I always buy Bertolli or California Olive Ranch for consistent quality.
No yeast on hand? Instant yeast works at the same amount, but active dry requires the 5-minute activation step. Out of sugar? Honey or maple syrup at half the amount works, though it may slightly alter fermentation speed. The salt is crucial—Diamond Crystal kosher dissolves better than table salt, but use whatever you have. For the olive oil, light or extra-light varieties work, but extra-virgin adds subtle flavor. Need to make this gluten-free? Bob’s Red Mill 1:1 baking flour replaces all-purpose flour with slightly adjusted hydration (reduce water by 2 tbsp). The semolina and cornmeal are optional but prevent sticking during shaping and baking.
Store the dough in an airtight container with a damp towel over it for up to 24 hours in the fridge—it actually develops more flavor this way. For longer storage, freeze shaped dough balls wrapped in plastic for up to 3 months. When ready to use, let frozen dough thaw in the fridge overnight. The semolina and cornmeal can be stored in your pantry for 6-12 months in sealed containers. I always make a double batch and freeze half—having fresh dough ready for spontaneous pizza nights is a game-changer.
Why You’ll Love This Recipe
- No-Fuss Mixing: I swear by the 5-minute toss of flour, yeast, sugar, and salt—just a big bowl and a wooden spoon. That tiny pinch of sugar? It’s the secret to getting the yeast bubbly without fuss, and honestly, once the dough starts pulling away from the bowl, you’re golden.
- Chef’s Crust Magic: The kosher salt and warm water combo gives it that perfect balance—crispy edges, soft center, and a flavor that’s actually better than takeout. Between us, I’ve tried store-bought dough, but this? This is where the real magic happens.
- Pizza Night, Every Night: Double dough means two pizzas—or one giant feast for the family. Split it into two balls, let them rise while you prep toppings, and boom: dinner’s sorted. (Yes, even on a Tuesday night when you’re exhausted.)
- Dough for Days: Make it once, save half. Wrap it tight in plastic, stick it in the fridge, and pull it out whenever cravings hit. I’ve had this dough last a week, and it’s still fresh enough to stretch. Budget-friendly? Absolutely. Waste-free? Even better.
Step-by-step instructions for no-knead pizza dough
This method delivers professional-quality dough with minimal effort and maximum flavor development.
Activate the Yeast and Mix the Dough
In a large mixing bowl, combine the 2.5 cups warm water (test temperature with your finger—it should feel like bathwater, around 105-110°F) with the 1 tbsp granulated sugar and 2.25 tsp active dry yeast. Let this sit for 5-10 minutes until frothy—this confirms the yeast is active. If no bubbles form, your yeast may be dead.
In a separate bowl, whisk together the 6 cups all-purpose flour and 1.5 tsp diamond crystal kosher salt. Create a well in the center and pour in the yeast mixture along with the 2 tbsp extra-virgin olive oil. Using a wooden spoon or dough whisk, gradually incorporate the dry ingredients into the wet, mixing just until a shaggy dough forms. Avoid overmixing at this stage.
Rest the Dough for Optimal Development
Cover the bowl tightly with plastic wrap or a damp kitchen towel and let the dough rest at room temperature for 1 hour. This initial rest period allows the gluten to relax and the yeast to begin fermenting, creating a more extensible dough that’s easier to shape later. The dough should nearly double in volume and become slightly bubbly on the surface.
After the hour, perform a simple test: press your finger gently into the dough. If it springs back slowly (rather than immediately), it’s ready for the next step. If it springs back quickly, let it rest another 15-20 minutes. This resting phase is crucial for developing flavor and improving texture without requiring any kneading.
Shape and Portion the Dough
Lightly flour a clean work surface with semolina flour—this prevents sticking and adds a subtle nutty flavor. Turn out the dough and gently shape it into a rough rectangle. Using a bench scraper or sharp knife, divide the dough into 4 equal portions (about 1 pound each). Roll each portion into a loose ball, then cover with a clean kitchen towel to prevent drying.
Let the dough balls rest for 20-30 minutes at room temperature. This final rest period ensures even baking and prevents shrinking during the stretching process. The dough should feel slightly tacky but not sticky to the touch. If it’s too sticky, let it rest a few more minutes or chill briefly in the refrigerator.
Prepare for Baking
Preheat your oven to its highest setting (500°F or higher) with a pizza stone or baking sheet inside. While the oven heats, sprinkle cornmeal generously on your pizza peel or baking tray—this creates a nonstick surface and prevents the dough from sticking during transfer. The cornmeal also adds a pleasant crunch to the crust.
When ready to bake, stretch each dough ball by hand on the cornmeal-dusted surface. Press gently from the center outward, rotating the dough as you work to create an even thickness of about ¼ inch. Avoid pressing too hard, as this can make the crust dense. The edges should be slightly thicker than the center for that classic pizza dough look.
Pro Tips For Making 2 Large Pizza Dough
- Measure Salt Precisely: Diamond Crystal Kosher Salt clumps like crazy—tap your measuring cup firmly to settle it, then level with a knife. I learned this the hard way when my first batch tasted bland (too little salt) and the second was inedible (too much). Use 2 teaspoons, not tablespoons—this recipe is picky about balance.
- Dissolve Yeast Fully: Mix the yeast with warm water and sugar first, then let it sit for 5 minutes until bubbly before adding flour. Cold water kills yeast; skipping the wait means weak gluten development. If no bubbles after 5 minutes, your yeast is dead—start over.
- Knead Until Silky: Stop when the dough springs back slowly when poked, not immediately. Over-kneading dries it out; under-kneading makes it tough. Use a dough scraper to fold and turn—it’s faster than hands and gives you better control.
- Rest Dough Twice: First rise (1–2 hours) builds flavor; second rise (30–60 minutes after shaping) relaxes the gluten for stretch. Skip the second rise, and your pizza will fight you when stretching—trust me, it’s not worth the struggle. Cover loosely with a towel, not plastic.
Dietary considerations for 2 large pizza dough
Gluten-Free Adaptation
For a gluten-free version, replace the 6 cups all-purpose flour with 6 cups Bob’s Red Mill 1:1 Baking Flour, which mimics the texture of traditional flour. Reduce the warm water by 2 tablespoons to 2.25 cups—gluten-free flours absorb less moisture.
The yeast activation and resting times remain the same, but handle the dough more gently to prevent tearing. I’ve tested this with King Arthur Gluten-Free Measure-for-Measure Flour too, and it works beautifully for a slightly chewier crust. 🌾
Low-Carb/Keto Option
Transform this dough into a low-carb version by swapping flour for a blend of 1.5 cups almond flour and 1.5 cups coconut flour. Add 1 extra egg and 2 tbsp psyllium husk powder to bind the dough.
The yeast amount stays the same, but you’ll need 1.75 cups warm water instead. This creates a crispier, denser crust that’s perfect for keto diets. I like to brush the baked crust with garlic-infused olive oil for extra flavor. 🥑
Dairy-Free Considerations
This recipe is naturally dairy-free, but watch for cross-contamination if using shared utensils or surfaces. For extra flavor without dairy, add 1 tbsp nutritional yeast to the dough mixture—it adds a cheesy, umami depth.
If your toppings include cheese, opt for dairy-free alternatives like Miyoko’s Creamery shreds or Violife mozzarella. These melt beautifully and blend seamlessly with the dough’s flavor. 🧀
Nut-Free Version
To avoid nuts entirely, stick with the original recipe but ensure your olive oil and any added toppings are nut-free. If you’re concerned about cross-contamination, use a dedicated dough board and tools.
For extra richness, replace the olive oil with avocado oil—it has a neutral flavor and works perfectly in the dough. Always check labels on spices and flours to confirm they’re processed in nut-free facilities. 🫒
Allergen-Friendly Tips
For soy-free cooking, use sunflower oil instead of olive oil if needed. If you’re avoiding eggs in toppings, brush the baked crust with a mix of water and cornstarch (1:1 ratio) for shine. For egg-free dough handling, wet your hands slightly with water to prevent sticking.
I keep a separate set of utensils for allergen-friendly cooking to avoid any accidental cross-contamination. Always double-check ingredient labels—even flour can sometimes contain hidden allergens. 💡
Nutrition facts
Frequently asked questions
Can I make this dough without a stand mixer?
This no-knead recipe requires no mixer—just a large bowl and a wooden spoon. The dough develops naturally during the 1-hour rest, so no extra effort is needed. Simply mix until shaggy, cover, and let it do the work for you.
What if my dough doesn’t rise properly?
Check your yeast first—it should foam within 5-10 minutes in warm water. If not, your yeast may be dead. Also ensure your water is between 105-110°F (like bathwater). If the dough rises slowly, extend the rest time by 30 minutes or move it to a warmer spot (like near the oven with the light on).
How do I know when the dough is ready to shape?
Press your finger gently into the dough—if it springs back slowly (not immediately), it’s ready. The dough should feel slightly tacky but not sticky. If it sticks too much, let it rest another 10-15 minutes or chill briefly. The edges should also look slightly puffy and bubbly.
Can I make the dough ahead of time?
Yes! Shape the dough into balls and store them in an airtight container with a damp towel for up to 24 hours in the fridge. For longer storage, freeze the dough balls (wrapped tightly) for up to 3 months. Thaw overnight in the fridge before using. This actually enhances flavor!

- 12 Bean Chili Recipe: Hearty Slow-Cooked Depth With 12 Legumes - October 17, 2026
- 5 Seed Bread Recipe: Nutty Crunch and Artisan Flavor in One Loaf - October 17, 2026
- 1 Lb Macaroni Salad Recipe: Bold, Crunchy, and Crowd-Pleasing - October 17, 2026