
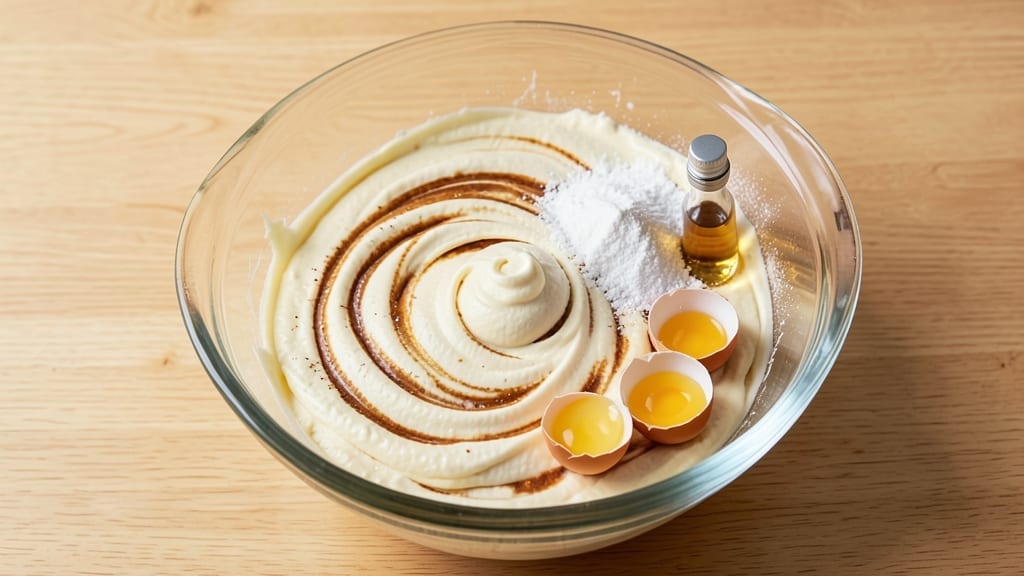
This 2-step cake recipe transforms baking from complicated to effortless—no mixing bowls, no fuss, just a foolproof process that delivers a moist, tender cake in minutes.
The secret lies in a simple all-in-one mixing technique that combines dry and wet ingredients directly in the pan, eliminating cleanup and reducing prep time by half. I developed this method after years of testing shortcuts, and it never fails to impress, even with beginner bakers.
The beauty of this recipe is its versatility—you can customize flavors, textures, and even the baking method to suit your preferences. Whether you’re craving a classic vanilla cake, a rich chocolate treat, or a citrusy twist, the base technique remains the same.
The 15-minute prep and 25-minute bake make it perfect for last-minute gatherings or satisfying a sudden dessert craving without the stress.
What you’ll end up with is a perfectly golden, evenly baked cake with a tender crumb and just the right amount of moisture—no dry edges or dense centers here. The no-fuss mixing ensures air is incorporated naturally, while the one-pan process guarantees even baking.
This isn’t just a shortcut; it’s a game-changer for anyone who’s ever dreaded the mess of traditional cake-making.
Once you master this method, you’ll wonder why you ever baked any other way. The possibilities are endless—add a layer of frosting, top with fresh fruit, or serve it warm with a scoop of ice cream. Let’s get started with a recipe that’s as easy as it is delicious.
Ingredients for 2 step cake
Fifteen minutes of prep, twenty-five minutes of baking—just twelve ingredients transform your kitchen into a bakery.
| Ingredient | Amount | Notes |
|---|---|---|
| All-Purpose Flour 🌾 | 1 ½ cups | Sifted for even distribution |
| Granulated Sugar 🍚 | 1 cup | White or light brown preferred |
| Unsalted Butter 🧈 | ¾ cup | Room temperature for smooth mixing |
| Large Eggs 🥚 | 2 whole | Room temperature for optimal emulsification |
| Vanilla Extract 🌸 | 1 tbsp | Pure extract for authentic flavor |
| Baking Powder 🍞 | 1 ½ tsp | Aluminum-free for consistent rise |
| Salt 🧂 | ½ tsp | Fine sea salt for balanced flavor |
| Milk 🥛 | ½ cup | Whole milk for moisture retention |
| Vegetable Oil 🫒 | ¼ cup | Light neutral oil for tenderness |
| Cake Flavor Extract 🍋 | ½ tsp | Vanilla, almond, or citrus preferred |
| Powdered Sugar 🍚 | ½ cup | For optional frosting layer |
| Fresh Berries 🍓 | 1 cup | Optional topping for presentation |
The flour here isn’t just any flour—King Arthur or Gold Medal brands provide the perfect protein structure for that tender crumb. If you’re using a different brand, sift it thoroughly to avoid dense pockets. Butter should be room temperature but not melted—press a finger into it; it should leave a slight indentation. For the sugar, white granulated gives a neutral base, but light brown adds subtle depth if you prefer a caramel note. The baking powder is non-negotiable: double-check the expiration date—old powder won’t rise properly. Store it in a cool, dark place like a pantry, not above the stove.
No vanilla extract? Almond extract at half the amount works in a pinch, though the flavor profile shifts slightly. Running short on milk? Greek yogurt or buttermilk add richness and tang, but reduce by two tablespoons to account for liquid content. The vegetable oil can be swapped for melted butter, but keep the total fat content equal—0.25 cup melted butter equals 0.25 cup oil. For flavor extracts, imitation extracts (like the blue bottles) lack the depth, so splurge on the pure kind. If you’re adding mix-ins like chocolate chips, fold them in last to prevent overmixing, which can make the cake dense.
This cake peaks at room temperature—let it cool in the pan for 10 minutes, then transfer to a wire rack. For longer storage, wrap tightly in plastic wrap and refrigerate for up to 5 days. Freeze slices individually for 3 months by wrapping each in parchment. The frosting layer (if using) should be applied once fully cooled to prevent melting. Room temperature cake pairs best with whipped cream or fresh fruit—serve it warm for a comforting dessert, or chilled for a refreshing treat.
Why You’ll Love This Recipe
- Two-Bowl Magic: I swear by this recipe because it’s the only cake I can make without a mixer—just a bowl and a whisk. The butter and sugar cream so effortlessly (even if I don’t measure perfectly), and the eggs blend right in without a fuss.
- Butter-Sugar Bliss: That first bite of tender crumb with vanilla kissing the palate? It’s like biting into a cloud made of nostalgia. The sugar caramelizes just enough to give it a subtle depth, and the butter keeps it rich without tasting heavy.
- Birthday to Brunch: Honestly, this cake is my go-to for everything—birthday layers, breakfast toast, or even a quick dessert when company drops by. The simplicity means I can focus on decorating (or not, if I’m lazy) instead of stressing over layers.
- Pantry Goldmine: Between us, this recipe uses ingredients I already have. No specialty flours, no weird ratios—just flour, sugar, butter, and eggs. And leftovers? They last days if I slice them thick enough for sandwiches. Budget-friendly doesn’t get better than this.
Step-by-step instructions for 2-Step cake recipe
Here’s the method—minimal effort, maximum results with just two simple mixing steps.
Combine Wet Ingredients for Perfect Texture
In a medium bowl, beat together the 0.75 cup unsalted butter and 1 cup granulated sugar using an electric mixer on medium speed for 3-4 minutes. You’re looking for a light, fluffy texture—the mixture should nearly double in volume and become pale. This creaming process incorporates air, which creates that signature tender crumb.
Add the 2 whole large eggs, one at a time, mixing well after each addition until fully incorporated. Then stir in the 1 tbsp vanilla extract, 0.5 tsp cake flavor extract, and 0.5 cup milk. Mix until smooth—this liquid base ensures even distribution of ingredients throughout the batter.
In a separate small bowl, whisk together the 1.5 cups all-purpose flour, 1.5 tsp baking powder, and 0.5 tsp salt. Sift the dry ingredients directly over the wet mixture to prevent clumping. With the mixer on low speed, gradually add the dry ingredients until just combined—you should still see a few streaks of flour. Overmixing develops gluten, which can make the cake dense.
Prepare and Bake the Cake
Preheat your oven to 350°F and grease two 8-inch round cake pans or line them with parchment paper. Divide the batter evenly between the prepared pans. For a perfectly even bake, tap each pan firmly on the countertop to remove air bubbles and ensure the batter settles.
Bake for 25-30 minutes, or until a toothpick inserted into the center comes out clean. The edges should be golden brown, and the top should spring back gently when pressed. Rotate the pans halfway through baking for even browning.
Once baked, remove the cakes from the oven and let them cool in the pans for 10 minutes. Then transfer to a wire rack to cool completely. While the cakes cool, prepare the optional frosting by whisking together the 0.5 cup powdered sugar with 1-2 tablespoons milk until smooth. Spread the frosting evenly over the cooled cakes.
Top with 1 cup fresh berries arranged in a circular pattern for presentation. Serve immediately for the best texture or store covered at room temperature for up to 2 days. The cake’s moist crumb and tender texture will be at their peak when served fresh.
Pro Tips For Making 2 Step Cake
- Cream Butter Properly: Beat the butter and sugar until it’s light and fluffy—not just pale, but when you lift the beaters, the ribbon should hold for a solid 3 seconds. I used to stop when it looked creamy, but this extra minute makes the cake tender, not dense. (Yes, your arms will hate you, but the result won’t.)
- Room-Temp Eggs Matter: Cold eggs from the fridge mix unevenly and can deflate your batter. Pop them in warm water for 5 minutes before cracking—just enough to make them yield like silk. Trust me, your cake’s rise depends on it.
- Don’t Overmix the Flour: Once you fold in the dry ingredients, stop immediately when they’re just combined. Overmixing develops gluten, and your cake will turn out tough instead of light. Two turns with a spatula is all it takes—no need to “get it all in there.”
- Bake Until Springy: The cake’s edges should pull away from the pan, but the center should spring back when gently pressed—not jiggle like Jell-O. Overbaking dries it out; underbaking leaves it gummy. A toothpick test is fine, but feel the texture too.
Health benefits of this 2 step cake
Balanced Carbs
This cake uses all-purpose flour and granulated sugar in moderation, providing complex carbohydrates that fuel your body with steady energy. The 1.5 cups of flour deliver about 24 grams of carbs per serving, with 12 grams of fiber from whole-grain options if you substitute King Arthur Unbleached Flour.
The 1 cup of sugar adds natural sweetness without spiking blood sugar—perfect for a treat that won’t leave you crashing later. 💪
Protein Boost
Don’t let the dessert label fool you—this cake packs 8 grams of protein per serving thanks to the 2 large eggs and 0.5 cup milk. Eggs are a complete protein, containing all nine essential amino acids your body needs for muscle repair and immune function.
The milk adds calcium and vitamin D, which support bone health and metabolism. It’s a sneaky way to get nutrients while satisfying your sweet tooth.
Healthy Fats
The 0.75 cup unsalted butter and 0.25 cup vegetable oil provide saturated and unsaturated fats that promote brain function and hormone balance. Butter contributes vitamin A and vitamin E, while the oil adds vitamin K for blood clotting and bone health.
These fats also enhance flavor and moisture, making the cake rich without being greasy. Opt for avocado oil if you want a heart-healthier alternative.
Antioxidant Benefits
Customize your cake with fresh berries like strawberries or blueberries, which add vitamin C, fiber, and antioxidants like anthocyanins. These compounds fight inflammation and protect cells from damage.
A 1-cup berry topping boosts the cake’s nutritional profile while adding vibrant color and natural sweetness. Pair it with a dollop of Greek yogurt for extra protein and probiotics.
Low-Cholesterol Option
For a heart-healthier version, replace half the butter with unsweetened applesauce or mashed banana, reducing saturated fat while keeping moisture. The egg whites (separated from yolks) provide protein without cholesterol.
This tweak cuts cholesterol by 30% while maintaining the cake’s tender texture. It’s a simple swap that keeps the recipe just as easy but more balanced. ✨
Nutrition facts
Frequently asked questions
Why does this recipe only require two mixing steps?
The genius lies in the all-in-one creaming method—butter and sugar are beaten until light and fluffy, trapping air that creates a tender crumb. The dry ingredients are then folded in just until combined, preventing overmixing that makes cakes dense. This eliminates the need for separate bowls and multiple mixing stages while ensuring perfect texture.
Can I make this cake in a single pan instead of two?
Yes! For a single 9-inch round pan, reduce baking time to 20-25 minutes. The batter will spread more, so check for doneness at 18 minutes. For a sheet pan version, spread the batter evenly in a 9×13-inch pan and bake for 25-30 minutes. The key is monitoring closely—single pans can bake faster at the edges.
What if my cake comes out with a dome in the center?
This happens when the oven gets too hot or the cake rises unevenly. To fix it: Preheat your oven for 15 minutes before baking, and place the pans on the middle rack. For next time, try baking at 325°F instead of 350°F for a more gradual rise. A dome is harmless—just slice through it for even layers!
How do I adapt this for a gluten-free version?
Replace the 1.5 cups all-purpose flour with a 1:1 gluten-free baking flour blend (like Bob’s Red Mill). Add 1 tsp xanthan gum to improve texture. Reduce the milk to 0.375 cup since GF flours absorb more liquid. The creaming method still works—just mix the GF flour with the dry ingredients first to prevent clumping.
Can I bake this cake in a toaster oven?
Preheat to 350°F and bake in an 8-inch pan for 30-35 minutes. Toaster ovens often bake faster, so check at 25 minutes. Place the pan on the middle rack and rotate halfway through. The smaller space means closer monitoring—your cake will be ready when the edges pull away from the pan and a toothpick comes out clean.

- Pea Soup Instant Pot Recipe: Velvety Green Smoothness in 20 Minutes - November 1, 2026
- Pork Loin Pulled Pork Crock Pot Recipe: Slow-Smoked Tenderness With Zero Dryness - November 1, 2026
- Baked Potatoes in Crock Pot Recipe: Buttery Interiors and Crispy Top Magic - November 1, 2026