
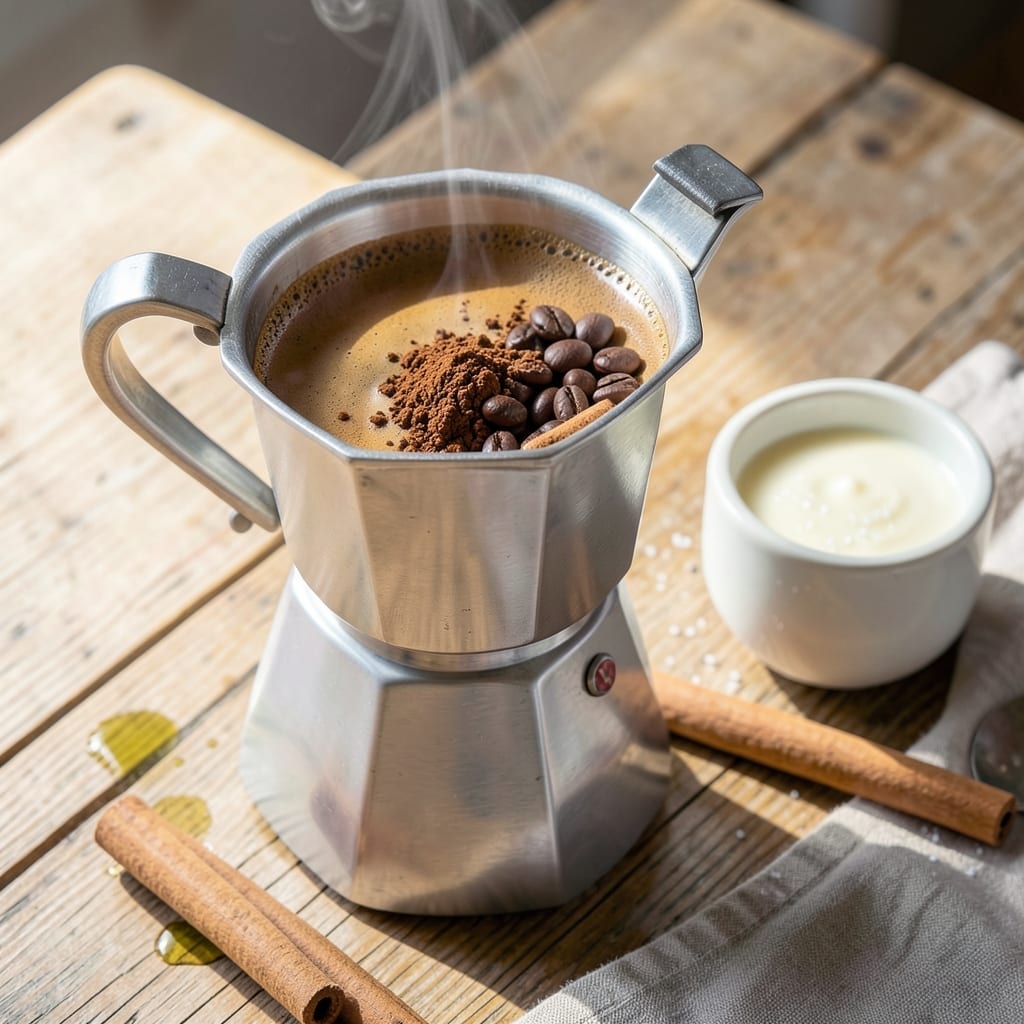
There’s a reason Italian households swear by the moka pot for their daily espresso ritual. This 3-cup version delivers rich, concentrated coffee with a velvety crema that rivals expensive machines at a fraction of the cost.
The secret lies in the precise ratio of finely ground coffee to water, along with careful heat management. Unlike complicated brewing methods, this approach requires no special equipment beyond the pot itself and produces consistent results every time.
With just 5 minutes of active preparation and a few more for brewing, you’ll have bold, aromatic coffee ready to enjoy. The process is simple enough for beginners yet yields professional-quality results that will impress even discerning coffee lovers.
Perfect for starting your morning or enjoying as an afternoon pick-me-up. This method transforms your kitchen into a small Italian café.
Ingredients for 3 Cup Moka Pot
Simple ingredients for bold, velvety espresso every time. Just coffee, water, and a moka pot.
| Ingredient | Amount | Notes |
|---|---|---|
| Water 💧 | 1 ½ cups | Filtered for best flavor |
| Finely Ground Coffee ☕ | ¼ cup | Espresso grind, not too fine |
| Medium Roast Coffee Beans ☕ | ⅓ cup | Whole bean, freshly ground |
| Sugar 🍚 | 1 tsp | Optional, adjust to taste |
| Milk 🥛 | ½ cup | Warm, for serving |
| Cinnamon Stick 🌿 | 1 piece | Optional for aroma |
| Vanilla Extract 🌿 | ¼ tsp | Optional for flavor |
| Heavy Cream 🥛 | 2 tbsp | Optional for richness |
| Dark Chocolate Shavings 🍫 | 1 tbsp | Optional garnish |
| Brown Sugar 🍚 | 1 tsp | Optional sweetener alternative |
The coffee beans are everything here. Lavazza or Illy are my go-tos for that authentic Italian flavor—look for medium roast, not too oily. Grind them right before brewing (a burr grinder gives the most consistent results). The water should be filtered if your tap water has a strong taste. I use a 3-cup Bialetti, but any stovetop espresso maker works the same way.
No espresso grinder? Pre-ground espresso coffee from the grocery store works in a pinch, but it won’t be quite as fresh. Want it stronger? Use a slightly finer grind—but not so fine it clogs the filter. If you’re out of medium roast, a dark roast will work too (just reduce the amount slightly). The sugar is optional, but I always add a pinch to balance the bitterness.
Freshly brewed coffee tastes best immediately, but you can keep it warm for 30 minutes without losing too much flavor. Store leftover coffee in the fridge for up to 3 days—reheat gently to avoid bitterness. The moka pot itself needs a quick rinse after each use (no soap, just water).
Why You’ll Love This Recipe
- No Fuss Brewing: I just fill the chambers, pop it on the stove, and walk away—no fancy equipment or barista skills needed.
- Rich, Bold Cup: The medium roast beans extract into this deep, velvety coffee that tastes like it came from a café.
- Morning or Midnight: Honestly, it’s my go-to whether I’m fueling up for work or winding down with a book.
- Pennywise Perfection: A bag of good beans and my moka pot cost less than a single café latte and last me all week.
Step-by-Step Instructions for 3 Cup Moka Pot Coffee
This method delivers rich, aromatic coffee with minimal effort and maximum flavor.
Step 1: Prepare the Water and Coffee Base
Fill the moka pot’s bottom chamber with 1.5 cups water up to the valve—this is critical for proper pressure building. I always use filtered water to avoid any mineral tastes that could interfere with the coffee’s natural flavors.
For the coffee, use 0.25 cup finely ground coffee with an espresso grind, not too fine. Fill the filter basket without tamping down—the grounds should be level but not compressed. This grind size ensures proper extraction without clogging the filter.
Step 2: Assemble and Brew the Coffee
Insert the filled filter basket into the bottom chamber, then screw on the top chamber tightly. Place the moka pot on a stovetop over medium heat. The heat should be steady but not aggressive—too high and you risk burning the coffee.
As the water heats, you’ll hear a gentle gurgling sound. Watch for the coffee to start flowing into the top chamber. It will come out like warm honey at first, then thin out. Remove from heat immediately when the flow turns blond in color—this prevents over-extraction and bitterness.
Step 3: Add Optional Flavor Enhancements
For a touch of sweetness, stir in 1 tsp sugar or 1 tsp brown sugar into the brewed coffee while it’s still hot. The brown sugar adds a deeper, caramel-like note that complements the coffee’s natural bitterness beautifully.
If you’re using 1 piece cinnamon stick, add it to the brewed coffee and let it steep for 1-2 minutes to infuse its warm, spiced aroma. Remove the stick before serving to avoid overpowering the coffee’s flavor.
Step 4: Create a Creamy, Rich Finish
Warm 0.5 cup milk gently in a small saucepan or microwave until steaming but not boiling. For extra indulgence, add 2 tbsp heavy cream and 0.25 tsp vanilla extract to the milk. The vanilla adds a subtle depth that pairs perfectly with the coffee’s boldness.
Froth the milk if desired, then pour it into your coffee. The creaminess balances the coffee’s intensity, creating a velvety texture that feels luxurious with every sip.
Step 5: Serve with a Decadent Garnish
Pour the coffee into your favorite mug, then finish with a sprinkle of 1 tbsp dark chocolate shavings. The chocolate melts slightly from the heat, adding a rich, slightly bitter contrast that enhances the coffee’s depth.
Serve immediately while hot. The combination of bold coffee, creamy milk, and chocolate creates a café-quality experience at home. This method consistently yields a smooth, flavorful cup that rivals any espresso.
Pro Tips For Making 3 Cup Moka Pot
- Preheat the Base: Start with the bottom chamber on medium-low heat before adding anything—I learned this the hard way after scorching two batches of coffee by rushing it.
- Grind Just Before Brewing: Finely grind your medium roast beans right before use; pre-ground coffee loses its punch faster than you’d think, especially in a moka pot.
- Skip Packed Grounds: Resist the urge to tamp down the coffee in the filter basket—it restricts water flow and gives you a bitter, over-extracted mess.
- Warm the Milk: Heat your milk while the coffee brews so it’s ready to mix in right away—saves time and keeps the coffee from cooling too fast.
Dietary Considerations for This 3 cup moka pot
Dairy-Free Options
For a creamy texture without dairy, I use oat milk or coconut milk—both froth beautifully. Oatly Barista Edition is my top pick for its rich, slightly sweet profile that pairs perfectly with bold coffee. Heat gently to avoid curdling.
Sugar Alternatives
Skip refined sugar and try coconut sugar or maple syrup for a natural sweetness. Use ½ tsp of either, as they’re stronger than white sugar. I love how maple syrup adds a subtle caramel note to the brew. 💛
Caffeine Sensitivity
If you’re sensitive to caffeine, use half decaf, half regular coffee in your grind. The flavor remains rich, but the caffeine content drops significantly. I do this for my afternoon cups to avoid sleep disruption.
Vegan Modifications
All the flavor enhancers here are naturally vegan—just swap dairy milk for almond milk or soy milk. For garnish, use vegan dark chocolate shavings. Silk Unsweetened Almond Milk is my go-to for its neutral flavor.
Low-Calorie Version
Cut calories by using skim milk or unsweetened almond milk instead of heavy cream. Skip the sugar entirely or use a zero-calorie sweetener like monk fruit. The coffee’s bold flavor still shines through.
Allergen Awareness
This recipe is naturally gluten-free and nut-free if you avoid flavored syrups or garnishes with additives. Always check your coffee beans for cross-contamination warnings if allergies are severe. 🔥
Nutrition Facts
Frequently Asked Questions
What grind size works best?
Use a fine espresso grind—similar to table salt. Too coarse and extraction will be weak; too fine and it may clog the filter. A burr grinder gives the most consistent results for even extraction.
How do I prevent bitter coffee?
Remove the pot from heat immediately when the coffee flow turns blond. Over-extraction causes bitterness. Also, use filtered water and avoid tamping the grounds.
Can I use pre-ground coffee?
Yes, but choose espresso-ground coffee and use it quickly after opening. Freshly ground beans yield better flavor, but pre-ground works in a pinch. Store in an airtight container to preserve freshness.
Why is my coffee weak?
Weak coffee usually means the grind is too coarse or the heat is too low. Try a finer grind and medium heat. Also, ensure you’re using the correct coffee-to-water ratio for your pot size.

- 5 Spice Roast Chicken Recipe: Fragrant Whole Bird With Crispy Golden Skin - September 25, 2026
- 1.5 Pound White Bread Machine Recipe: Hands-Off Artisan Loaf With Golden Crust - September 25, 2026
- 11×15 Sheet Cake Recipe: Triple-Layered Vanilla Bean Bliss - September 25, 2026