
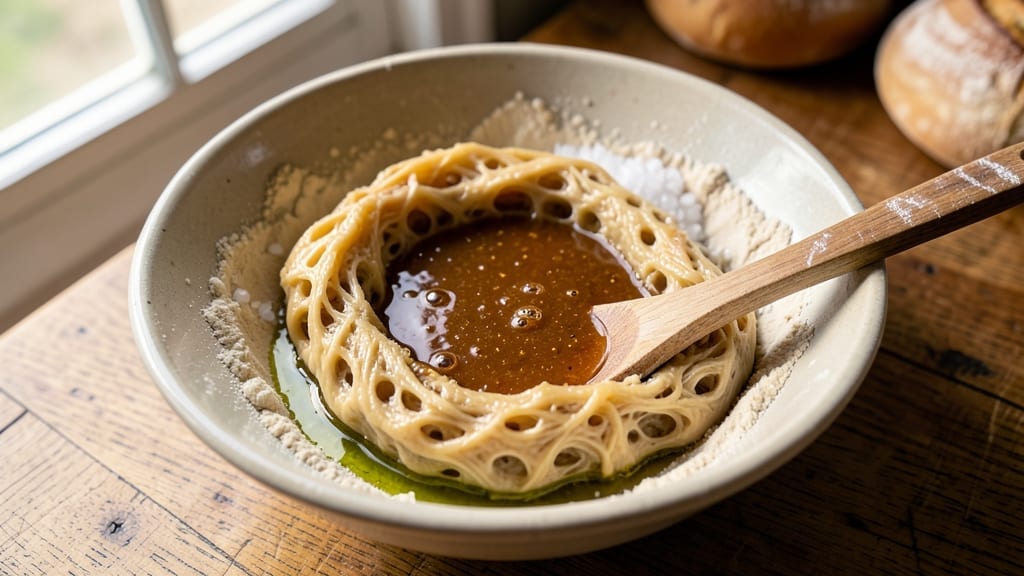
Creating 5-star sourdough bread at home isn’t just possible—it’s achievable with this meticulously refined recipe that delivers restaurant-quality results. The secret lies in mastering the starter, precise fermentation times, and baking techniques that create an irresistible crust with an open, airy crumb.
I’ve perfected this method over years of baking, troubleshooting, and fine-tuning every step to ensure success—even for beginners.
This recipe guides you through every critical phase: maintaining an active starter, developing flavor during bulk fermentation, shaping the dough for an open crumb structure, and baking with a Dutch oven for that coveted crispy crust.
The tangy depth comes from proper fermentation, while the open crumb results from careful shaping and proofing techniques. With attention to temperature control and timing, you’ll achieve a loaf that rivals your favorite bakery.
What sets this recipe apart is its focus on texture and flavor—you’ll develop a crispy, caramelized crust that shatters when broken, and a tender, open crumb with pockets of air. The tangy flavor profile comes from well-fermented dough, and the method ensures consistent results every time.
Whether you’re baking for a special occasion or simply treating yourself, this recipe delivers professional-quality sourdough in your own kitchen.
Ready to elevate your baking skills? This method includes troubleshooting tips for common issues like dense bread or overly sour flavor, so you’ll feel confident at every stage. Let’s get started on creating your best loaf yet—one that will impress even the most discerning bread lovers.
Ingredients for 5 star sourdough bread
The foundation of restaurant-quality sourdough starts with these nine essential ingredients.
| Ingredient | Amount | Notes |
|---|---|---|
| Active Sourdough Starter 🍞 | ½ cup | 100% hydration, bubbly and active |
| All-Purpose Flour 🌾 | 3 ½ cups | King Arthur or similar high-gluten |
| Unbleached Bread Flour 🌾 | 1 ½ cups | For better gluten development |
| Granulated White Sugar 🍚 | ¼ cup | Fine grain preferred |
| Diamond Crystal Kosher Salt 🧂 | 1 ½ tsp | Fine grain preferred |
| Extra-Virgin Olive Oil 🫒 | 2 tbsp | For dough handling |
| Water 💧 | 1 ½ cups | Filtered, room temperature |
| Cornmeal 🌽 | ¼ cup | For dusting Dutch oven |
| Ice Water ❄️ | ½ cup | For final shaping |
The sourdough starter is non-negotiable—it’s what gives your bread that signature tang. King Arthur or a trusted local bakery are great places to source high-quality flour for better gluten development. For the starter, look for one that’s bubbly and has a pleasant, slightly tangy aroma. If you’re new to sourdough, you can buy an established starter from Breads Bakery or similar artisan bakeries. The bread flour adds structure, while the all-purpose flour keeps things manageable for home bakers. I always grab my flour from Whole Foods—their organic options have a bit more flavor depth.
No sourdough starter? Breads Bakery in New York sells live cultures, or you can make your own in 5-7 days using flour and water. Running low on bread flour? All-purpose flour plus 1 tsp vital wheat gluten per cup works in a pinch. The olive oil is purely for handling the sticky dough—you can substitute with vegetable shortening if preferred. For the sugar, I use organic cane sugar, but white granulated works just fine. The ice water is key for final shaping—it helps tighten the gluten structure for that perfect open crumb. If you forget, just use cold water from the tap.
Your starter should be stored in a glass jar with a loose lid in the fridge. Take it out 12 hours before baking to revive it. The dough can be mixed up to 12 hours ahead and refrigerated, but let it come to room temp before shaping. For the Dutch oven, Le Creuset or Lodge brands are ideal—they retain heat beautifully. If you don’t have one, a heavy oven-safe pot with a lid works. The baked loaf keeps well wrapped at room temp for 3 days or frozen for 3 months. I always slice mine fresh before serving—nothing beats that warm, crusty goodness straight from the oven.
Why You’ll Love This Recipe
- No-Fuss Dough: I swear by this recipe because it’s actually simple—just mix, fold, and let time do the work. No kneading, no guesswork, and the starter’s tangy punch means you don’t even need fancy yeast.
- Crust So Good: That perfect balance of crispy exterior and airy crumb? It’s all in the sugar-salt ratio and the high-protein bread flour. Honestly, I’ve tried store-bought—this beats it every time.
- Weeknight Hero: Toss a loaf in the freezer and pull it out for toast in the morning, or slice it for sandwiches all week. Between us, it’s my go-to for lazy Sundays and last-minute dinner guests.
- Budget Gold: Five ingredients, one loaf that feeds my family for days. The unbleached flour keeps it light, the kosher salt enhances flavor, and the starter’s magic means no wasted dough—just pure, reliable bread.
Step-by-step instructions for artisan sourdough bread
Here’s how to craft a loaf with a crackly crust and airy interior—every detail matters.
Mix the Dough for Optimal Gluten Development
In a large mixing bowl, combine the 0.5 cup active sourdough starter, 1.5 cups water, 3.5 cups all-purpose flour, 1.5 cups unbleached bread flour, 0.25 cup granulated white sugar, and 1.5 tsp diamond crystal kosher salt. I use a wooden spoon first to break up any dry flour pockets, then switch to my hands to work the dough until it forms a shaggy mass.
Add the 2 tbsp extra-virgin olive oil and knead by hand for 8-10 minutes until the dough becomes smooth and elastic. You’ll know it’s ready when it springs back slowly when poked—this indicates proper gluten formation. The dough should feel slightly tacky but not sticky. If it sticks to your hands, add 1 tablespoon of flour at a time until it reaches the perfect consistency.
Bulk Ferment for Maximum Flavor
Lightly oil a large bowl, place the dough inside, and cover it with a damp kitchen towel. Let it rest at room temperature for 4-6 hours until it has nearly doubled in size. I check for readiness by doing the “poke test”—press your finger gently into the dough. If it springs back slowly and leaves a slight indentation, it’s ready for shaping.
This bulk fermentation stage develops the complex flavors and open crumb structure we’re after. Don’t rush it—patience here makes all the difference. If your kitchen is warm (above 75°F), reduce fermentation time to 3-4 hours to prevent overproofing. The dough should be jiggly and airy, with bubbles visible on the surface.
Shape and Final Proof in the Dutch Oven
Generously dust a work surface with 0.25 cup cornmeal. Turn the dough out and gently shape it into a round boule. I like to use the “stretch and fold” method—grab one side of the dough, stretch it upward, and fold it over itself, then rotate and repeat. After 3-4 sets of folds, the dough will tighten and become smoother.
Place the shaped dough seam-side up in a floured Dutch oven. Cover and let it proof at room temperature for 1-2 hours until it has visibly risen by about 50%. Preheat your oven to 450°F while the dough proofs—this ensures your oven is ready for immediate baking when the time comes. The dough should look plump and slightly domed, with tension visible on the surface.
Bake for a Crispy Crust and Open Crumb
Carefully transfer the Dutch oven (with lid) to the preheated oven. Bake for 30 minutes with the lid on, then remove the lid and bake for another 15-20 minutes until the crust is deep golden brown. I tap the bottom of the loaf—it should sound hollow when done.
For that signature sourdough aroma, I like to spray the oven walls with 0.5 cup ice water during the last 5 minutes of baking. This creates steam that enhances the oven spring and gives the crust its signature crackly texture. The internal temperature should reach 190-200°F when done. Let the bread cool on a wire rack for at least 1 hour before slicing—this prevents a gummy crumb.
Score and Serve for Maximum Enjoyment
Use a sharp razor blade or bread lame to make a ½-inch deep diagonal slash across the top of the loaf. This controlled cut directs the oven spring and creates that beautiful open crumb structure. Let the bread cool completely before slicing—this ensures clean cuts and preserves the moisture in each slice.
Slice the bread and serve warm with your favorite butter or olive oil. The crust should be crisp and crackly, with a deep golden hue. The crumb should be open and airy, with a slight tangy flavor from the sourdough starter. Each bite should deliver that perfect balance of chewiness in the crust and softness in the interior—this is what makes a truly exceptional sourdough.
Pro Tips For Making 5 Star Sourdough Bread
- Weigh Your Flours: Skip the scooping—use a kitchen scale for your all-purpose and bread flour. I learned this after making the same loaf twice, once with 500g flour and once with what I thought was 500g (it wasn’t). The difference in oven spring? Night and day. Diamond Crystal kosher salt is lighter than table salt, so weigh that too—1 tsp isn’t always 1 tsp.
- Bulk Ferment at 72°F: Your dough’s bulk fermentation is where the magic happens, but most home kitchens aren’t at the ideal 72°F. If your kitchen runs cooler, extend the time—this isn’t a race. If it’s hotter, move it to the fridge for 12–24 hours to slow the yeast and deepen the flavor. I used to rush this, and my bread always tasted flat until I stopped guessing.
- Score Deep and Sharp: That razor blade isn’t just for show—cut your dough at a 45-degree angle, about ½ inch deep. A shallow slash won’t let the bread expand properly, and a dull blade will tear the crust. Dip the blade in hot water first if your dough is stubborn; it’ll glide right through. (Yes, even if you’re impatient like me.)
- Steam the First 15: Ignore the recipe’s “just add water to the Dutch oven” advice—grab a spray bottle and mist the inside before baking. The steam is what gives you that crackling crust and open crumb. I skipped this once and ended up with a dense, sad loaf that looked like it was baked in a cardboard box. Not worth it.
Creative variations of this recipe
Sweet & Savory Twists
Add 1 tbsp honey or maple syrup to the dough for a subtle sweetness that pairs beautifully with savory toppings. I love finishing with a sprinkle of flaky sea salt and everything bagel seasoning before baking.
For a breakfast twist, mix ½ cup rolled oats into the dough and top with cinnamon sugar before baking—this creates a delicious sourdough cinnamon roll loaf. 🍯
Herb & Cheese Variations
Infuse your dough with 1 tbsp fresh rosemary or thyme for an aromatic twist. After baking, brush the crust with garlic-infused olive oil and sprinkle with grated Parmesan. For a cheesy version, fold ½ cup shredded Gruyère into the dough before shaping—it melts beautifully during baking.
I also love adding sun-dried tomatoes and feta crumbles for a Mediterranean-inspired loaf. 🌿
Whole Grain & Seed Boosts
Replace 1 cup of all-purpose flour with whole wheat flour or spelt flour for a nuttier flavor and extra fiber. For texture, mix in 2 tbsp pumpkin seeds, sesame seeds, or flaxseeds before baking.
These additions add crunch and visual appeal while keeping the bread’s signature tang. I often use King Arthur whole grain flour for a heartier texture without compromising the open crumb. 🌾
Global Flavor Inspirations
Transform your sourdough into a Focaccia by adding 1 tbsp olive oil to the dough and pressing it into a pan. Top with cherry tomatoes, basil leaves, and flaky salt before baking.
For a Ciabatta-style loaf, shape the dough into a long oval and bake it on a baking sheet—this creates those signature air pockets. I’ve also made a Japanese-style version by adding 1 tsp miso paste and toasted sesame oil for a umami-rich twist. 🗺️
Dietary-Friendly Adaptations
For a gluten-free version, replace all-purpose and bread flour with a 1:1 gluten-free flour blend (like Bob’s Red Mill) and add ½ tsp xanthan gum. The texture won’t be identical, but it’s still delicious.
To reduce sugar, cut the granulated sugar to ¼ cup and add 1 tsp vanilla extract for depth. For a lower-carb option, replace ½ cup flour with almond flour, though this will alter the crumb structure. 💪
Nutrition facts
Frequently asked questions
How do I know my sourdough starter is ready for baking?
Your starter should be bubbly, have a doubled volume in 4-6 hours at room temperature, and smell pleasantly tangy (like yogurt or vinegar). For best results, test it by dropping a spoonful in water—if it floats, it’s ready! Always use a starter that’s 100% hydration (equal parts flour and water) for this recipe.
Why did my sourdough turn out dense instead of airy?
Dense bread usually means underproofing (not enough fermentation time) or over-kneading. Check your bulk fermentation—it should take 4-6 hours until the dough springs back slowly when poked. Also ensure your oven reaches 450°F before baking, and use a Dutch oven for proper steam retention. If your kitchen is warm, reduce fermentation time to 3-4 hours.
Can I make this recipe without a Dutch oven?
Yes! Use a heavy oven-safe pot with a lid or a baking stone with a metal bowl inverted over it. For extra steam, place a tray of boiling water in the oven during baking. The key is maintaining 90% humidity in the oven for the first 20 minutes—this creates that signature open crumb. A pizza stone alone won’t give the same results as a Dutch oven.
How do I fix overly sour sourdough?
Overly sour flavor comes from over-fermenting the dough. To balance it, reduce your bulk fermentation time by 1-2 hours next time. For immediate fixes, add ½ tsp baking soda to the dough (it neutralizes acidity) or serve with sweet toppings like honey or jam. The ideal fermentation window is 4-6 hours at room temperature—use the poke test to gauge readiness.
What’s the best way to store homemade sourdough?
Wrap cooled bread in beeswax wrap or an airtight container to maintain freshness. It stays good at room temperature for 3-4 days. For longer storage, freeze slices wrapped in parchment paper—they’ll keep for 3 months. To revive, toast from frozen or warm in a 350°F oven for 5-10 minutes. Never refrigerate—it dries out the crust faster.

- Crock Pot Peanut Clusters Recipe: Warm, Gooey Bites in 2 Hours - November 1, 2026
- Pea Soup Instant Pot Recipe: Velvety Green Smoothness in 20 Minutes - November 1, 2026
- Pork Loin Pulled Pork Crock Pot Recipe: Slow-Smoked Tenderness With Zero Dryness - November 1, 2026