
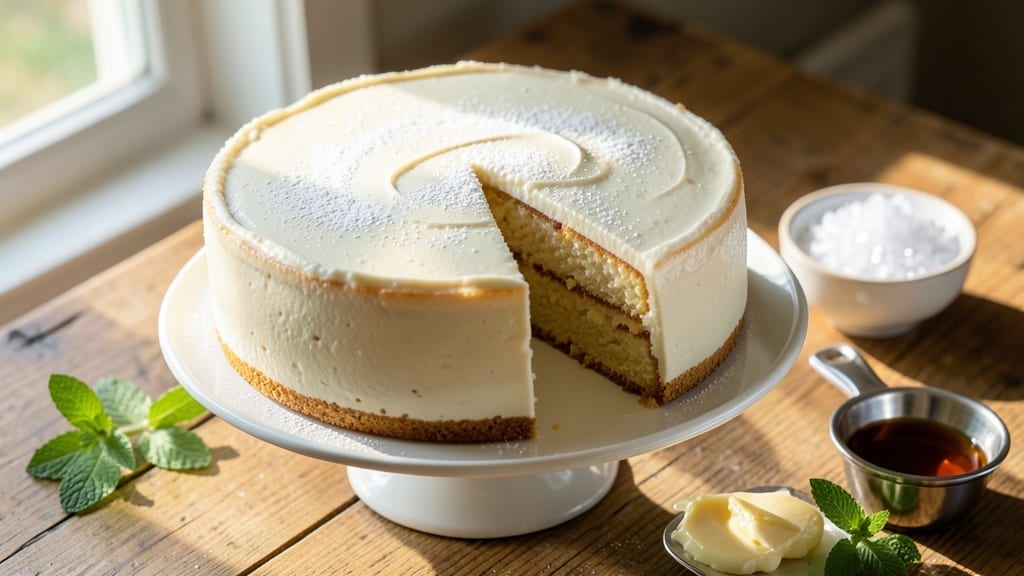
This 5-minute cake recipe is the ultimate solution for when you crave something sweet but don’t have time to bake—no oven, no fuss, just pure microwave magic. ✨ The secret lies in a simple mix of pantry staples that transforms into a moist, fluffy cake in under five minutes, perfect for satisfying cravings without the wait.
What makes this recipe special is its foolproof simplicity: just three core ingredients (plus optional toppings) and one microwave cycle. It’s designed for beginners, with no measuring cups, no mixing bowls, and no risk of overbaking—just stir, microwave, and enjoy.
The texture is surprisingly tender, with a slight rise that makes it feel like a real cake.
By the time you’re done, you’ll have a warm, golden-brown cake that pairs perfectly with coffee, tea, or even a dollop of whipped cream. The best part?
No cleanup—just a mug to rinse and a craving satisfied. Whether it’s a last-minute dessert or a quick treat, this recipe delivers restaurant-quality results in minutes.
Top with chocolate chips, powdered sugar, or a drizzle of caramel for extra indulgence. Ready to make dessert in the time it takes to brew a cup of coffee? Let’s get started.
Ingredients for 5min cake
Pantry staples that transform into magic in minutes—no oven needed!
| Ingredient | Amount | Notes |
|---|---|---|
| All-Purpose Flour 🌾 | ½ cup | Sifted for fluffiness |
| Granulated Sugar 🍚 | ¼ cup | White or brown works |
| Unsalted Butter 🧈 | ¼ cup | Softened, not melted |
| Large Egg 🥚 | 1 whole | Room temperature preferred |
| Vanilla Extract 🌸 | ½ tsp | Pure vanilla preferred |
| Baking Powder 🧂 | ½ tsp | Aluminum-free preferred |
| Pinch of Salt 🧂 | ⅛ tsp | Balances sweetness |
| Milk 🥛 | ¼ cup | Any kind works |
| Chocolate Chips (Optional) 🍫 | ¼ cup | Semi-sweet or milk |
| Powdered Sugar (Optional) 🍚 | 1 tbsp | For dusting top |
| Microwave-Safe Mug ☕ | 1 whole | 12-16 oz capacity |
The flour and sugar are your base, but the butter makes all the difference. Use unsalted butter—it gives you control over the salt level. I always grab the Land O’Lakes or Earth Balance from the grocery store, but any brand works. The egg needs to be room temperature, so if it’s cold, let it sit out for 10 minutes. Vanilla extract? Pure is worth it—the imitation stuff tastes like perfume. For the baking powder, check the expiration date—old powder won’t rise properly. And if you’re in a rush, any milk works, even almond milk, but dairy gives the best texture.
No vanilla extract? Vanilla sugar or a pinch of cinnamon adds warmth. Short on butter? Coconut oil works in a pinch, but it has a different flavor. The chocolate chips can be any kind—enjoy life or store-brand both work. No powdered sugar? A sprinkle of granulated sugar on top looks cute too. The mug matters—thick ceramic mugs (like those from IKEA or Target) handle the heat better. If you’re feeling fancy, add a drizzle of caramel sauce after microwaving. And trust me, the salt is non-negotiable—it balances the sweetness perfectly.
This cake is best eaten fresh, but if you need to reheat, 10 seconds in the microwave brings it back to life. Store leftovers in an airtight container for up to 2 days, though honestly, it’s so quick to make that I rarely have leftovers. The mug? Just rinse it right after—no scrubbing required. Freezing isn’t ideal because the texture gets gummy, but if you must, wrap it tightly and microwave for 20 seconds to revive. And if you’re making this for a crowd, double the recipe and use two mugs—they’re ready at the same time!
Why You’ll Love This Recipe
- Five-Ingredient Magic: I swear by this combo—flour, sugar, butter, egg, and vanilla—it’s the ultimate pantry hack. No fancy tools, no measuring cups that never fit right, just a bowl and a whisk. Honestly, I’ve made this blindfolded (okay, maybe not, but close).
- Butter-Sugar Crunch: That melted butter folded into the sugar? It’s the secret weapon. You get this tender crumb with just enough bite—like biting into a cloud that’s had a little fun. The vanilla ties it all together without overpowering, so it’s your flavor, not just sweetness.
- Last-Minute Hero: Forgot dessert? This is your lifeline. It’s ready in the time it takes to boil water for tea, so I’ve pulled it out for birthday surprises, late-night cravings, and even as a quick gift (wrap it in foil, no one will know). Between us, it’s saved my social life more than once.
- Budget Baking: No specialty flours, no pricey extracts—just the basics you already have. A single egg and a stick of butter stretch further than you’d think, and leftovers? They disappear faster than my willpower on a sugar crash. I’ll be real: this is how I feed my book club without breaking the bank.
Step-by-step instructions for microwave mug magic
Here’s how to whip up a fluffy, delicious cake in record time!
👨🍳 Step 1: Mix Dry Ingredients in Your Mug
Place the microwave-safe mug on a microwave-safe plate. Add the 0.5 cup all-purpose flour, 0.25 cup granulated sugar, 0.5 tsp baking powder, and 0.125 tsp pinch of salt. Give everything a quick stir with a fork until the flour is evenly distributed and there are no visible lumps.
Here’s the thing—sifting the flour isn’t possible in this mug, so vigorous stirring is key. You want the dry ingredients to blend completely so your cake rises evenly. If you’re using the optional chocolate chips, sprinkle them in now and stir them lightly into the dry mixture—just enough to distribute them evenly.
👨🍳 Step 2: Add Wet Ingredients and Whisk Until Smooth
Now add the 0.25 cup softened unsalted butter, 1 whole large egg, 0.5 tsp vanilla extract, and 0.25 cup milk to the mug. Use a fork or small whisk to stir everything together vigorously for about 1 minute. You’re looking for a smooth, thick batter with no visible streaks of flour.
I press down on the batter with my fork a few times to make sure the flour is fully incorporated—this prevents dense spots in your cake. The batter should be thick enough to hold its shape when you lift the mug, but still pourable. If it looks too thick, add a splash more milk, but don’t overdo it or your cake might be gummy.
🔥 Step 3: Microwave for Perfect Rise
Place the mug in the microwave and cook on high power for 1 minute 30 seconds. You’ll see the cake puff up dramatically—that’s the magic of microwave cooking! When you open the microwave, you should see a golden dome on top with slightly browned edges.
Here’s the critical part: don’t open the microwave door during cooking or your cake will collapse. If your microwave varies in power (some are hotter than others), you might need to adjust the time by 15-30 seconds—just watch for the golden brown top and slightly puffed edges as your visual cues.
⏰ Step 4: Let It Rest and Dust with Powdered Sugar
Remove the mug from the microwave and let the cake sit for 1 full minute. This resting time allows the cake to set properly and prevents it from falling apart when you try to serve it. The center should still look slightly underdone—this is normal and will firm up as it cools.
If you’re using the optional 1 tbsp powdered sugar, dust it lightly over the top right after removing from the microwave. The heat will help it melt slightly, creating that beautiful snowy finish. Let the cake cool for another 30 seconds before serving—it’ll be warm and gooey inside, which is exactly how you want it!
Pro Tips For Making 5min Cake
- Melt Butter Slowly: Dump cold butter straight into the hot pan, and you’ll end up with greasy streaks instead of a smooth batter. Warm the butter first—just until it softens but doesn’t turn liquid—then mix it with the sugar. This keeps the texture light and prevents a dense cake. (Yes, I’ve seen people skip this, and it’s a shame.)
- Sift the Flour: Packed flour means dense, heavy cake. Sift it directly into the bowl with the other dry ingredients—no clumps, no surprises. I used to just dump it in and wondered why my 5-minute cake felt like a brick. Sifting takes 10 seconds and changes everything.
- Whisk the Egg: Crack that egg straight into the bowl, then give it a quick whisk before adding the wet ingredients. You’ll avoid lumps and get a smoother batter. I learned this after finding egg bits in my cake—embarrassing, but now I never skip it.
- Preheat the Pan: Cold pans = uneven baking. Heat your oven to the right temp, then let the pan sit for 2-3 minutes before pouring in the batter. This ensures the edges cook evenly and the center rises properly. (I’ve had cakes that looked fine but were raw inside—preheating fixes that.)
Flavor customization for this 5min cake
Classic Vanilla Twist
This is your go-to mug cake, but you can elevate it with simple additions. Swap the 0.25 cup milk for 0.25 cup heavy cream for a richer texture, or add 1 tsp lemon zest to brighten the flavor.
For a boozy kick, replace 0.25 cup milk with 0.25 cup vanilla-infused vodka or bourbon—the alcohol burns off during microwaving, leaving behind a subtle warmth. 💛
Chocolate Lover’s Upgrade
Transform this into a decadent chocolate mug cake by replacing the 0.25 cup granulated sugar with 0.2 cup cocoa powder and adding 0.5 cup chocolate chips. For extra richness, melt 1 oz dark chocolate (70% cocoa) with the butter before mixing.
Top with a dollop of whipped cream and a sprinkle of sea salt flakes for a gourmet touch.
Citrus Zing
Add a burst of freshness with 1 tbsp orange or lemon juice and 1 tsp citrus zest (orange, lemon, or lime). Reduce the milk to 0.125 cup to balance the extra liquid from the juice.
This version pairs perfectly with a cup of Earl Grey tea or a cold glass of milk. The acidity cuts through the sweetness beautifully.
Spiced Chai Delight
Infuse the batter with warm spices by adding 0.5 tsp ground cinnamon, 0.25 tsp ground cardamom, 0.125 tsp ground ginger, and 0.125 tsp ground cloves to the dry ingredients.
Use vanilla sugar instead of extract for extra depth. This spiced version tastes like a cozy chai latte in cake form—perfect with a steaming cup of chai tea.
Caramel Apple Magic
For a fall-inspired twist, add 0.5 cup diced apples (peeled and thinly sliced) to the batter. Stir in 1 tbsp caramel sauce along with the wet ingredients, and top with an extra drizzle after microwaving.
The apples add a delightful chewiness that contrasts with the soft cake. Serve with a scoop of vanilla ice cream for a dessert-worthy treat. 🍏
Coffee Lover’s Mug Cake
Swap the milk for 0.25 cup strong brewed coffee or cold brew concentrate and add 1 tbsp instant coffee granules to the dry ingredients. For extra indulgence, fold in 0.25 cup coffee-flavored chocolate chips.
This version is like a mocha cake in mug form—ideal for pairing with your morning coffee or an afternoon pick-me-up. 💡
Nutrition facts
Frequently asked questions
Can I make this cake without eggs?
Yes! Replace the 1 egg with 0.5 cup applesauce or 0.5 cup Greek yogurt for a vegan-friendly version. The texture will be slightly denser but still delicious. For best results, use room-temperature substitutes and reduce the milk to 0.125 cup to balance the extra liquid.
Why did my cake sink in the middle?
This usually happens if you opened the microwave too soon or didn’t let it rest for the full 1 minute after cooking. The cake needs time to set properly. Also, make sure your mug is 12-16 oz capacity—smaller mugs can cause uneven cooking. If it happens again, try microwaving for 1 minute 45 seconds instead.
Can I use this recipe for a larger group?
Double all ingredients and use two identical mugs for perfect simultaneous cooking. For four servings, triple the recipe and use a 2-cup microwave-safe bowl (adjust cooking time to 2 minutes). Just ensure your microwave can handle the larger volume safely.
What’s the best way to store leftovers?
Store in an airtight container at room temperature for up to 2 days, or refrigerate for 3 days. To reheat, microwave for 10-15 seconds until warm. For best texture, make fresh daily—this cake is designed for quick satisfaction! If freezing, wrap tightly and microwave for 20 seconds when ready to eat.
Can I make this cake in a regular oven?
Yes! Transfer the batter to a greased 6-inch ramekin and bake at 350°F (175°C) for 12-15 minutes until golden. The texture will be slightly different (more dense) but still delicious. For a cake-like texture, reduce the flour to 0.4 cup and add 0.5 cup crushed graham crackers to the dry ingredients.

- 12 Bean Chili Recipe: Hearty Slow-Cooked Depth With 12 Legumes - October 17, 2026
- 5 Seed Bread Recipe: Nutty Crunch and Artisan Flavor in One Loaf - October 17, 2026
- 1 Lb Macaroni Salad Recipe: Bold, Crunchy, and Crowd-Pleasing - October 17, 2026