
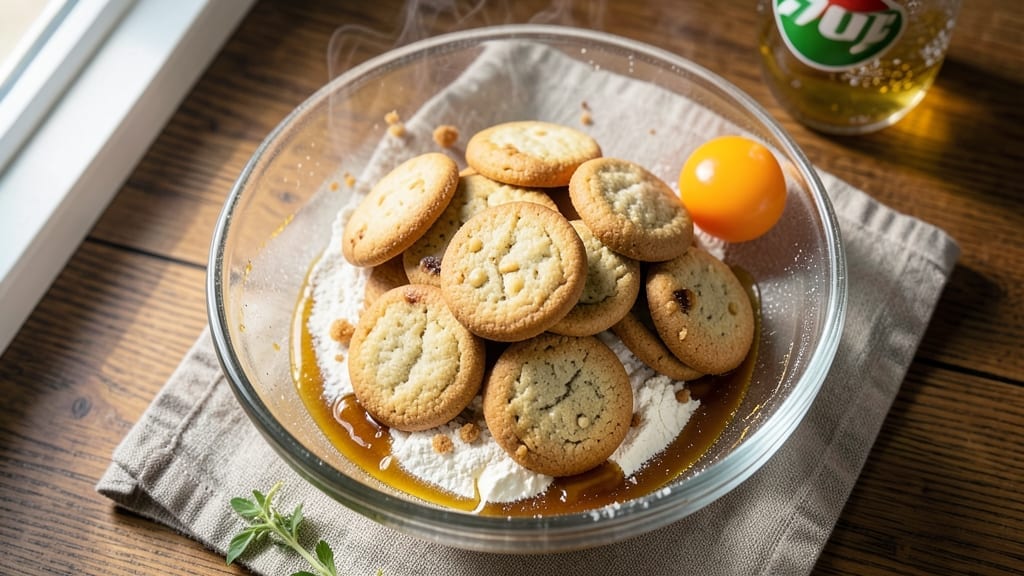
This 7up cookies recipe delivers a nostalgic twist on classic sugar cookies with a bright, citrusy cream cheese frosting that makes every bite taste like a childhood memory.
The secret lies in the soda’s natural citric acid, which tenderizes the dough while adding a subtle tang that pairs perfectly with the sweet frosting. I’ve baked these for holiday parties, and they disappear faster than you can say “7up.”
What sets these apart is the foolproof technique: chilling the dough for 30 minutes ensures clean cuts and golden edges, while the cream cheese frosting adds a velvety richness that balances the soda’s citrus notes.
The recipe uses simple pantry staples—flour, butter, and of course, that iconic soda—but the result is anything but basic. By the time you pull them from the oven, you’ll have crispy-edged cookies with soft centers, topped with a frosting so smooth it looks like it came from a bakery.
The aroma alone will have everyone asking for the recipe, and the first bite delivers that perfect mix of sweet, tangy, and creamy. Perfect for gifting, holiday baking, or satisfying a mid-afternoon craving. Let’s get started—your kitchen will smell like magic before the first cookie even cools.
Ingredients for 7up cookies
Simple pantry staples plus one iconic soda—this is the magic behind these nostalgic cookies.
| Ingredient | Amount | Notes |
|---|---|---|
| All-Purpose Flour 🌾 | 2 ½ cups | Sifted for light texture |
| Unsalted Butter 🧈 | 1 cup | Cold, cubed for cutting |
| Granulated Sugar 🍚 | ¾ cup | White or light brown |
| 7up Soda 🥤 | ½ cup | Chilled for tenderizing |
| Large Eggs 🥚 | 1 whole | Room temperature |
| Vanilla Extract 🌿 | 1 tsp | Pure vanilla preferred |
| Baking Soda 🧂 | ½ tsp | For lift and tang |
| Salt 🧂 | ½ tsp | Fine sea salt |
| Cream Cheese 🧀 | 8 oz | Room temperature, full-fat |
| Powdered Sugar 🍚 | 2 cups | Sifted for smooth frosting |
| Lemon Zest 🍋 | 1 tbsp | Freshly grated |
| Heavy Cream 🥛 | ¼ cup | Cold for stability |
| Vanilla Bean Paste 🌿 | ½ tsp | Or 0.25 tsp extract |
The 7up is non-negotiable here—it’s what gives these cookies that signature tangy-sweet flavor. Grab the classic lemon-lime version from any grocery store; the diet or zero-sugar stuff won’t work. For the butter, Land O’Lakes or Plugrah are my go-tos—they cut cleanly when cold. The cream cheese? Philadelphia is the gold standard, but any full-fat brand will do. If you’re prepping ahead, store the dough in the fridge for up to 3 days—just let it sit at room temp before baking.
No vanilla bean paste? Pure vanilla extract works, but the seeds add that extra depth. Short on powdered sugar? Granulated sugar blended into a fine powder is a decent swap, though it won’t be as smooth. The lemon zest can be dried if you’re not using it right away—just crush it between your fingers to revive the flavor. For a deeper citrus kick, add a splash of lemon juice to the frosting. And if you’re feeling fancy, toss the baked cookies with a little extra zest before frosting.
These cookies keep for 5 days in an airtight container, but honestly, they won’t last that long. The frosting stays fresh for 3 days if stored properly—keep it in the fridge and let it come to room temp before spreading. For gifting, bake a double batch, frost, and wrap individually. They freeze beautifully too—just thaw at room temp before serving. The aroma alone will have everyone thinking you’re a professional baker.
Why You’ll Love This Recipe
- Pantry Magic: I swear by this recipe when I forget to buy special ingredients—just flour, butter, sugar, and a can of 7up. That soda’s tangy kick replaces vanilla or baking powder, and honestly? It works every time.
- Chewy Crunch Balance: The butter and sugar create that perfect crispy edge, while the 7up keeps the center soft and pillowy. Not too sweet, not too dry—just dangerously addictive with every bite.
- Party-Ready in Minutes: These cookies freeze like a dream, so I bake a batch ahead for gatherings. Pop them in the oven straight from frozen, and boom—homemade treats that look (and taste) way fancier than store-bought.
- Budget-Friendly Binge: A single can of 7up stretches into two batches, and the rest of the ingredients are basics I already have. My kids devour them, my wallet stays happy, and I still feel like I’m serving something special.
Step-by-step instructions for 7up cookies recipe
Here’s how to make these tangy, tender cookies with that signature 7up magic.
Mix Dry Ingredients and Cut in Cold Butter
In a medium bowl, whisk together the 2.5 cups all-purpose flour, 0.5 teaspoon baking soda, and 0.5 teaspoon salt. Sift the flour mixture to aerate it and prevent dense cookies. Set aside.
In a separate large bowl, combine the 1 cup cold, cubed unsalted butter and 0.75 cup granulated sugar. Using a pastry cutter or your fingers, work the butter into the sugar until the mixture resembles coarse crumbs with pea-sized butter pieces. This cold butter method creates those signature tender, cake-like cookies.
Add Wet Ingredients and Create the Dough
Add the 1 whole large egg, 1 teaspoon vanilla extract, and 0.5 cup chilled 7up soda to the butter-sugar mixture. Mix gently until just combined—you want to avoid overmixing. The 7up soda will create a light, airy texture and that signature tang.
Gradually add the dry ingredients to the wet mixture, mixing just until a dough forms. The dough will be soft and slightly sticky, but don’t be tempted to add more flour. This is normal and essential for those tender cookies. Once fully incorporated, wrap the dough in plastic wrap and refrigerate for at least 1 hour (or up to 24 hours).
Bake the Cookies Until Golden
Preheat your oven to 350°F and line two baking sheets with parchment paper. Scoop the chilled dough into 1.5-tablespoon portions (about 1.5 ounces each) and roll them into balls. Place them 2 inches apart on the prepared baking sheets.
Bake for 10-12 minutes until the edges are golden brown but the centers still look slightly underdone. They’ll continue cooking on the baking sheet after you remove them. Let them cool on the baking sheet for 5 minutes before transferring to a wire rack to cool completely.
Make the Citrusy Cream Cheese Frosting
In a medium bowl, beat the 8 ounces room-temperature cream cheese until smooth. Gradually add the 2 cups powdered sugar, 0.25 cup heavy cream, 0.5 teaspoon vanilla bean paste, and 1 tablespoon lemon zest. Mix until light and fluffy, about 3-4 minutes with an electric mixer.
This frosting should be thick but spreadable. If it’s too thick, add 1-2 teaspoons of milk to reach your desired consistency. The lemon zest adds a bright citrus note that perfectly complements the tangy cookies.
Assemble and Enjoy
Once the cookies are completely cool, spread a generous layer of the cream cheese frosting between two cookies to create sandwiches. For extra flair, pipe the frosting onto the tops of the cookies before pressing them together.
Let the frosted cookies sit for 10 minutes to allow the frosting to set slightly. Serve immediately for the best texture and flavor. These cookies are perfect for sharing—each bite delivers that signature 7up tang, tender cookie texture, and creamy citrus frosting in perfect balance.
Pro Tips For Making 7up Cookies
- Chill the Dough: DESCRIPTION: Let the dough rest in the fridge for at least 30 minutes before baking—this prevents the cookies from spreading too much and gives them that classic 7up cookie height. I used to skip this, and my cookies turned out flat and sad.
- Measure the Soda Precisely: DESCRIPTION: Use 1 cup of cold 7up straight from the fridge, not room temperature—it’s less fizzy and won’t cause the dough to rise unevenly. I learned this after my first batch turned out lumpy and overproofed.
- Cream Butter and Sugar Slowly: DESCRIPTION: Beat the butter and sugar on medium speed for 2-3 minutes until light and fluffy, not just combined. Rushing this step leads to dense cookies—trust me, I’ve made the mistake of skipping it.
- Bake in Batches: DESCRIPTION: Spread the dough balls 2 inches apart and bake only one tray at a time—crowding steams the cookies and ruins their crisp edges. Yes, it takes longer, but the texture is worth it.
Common mistakes when making perfect results
Overmixing the Dough
I’ve seen this happen more times than I can count—especially when people rush to get the dough perfect. Overmixing develops gluten, which turns your tender 7up cookies into tough, chewy crackers. The dough should come together just until it holds when pressed, no more.
Think “shaggy” rather than “smooth.” If you’re using a stand mixer, pulse the dough in short bursts—about 10-15 seconds max. 🧈
Skipping the Chill
The 1-hour chill is non-negotiable for these cookies. Without it, the butter melts too quickly in the oven, leading to flat, greasy cookies instead of the crispy edges and soft centers you want.
If you’re in a hurry, pop the dough in the freezer for 20 minutes—just don’t skip this step entirely. Pro tip: Chill the dough balls for 15 minutes before baking too, for even cleaner cuts.
Using Warm Butter
Cold butter is the secret to that melt-in-your-mouth texture, but I’ve had people accidentally use warm butter straight from the fridge. If your butter is too soft, the cookies will spread too much and lose their shape.
To test, press a piece of butter between your fingers—it should hold its shape but still be pliable. If it smears, pop it back in the fridge for 10-15 minutes to firm up. 🥶
Incorrect 7up Substitutes
This is a classic mistake—I’ve seen people try diet 7up, Sprite, or even lemon-lime soda from other brands. The real deal has a specific balance of citric acid and sugar that tenderizes the dough and adds that signature tang.
If you must substitute, use lemon-lime soda with real sugar (like Jarritos Lime), but it won’t be the same. Trust me, the classic 7up (lemon-lime flavor) is worth tracking down for this recipe.
Overbaking the Cookies
Those edges should be golden, but the centers need to stay soft. Pull them out when they look just set—you can always bake them 1-2 minutes longer if needed, but once they’re crispy, they won’t soften back up.
A toothpick should come out with a few moist crumbs, not completely clean. Overbaking turns these cookies into dry, sad crackers. 🚫
Frosting Too Thick or Thin
The frosting is the star of this recipe, but I’ve seen it go wrong in two ways: too thick (like clumpy buttercream) or too runny (like glaze). For the perfect consistency, beat the cream cheese until completely smooth before adding sugar.
If it’s still grainy, whip it another 30 seconds. Need to adjust? Add 1 tsp milk for thinness or 1 tbsp powdered sugar for thickness. Test on a plate first—it should hold its shape but still spread easily.
Nutrition facts
Frequently asked questions
Can I make these cookies without 7up?
The soda is essential for that signature tang and tender texture. If you must substitute, use lemon-lime soda with real sugar (like Jarritos Lime) for the closest flavor. The citric acid in 7up tenderizes the dough and balances the sweet frosting—nothing else replicates that perfectly.
How do I store leftover cookies?
Keep unfrosted cookies in an airtight container for 5 days at room temperature. Frosted cookies last 3 days in the fridge—let them sit at room temp for 10 minutes before serving to soften the frosting. For longer storage, freeze frosted cookies for up to 1 month (thaw before eating).
Why did my cookies spread too much?
This usually means your butter wasn’t cold enough or the oven was too hot. Always use cold, cubed butter and test your oven with a 350°F thermometer—many run hotter than set. Chill dough balls for 15 minutes before baking for cleaner edges. Too much flour can also cause spreading—stick to the recipe!
Can I make these gluten-free?
Yes! Swap the all-purpose flour for a 1:1 gluten-free baking flour blend (like Bob’s Red Mill). Add 0.5 teaspoon xanthan gum to help bind the dough. The texture will be slightly different but still delicious. Test small batches first—the dough may need extra chilling time.
What’s the best way to decorate these cookies?
For extra flair, pipe the frosting into swirls or rosettes before pressing cookies together. Sprinkle with crushed citrus zest** or colorful sprinkles while the frosting is still wet. For a rustic look, cut dough into fun shapes using cookie cutters—just chill them longer to prevent spreading.

- Baked Potatoes in Crock Pot Recipe: Buttery Interiors and Crispy Top Magic - November 1, 2026
- Braised Beef Short Ribs Recipe: Crock Pot Fall-Off-Bone Magic in 6 Hours - November 1, 2026
- Crock Pot Cocoa Recipe: Velvety Warmth With Hidden Spice Magic - November 1, 2026