
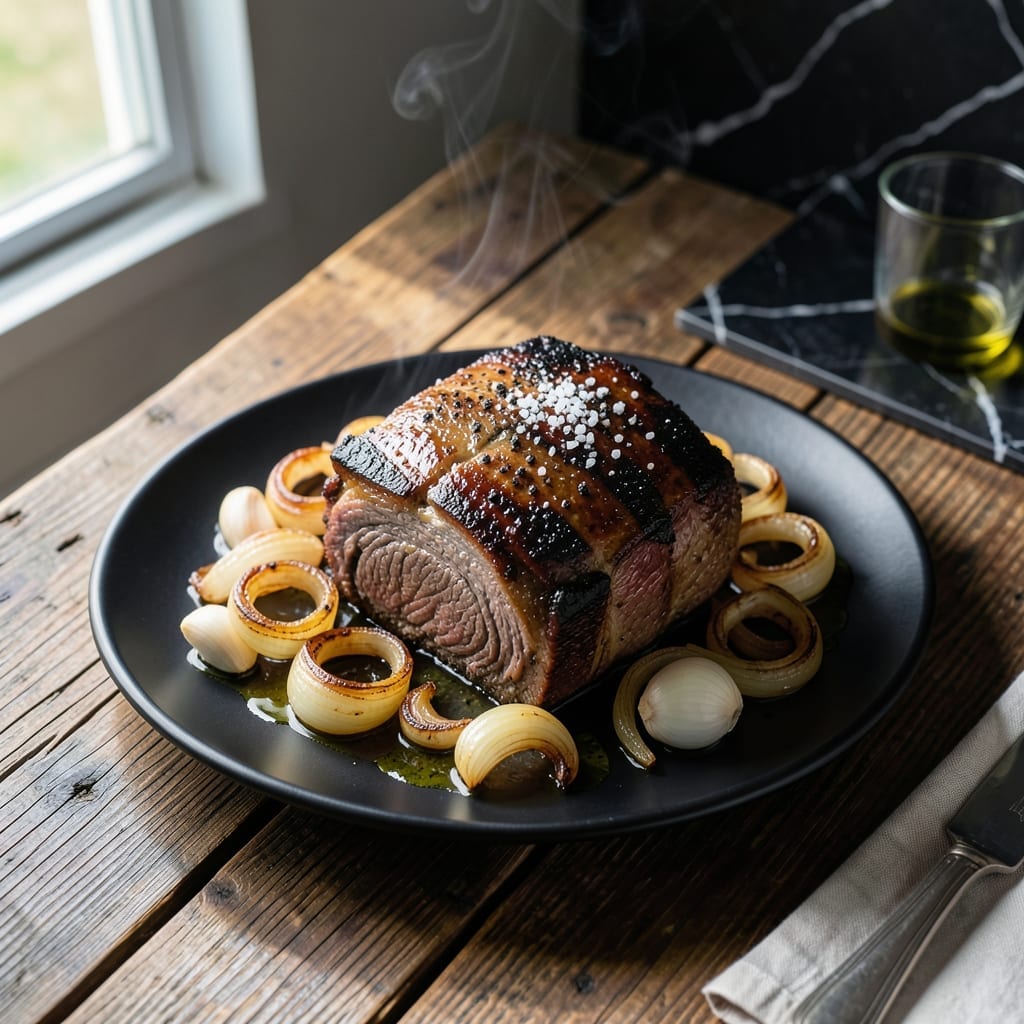
This pot roast recipe delivers melting tenderness through a proven slow-cooking method that transforms tough cuts into fall-apart meat. The traditional approach builds deep flavor through careful browning and gradual simmering.
With beef, root vegetables, and rich broth, this dish develops complexity as it cooks. The low and slow technique ensures each ingredient absorbs the savory essence of the pot.
What emerges is a main course with incredibly tender meat, soft vegetables, and a gravy that’s rich with natural juices. Every bite carries the warmth of home cooking at its best.
Perfect for family dinners or special occasions, this method never fails to impress. The process is straightforward, with results that speak for themselves.
Ingredients for Ab Pot Roast
Quality beef and root vegetables form the foundation of this slow-cooked classic with rich depth.
| Ingredient | Amount | Notes |
|---|---|---|
| Beef Chuck Roast 🥩 | 3 lb | Well-marbled, trimmed of excess fat |
| Kosher Salt 🧂 | 2 tsp | Diamond Crystal preferred for even seasoning |
| Black Pepper 🌶️ | 1 tsp | Freshly ground for optimal flavor |
| Olive Oil 🫒 | 2 tbsp | Extra-virgin for high-heat searing |
| Yellow Onion 🧅 | 2 whole | Large, quartered through root end |
| Garlic Cloves 🧄 | 6 cloves | Smashed, peeled for robust flavor |
| Carrots 🥕 | 4 whole | Peeled, cut into 3-inch chunks |
| Yukon Gold Potatoes 🥔 | 1 ½ lb | Halved if small, quartered if large |
| Celery Stalks 🌿 | 4 whole | Cut into 2-inch pieces for texture |
| Beef Broth 🥣 | 3 cups | Low-sodium preferred for control |
| Tomato Paste 🍅 | 2 tbsp | Double-concentrated for depth |
| Dried Thyme 🍃 | 1 tsp | Crushed between fingers to release oils |
| Bay Leaves 🌿 | 2 pieces | Dried, whole for aromatic infusion |
| Red Wine 🍷 | 1 cup | Dry variety like Cabernet Sauvignon |
| All-Purpose Flour 🌾 | 2 tbsp | For thickening the gravy later |
The beef chuck roast is non-negotiable for authentic results. Look for well-marbled cuts at Whole Foods or Costco—the fat renders down during cooking, creating that signature tenderness. Avoid lean cuts like round or sirloin, which dry out. Most butchers will trim excess fat if asked. For the vegetables, Yukon Gold potatoes hold their shape better than russets, and their buttery texture complements the dish perfectly.
No red wine? Substitute with additional beef broth plus 1 tbsp balsamic vinegar for acidity. Fresh thyme can replace dried at a 3:1 ratio. The tomato paste adds umami depth—San Marzano brand offers superior quality. If avoiding alcohol entirely, beef consommé works well. The flour for gravy can be swapped with cornstarch (mix 1 tbsp with 1 tbsp water first) for a gluten-free version.
This dish actually improves overnight. Store leftovers in an airtight container in the fridge for up to 4 days or freeze for 3 months. Reheat gently on the stove with a splash of water to restore the gravy’s consistency. The flavors deepen significantly after resting, making it ideal for meal prep.
Why You’ll Love This Recipe
- I’ll be real: it’s my go-to for busy evenings when I need something hearty and ready with barely any hands-on time.
- One Pot Wonder: I toss the chuck roast, onion, salt, and pepper in, then let the oven do the rest—minimal cleanup, maximum satisfaction.
- Weeknight Hero: I’ll be real: it’s my go-to for busy evenings when I need something hearty and ready with barely any hands-on time.
- Leftovers for Days: Honestly, it tastes even better the next day—sandwiches, tacos, or straight from the fridge, it’s a gift that keeps giving.
Step-by-Step Instructions for Slow-Cooked Melting Tenderness
Master the technique for fall-apart beef and rich, velvety gravy in this classic preparation.
Step 1: Sear and Season the Beef Chuck Roast
Pat the 3 lb Beef Chuck Roast thoroughly dry with paper towels to ensure a proper sear. Season all sides aggressively with the 2 tsp Kosher Salt and 1 tsp Black Pepper, pressing the seasoning into the meat so it adheres well. This creates a flavorful crust and locks in moisture during the long cook.
Heat the 2 tbsp Olive Oil in a heavy Dutch oven over medium-high heat until it shimmers. Sear the beef for 4-5 minutes per side until a deep, mahogany brown crust forms. Don’t move the roast during searing—this ensures even browning. Transfer the beef to a plate and set aside.
Step 2: Sauté the Aromatics and Deglaze
In the same pot, add the 2 whole Yellow Onion, 4 whole Carrots, and 4 whole Celery Stalks. Sauté over medium heat for 5-6 minutes until the onions begin to soften and brown slightly. Add the 6 cloves Garlic Cloves and cook for 1 additional minute until fragrant.
Stir in the 2 tbsp Tomato Paste and cook for 1-2 minutes to deepen its flavor. Pour in the 1 cup Red Wine and scrape the browned bits from the bottom of the pot with a wooden spoon. This deglazing step captures all the concentrated beef flavor for the sauce. Simmer until the liquid reduces by half.
Step 3: Build the Braise and Slow Cook
Return the seared beef to the pot along with any accumulated juices. Add the 3 cups Beef Broth, 1.5 lb Yukon Gold Potatoes, 1 tsp Dried Thyme, and 2 pieces Bay Leaves. The liquid should come about halfway up the roast—add a splash of broth if needed.
Bring to a gentle simmer, then reduce heat to low. Cover and cook for 3 to 3½ hours, turning the roast every 45 minutes to ensure even cooking. The beef is done when it pulls apart easily with a fork and the potatoes are tender when pierced.
Step 4: Thicken the Gravy and Finish
Transfer the beef and vegetables to a serving platter and tent with foil to keep warm. Skim any excess fat from the surface of the cooking liquid. In a small bowl, whisk the 2 tbsp All-Purpose Flour with ¼ cup of the hot cooking liquid until smooth, then stir this slurry into the pot.
Simmer over medium heat for 5-7 minutes until the gravy thickens to a velvety consistency that coats the back of a spoon. Taste and adjust seasoning with additional Kosher Salt or Black Pepper if needed. Pour the gravy over the beef and vegetables before serving.
Pro Tips For Making Ab Pot Roast
- Sear It Hard: Get your pan screaming hot before adding the chuck roast—about 2 tablespoons of olive oil, then sear each side for 3-4 minutes until deeply browned. I learned this the hard way when my first few attempts came out gray and flavorless.
- Salt the Night Before: Sprinkle the beef generously with kosher salt at least 12 hours before cooking. Sounds weird, but it works: the salt penetrates deep, making the meat more tender and seasoned throughout.
- Don’t Crowd the Pan: If your roast is too big for the pan, sear it in batches or use a larger pot. Steaming from an overcrowded pan ruins the crust—my grandmother swore by this, and she was right.
- Use the Onion Twice: After searing the meat, toss in the chopped yellow onion to soak up those browned bits, then use the same onion in the braise. It adds a layer of flavor without extra effort—I was skeptical until I tried it.
Essential Equipment for This Recipe
The Dutch Oven
A heavy 5-7 quart Dutch oven is non-negotiable for even heat distribution and retention. I use my Le Creuset for its superior heat control and durability. The enameled cast iron handles the searing, braising, and gravy-making in one pot. 🔥
Tongs and Spoons
Invest in 12-inch locking tongs for turning the roast safely during searing. A wooden spoon is essential for deglazing and stirring without scratching your cookware. I keep both within arm’s reach throughout the entire process.
Meat Thermometer
While not strictly necessary for this recipe, a instant-read thermometer removes all guesswork. I check the internal temperature at 195-205°F for perfect doneness. ThermoWorks makes reliable options that last for years.
Cutting Board
A large, stable wooden cutting board gives you space to prep all vegetables at once. I prefer John Boos boards for their size and durability. The juice groove is particularly helpful when working with raw meat.
Knives Matter
Use a 8-inch chef’s knife for chopping vegetables and a boning knife for trimming the roast. Sharp knives make prep safer and more efficient. I sharpen mine with a Work Sharp system every few uses.
Optional but Helpful
A fat separator makes gravy prep easier by removing excess grease. I also keep kitchen twine on hand for tying herbs if I’m using fresh instead of dried. These small tools elevate your final result significantly.
Nutrition Facts
Frequently Asked Questions
What cut of beef works best?
Chuck roast is ideal for its marbling and connective tissue that breaks down during slow cooking. Avoid lean cuts like round or sirloin, which dry out. Look for well-marbled pieces for maximum tenderness.
Can I make this in a slow cooker?
Yes! Sear the beef first, then transfer everything to your slow cooker. Cook on low for 8-10 hours or high for 5-6 hours. The flavor develops beautifully with this method.
Why is my gravy thin?
Simmer the cooking liquid longer to reduce it. For faster results, mix 1 tbsp cornstarch with 1 tbsp water and stir into the pot. Simmer for 2-3 minutes until thickened.
How do I store leftovers?
Keep in an airtight container in the fridge for up to 4 days or freeze for 3 months. Reheat gently on the stove with a splash of water to restore consistency.

- 4C Bread Crumbs Meatballs Recipe: Crispy Crust and Juicy Centers - September 25, 2026
- 6 Oz Chocolate Chip Cookie Recipe: Perfectly Balanced Crispy Edges and Chewy Hearts - September 25, 2026
- 6-Inch Coffee Cake Recipe: Vanilla Bean Swirls and Buttery Streusel Topping - September 25, 2026