
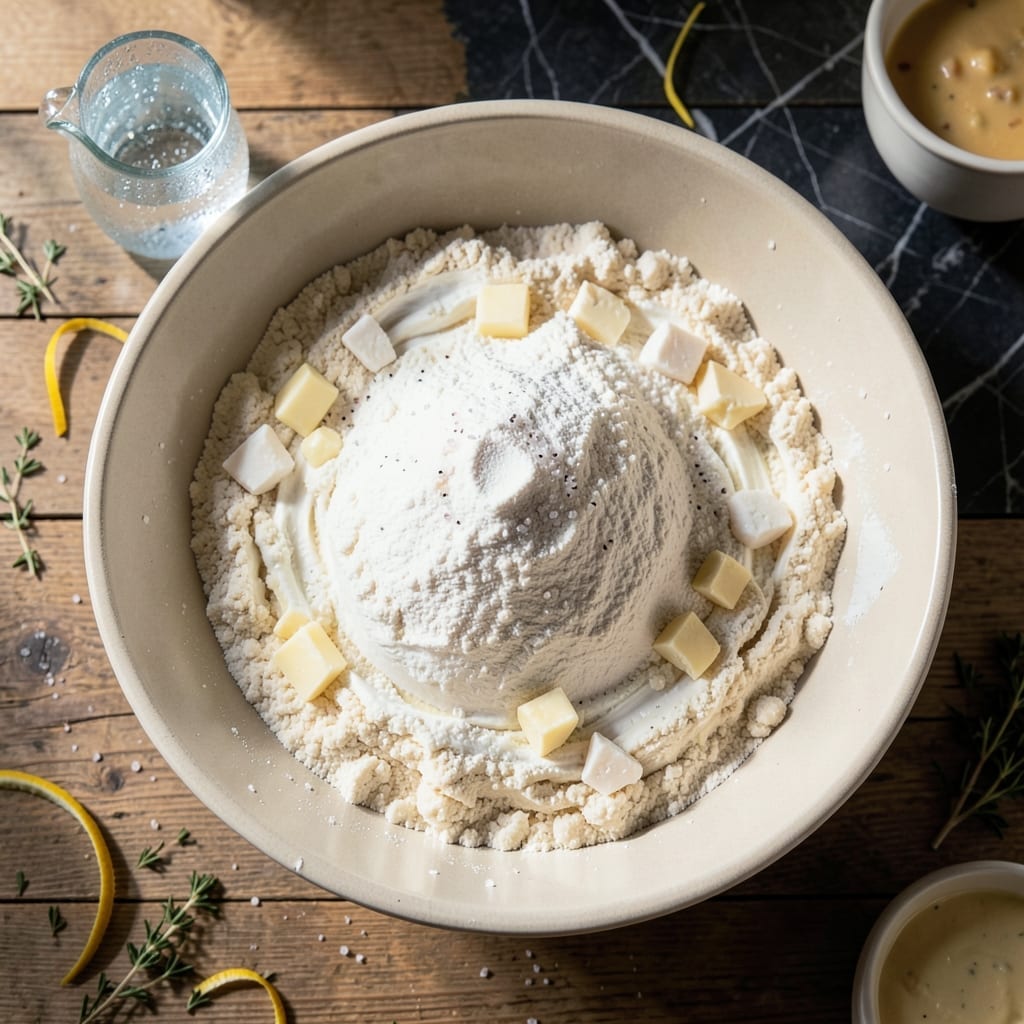
This Amish-inspired dough delivers the flaky, tender foundation your pot pie deserves. Years of tradition go into creating layers that shatter at the touch while holding up to the heartiest fillings.
The secret lies in using lard for maximum flakiness and keeping the ingredients ice cold throughout the process. A simple mix of flour, salt, and cold water comes together quickly with minimal handling to prevent toughness.
After a brief rest, this dough rolls out effortlessly, creating the perfect vessel for savory meat and vegetable fillings. The result is a golden crust that’s crisp on the outside and delicate within.
Whether you’re making a classic chicken pot pie or experimenting with new fillings, this dough provides the old-world quality that defines Amish cooking.
Ingredients for Amish Pot Pie Dough
Five simple ingredients create that old-world flaky crust you remember from childhood.
| Ingredient | Amount | Notes |
|---|---|---|
| All-Purpose Flour 🌾 | 3 cups | Plus extra for dusting |
| Lard 🧈 | ¾ cup | Cold, for maximum flakiness |
| Ice Water 💧 | ½ cup | As cold as possible |
| Fine Sea Salt 🧂 | 1 tsp | Diamond Crystal preferred |
| Unsalted Butter 🧈 | 4 tbsp | Cold, cubed, optional for extra richness |
The lard is non-negotiable here—it’s what gives that classic Amish flakiness. Leaf lard (from US Wellness Meats or your local butcher) is the gold standard, but regular lard from the baking aisle works fine too. Keep it ice cold until mixing, and handle the dough as little as possible (warm hands = tough crust). If you’re feeling fancy, butter-flavored lard adds a subtle richness.
No lard? Shortening like Crisco gets you close, but the texture won’t be quite the same. For a lighter dough, swap half the lard for cold butter. The flour should be all-purpose—no need for high-protein bread flour here. And yeah, you can use a food processor, but a pastry cutter or two forks works just as well (and gives you that rustic feel).
This dough keeps 3 days in the fridge or freezes for 3 months. Wrap it tight in plastic, then foil—no air means no freezer burn. Let it thaw overnight in the fridge before rolling. Honestly, it’s even better the next day after the flavors meld.
Why You’ll Love This Recipe
- Five Ingredients Only: I love that this dough comes together with just flour, lard, butter, salt, and ice water—no fancy pantry hunts required.
- Flaky Perfection: The lard and butter combo creates layers so tender they practically melt, with that signature Amish richness you can’t fake.
- Freezer Friendly: I double the batch, roll it out, and freeze sheets for future pot pies—saves me a solid hour on busy nights.
- Budget Stretcher: Here’s what sold me—it costs pennies per pie crust and still outshines store-bought every time.
Step-by-Step Instructions for Amish Pot Pie Dough
Here’s how to create that signature flaky texture that makes this dough legendary.
Step 1: Combine Dry Ingredients and Cut in Fat
In a large mixing bowl, whisk together the 3 cups All-Purpose Flour and 1 tsp Fine Sea Salt until evenly distributed. This ensures the salt disperses completely, seasoning every bite of your finished crust.
Add the 0.75 cup Lard (cold is crucial) and the 4 tbsp Unsalted Butter (cubed) to the flour mixture. Using a pastry cutter or your fingers, work the fat into the flour until the mixture resembles coarse crumbs with pea-sized pieces of fat visible. This creates the layers that will puff into flakes during baking.
Step 2: Gradually Incorporate Ice Water
Create a well in the center of the flour-fat mixture. Add about half of the 0.5 cup Ice Water and use a fork to gently stir, pulling the dry ingredients into the moisture. The water should be as cold as possible—this prevents the fat from melting prematurely.
Add the remaining water 1 tablespoon at a time, mixing just until the dough begins to come together. You want it to hold when pressed but still appear slightly shaggy. Overworking the dough develops gluten, which makes for tough pastry instead of tender, flaky layers.
Step 3: Knead Briefly and Chill the Dough
Turn the dough out onto a lightly floured surface. Gather it into a rough ball and knead gently 4-5 times just until smooth. The key here is minimal handling—you’re simply bringing the ingredients into cohesion, not developing the gluten.
Divide the dough into 4 equal portions (for individual pot pies) or leave whole for a large pie. Shape each into a disk, wrap tightly in plastic, and refrigerate for at least 1 hour. This chilling period allows the fat to resolidify and the gluten to relax, making the dough easier to roll out.
Step 4: Roll and Shape for Baking
On a well-floured surface, roll one disk of dough to about ⅛-inch thickness. For pot pies, you can cut rounds slightly larger than your ramekins. For a traditional pie, roll out the dough to fit your pie dish with overhang.
Transfer the rolled dough to your baking vessel. If making individual pot pies, gently press the dough into the ramekins, letting the edges overhang slightly. The dough should look smooth and even, with no visible cracks or thin spots that might tear during baking.
Pro Tips For Making Amish Pot Pie Dough
- Chill the Lard: Cut the lard into small cubes and freeze for 15 minutes before mixing—it keeps the dough flaky instead of greasy. I learned this the hard way after my first few pies came out dense.
- Use Ice-Cold Water: Measure the ice water first, then add it slowly, about 1 tablespoon at a time. Too much or warm water makes the dough tough, and nobody wants a tough crust.
- Don’t Overwork It: Mix just until the dough comes together, even if it looks shaggy. After burning three batches to crispy frustration, I finally realized overmixing develops gluten, which ruins the tenderness.
- Butter the Lard: Swap 1-2 tablespoons of lard for unsalted butter for extra flavor—it’s a small change that makes the crust taste richer. My grandmother swore by this, and she was right.
Storing and Reheating Leftovers
Fridge Storage
After making the dough, wrap it tightly in plastic wrap and store in the fridge for up to 3 days. The cold environment keeps the lard firm, preserving that flaky texture we love. I always label mine with the date to keep track. ❄️
Freezer Storage
For longer storage, wrap the dough in plastic, then in foil, and freeze for up to 3 months. Squeeze out all air to prevent freezer burn. When ready to use, thaw overnight in the fridge before rolling.
Room Temperature Rest
If you plan to use the dough within 24 hours, it can sit at room temperature for up to 2 hours. Keep it covered to prevent drying. This works well if you’re prepping fillings simultaneously.
Reheating Baked Pies
For leftover pot pies, reheat in a 350°F oven for 10-15 minutes until the crust is crisp again. Cover with foil if the filling heats faster than the crust. Avoid microwaving—it makes the crust soggy.
Reviving Chilled Dough
If the dough is too firm after refrigeration, let it rest at room temperature for 15-20 minutes before rolling. This makes it more pliable without warming the lard too much.
Storage Tip
For best results, divide dough into portions before storing. This way, you only thaw what you need. I use zip-top bags for space efficiency, pressing them flat to save room. 💡
Nutrition Facts
Frequently Asked Questions
Can I substitute butter for lard?
Yes, but the texture will differ. Use 1 cup cold butter for 0.75 cup lard for similar richness. The crust may be slightly less flaky but still delicious.
Why does the dough need to rest?
Resting for 1 hour lets the gluten relax and fat resolidify. This makes rolling easier and ensures a tender, flaky crust.
Can I make this dough ahead?
Store wrapped dough in the fridge for 3 days or freeze for 3 months. Thaw overnight before using.
What if my dough cracks while rolling?
Let it warm slightly at room temperature for 5-10 minutes. If cracks persist, press edges together and re-roll gently.

- 4C Bread Crumbs Meatballs Recipe: Crispy Crust and Juicy Centers - September 25, 2026
- 6 Oz Chocolate Chip Cookie Recipe: Perfectly Balanced Crispy Edges and Chewy Hearts - September 25, 2026
- 6-Inch Coffee Cake Recipe: Vanilla Bean Swirls and Buttery Streusel Topping - September 25, 2026