
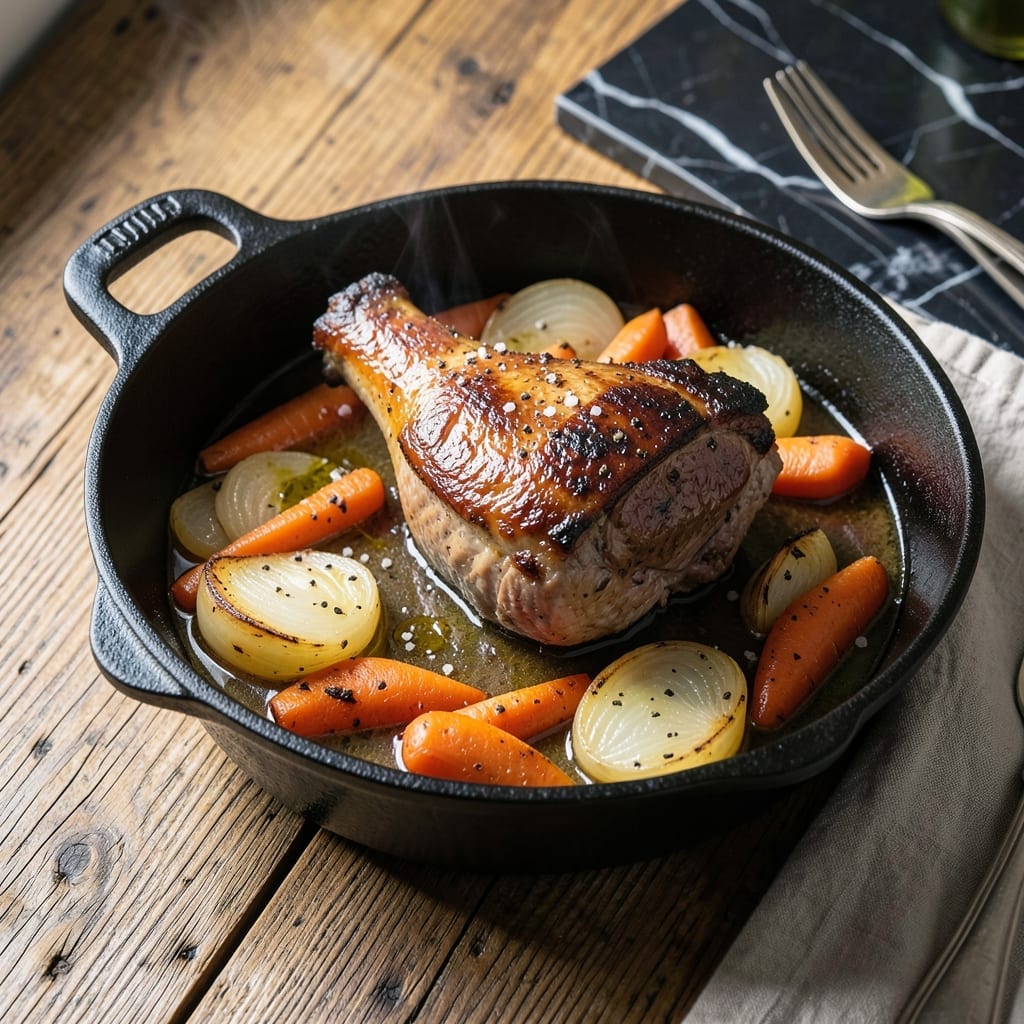
This Dutch oven method transforms a humble arm roast into something extraordinary. The slow, steady heat breaks down tough fibers, creating meat so tender it practically dissolves with each bite.
I developed this technique after years of experimenting with different cuts and cooking methods. The arm roast, often overlooked, becomes the star when given proper time and attention in a sealed environment.
What emerges is a centerpiece dish with rich, developed flavors and meat that pulls apart effortlessly. The natural gelatin in this cut creates its own luxurious sauce as it cooks.
Perfect for Sunday dinners or special occasions when you want to impress without complicated techniques.
Ingredients for Arm Pot Roast
Transform humble beef into a showstopping centerpiece with these thoughtful ingredients.
| Ingredient | Amount | Notes |
|---|---|---|
| Beef Arm Roast 🥩 | 3 lb | Chuck arm pot roast preferred |
| Kosher Salt 🧂 | 1 ½ tsp | Diamond Crystal preferred for texture |
| Freshly Ground Black Pepper 🌶️ | 1 tsp | Coarse grind for depth |
| Olive Oil 🫒 | 2 tbsp | Extra-virgin for searing |
| Yellow Onion 🧅 | 1 whole | Large, diced into chunks |
| Carrots 🥕 | 3 whole | Peeled, cut into thick pieces |
| Celery Stalks 🌿 | 2 whole | Cut into large pieces |
| Garlic Cloves 🧄 | 4 cloves | Smashed for robust flavor |
| Dried Thyme 🍃 | 1 tsp | Rubbed between fingers to release oils |
| Dried Rosemary 🌿 | 1 tsp | Crushed to activate aroma |
| Bay Leaf 🍃 | 1 whole | Fresh or dried |
| Beef Broth 💧 | 2 cups | Low-sodium preferred for control |
| Red Wine 🍷 | 1 cup | Dry variety like Cabernet Sauvignon |
| Tomato Paste 🍅 | 2 tbsp | Concentrated for depth of flavor |
The cut is critical here. Arm chuck roast from a reputable butcher (or well-stocked Whole Foods meat counter) delivers the gelatinous richness this dish demands. Look for good marbling—those fat veins melt into the meat during the long braise. I always ask for a 3-pound piece (bone-in if available) for even cooking. Avoid lean cuts like sirloin; they’ll dry out. The beef broth should be high-quality—Better Than Bouillon base is my go-to for restaurant-grade depth.
No red wine? Substitute with an extra cup of beef broth plus 1 tbsp balsamic vinegar. Fresh herbs can replace dried at a 3:1 ratio, but dried work perfectly here. If tomato paste feels wasteful, those Trader Joe’s squeeze tubes eliminate the guesswork. The onions and carrots can be swapped for leeks and parsnips—just keep the total volume similar. Don’t skip the searing step; it builds the flavor foundation (worth the extra minute).
Leftovers actually improve overnight as the flavors meld. Store in the fridge for up to 4 days or freeze for 3 months. To reheat, gently warm in a covered pot with a splash of broth—microwaving can make the meat dry. The rendered fat from the roast? Strain and save for roasting potatoes later (don’t skip this part).
Why You’ll Love This Recipe
- Set and Forget: I toss the beef arm roast with salt, pepper, and onions, then let the oven do all the work for hours.
- Rich Beefy Depth: The slow cooking turns the arm roast tender with a deep flavor that soaks up the olive oil and caramelized onions.
- Feeds the Gang: One pot, one meal that satisfies a crowd—great for Sunday suppers or when the whole family’s over.
- Leftovers for Days: I stretch the leftovers into sandwiches, tacos, or stews—saves me time and money all week.
Step-by-Step Instructions for Arm Pot Roast
This method guarantees fall-apart tenderness with rich, developed flavors in every bite.
Step 1: Sear the Beef Arm Roast to Lock in Juices
Pat the 3 lb beef arm roast completely dry with paper towels. This ensures a proper sear rather than steaming. Season all sides aggressively with the 1.5 tsp kosher salt and 1 tsp freshly ground black pepper, pressing the seasoning into the meat so it adheres well.
Heat the 2 tbsp olive oil in a Dutch oven over medium-high heat until shimmering. Add the roast and sear for 4-5 minutes per side until deeply browned. You’ll know it’s ready to flip when it releases easily from the pot—this creates a flavorful fond that will enrich your braising liquid.
Step 2: Sauté Aromatics for Depth of Flavor
Remove the roast and set aside. In the same pot, add the yellow onion, 3 whole carrots, and 2 whole celery stalks. Sauté for 5-6 minutes until the onion begins to soften and brown at the edges.
Add the 4 cloves garlic cloves, 1 tsp dried thyme, 1 tsp dried rosemary, and 2 tbsp tomato paste. Cook for 1-2 minutes, stirring constantly, until the tomato paste darkens slightly and the herbs become fragrant. This step builds the flavor foundation for your braising liquid.
Step 3: Deglaze and Begin the Braise
Pour in the 1 cup red wine and scrape up all the browned bits from the bottom of the pot with a wooden spoon. Let it simmer for 3-4 minutes until reduced by about half. This deglazing step captures all that concentrated flavor from the searing process.
Return the roast to the pot and add the 2 cups beef broth and 1 whole bay leaf. The liquid should come about halfway up the sides of the meat. Bring to a gentle simmer, then cover tightly.
Step 4: Braise to Fall-Off-The-Bone Tenderness
Transfer the covered pot to a 325°F oven and braise for 2.5 to 3 hours. You’ll know it’s done when a fork slides in with absolutely no resistance and the meat pulls apart easily. I check at the 2-hour mark and continue cooking if needed—ovens vary.
Real talk: don’t rush this step. The long, slow cook time at low temperature is what transforms tough connective tissue into gelatin, giving you that melt-in-your-mouth texture. The aromatic vegetables will have softened into the liquid, creating a rich, flavorful base.
Step 5: Rest and Serve with Braising Liquid
Carefully transfer the roast to a cutting board and tent loosely with foil. Let it rest for 15-20 minutes while you prepare the vegetables and liquid for serving. This resting period allows the juices to redistribute throughout the meat.
Skimming excess fat from the braising liquid is optional—I often leave it for extra richness. Serve the roast sliced or pulled apart, spooning the vegetables and liquid over each portion. The meat should be so tender it nearly dissolves on your tongue, with every bite infused with the deep, wine-infused flavors of the braise.
Pro Tips For Making Arm Pot Roast
- Sear It Hard: Get your pan screaming hot before adding the arm roast—about 2 tablespoons of olive oil, then sear each side for 3-4 minutes until deep brown. I learned this the hard way after serving gray, steamed beef to my in-laws.
- Salt the Night Before: Rub the arm roast with kosher salt at least 12 hours ahead. Sounds weird, but it works: the salt penetrates deep, and the meat stays juicier through the long cook.
- Skip the Cold Meat: Let the arm roast sit out for 45 minutes before searing. After burning three roasts because the center stayed raw while the edges dried out, I finally started taking it out of the fridge early.
- Use the Onion Twice: Sear the halved yellow onion with the meat for flavor, then use the same onion in your braising liquid. This isn’t the prettiest method, but it’s the tastiest—no wasted flavor.
Perfect Pairings for arm pot roast
Wine Pairings
For this rich, wine-braised dish, I always reach for a bold red that can stand up to the deep flavors. A Cabernet Sauvignon with its dark fruit notes and firm tannins complements the beef beautifully. I particularly love a Napa Valley Cab for its balance of fruit and structure. 🍷
Beer Options
A dark porter or stout with chocolate and coffee undertones cuts through the richness. Guinness is a classic choice, but I often use Founders Porter for its smooth, roasty character. The carbonation helps cleanse your palate between bites.
Side Dish Ideas
Creamy mashed potatoes soak up the braising liquid perfectly—I use Yukon Golds with ½ cup warm cream and 4 tbsp butter. For something lighter, try roasted Brussels sprouts with a balsamic glaze to add a tangy contrast.
Bread Pairings
A crusty sourdough or baguette is essential for sopping up every last bit of sauce. I warm a ciabatta loaf from my local bakery and serve it in a bread basket. The chewy texture stands up well to the hearty flavors.
Vegetable Additions
For extra color and nutrition, I often add 1 lb baby potatoes and 2 parsnips to the pot during the last 45 minutes of cooking. They absorb the braising liquid beautifully. Just cut them into 2-inch chunks so they cook evenly. 🥗
Nutrition Facts
Frequently Asked Questions
What can I use instead of red wine?
Use an extra 1 cup beef broth plus 1 tbsp balsamic vinegar for similar depth. The acidity mimics wine’s role in tenderizing and flavor development.
How do I know when it’s done?
Check at 2.5 hours – it’s ready when a fork slides in with no resistance. The meat should pull apart effortlessly. For best results, don’t rush this step.
Can I cook this in a slow cooker?
Yes! Sear first, then cook on low for 8-10 hours or high for 5-6 hours. The Dutch oven method gives better browning, but slow cooker works in a pinch.
Why is my roast tough?
Likely it didn’t cook long enough. This cut needs 2.5-3 hours at 325°F to break down connective tissue. Also, ensure you’re using the right cut – arm roast, not leaner options.

- 4C Bread Crumbs Meatballs Recipe: Crispy Crust and Juicy Centers - September 25, 2026
- 6 Oz Chocolate Chip Cookie Recipe: Perfectly Balanced Crispy Edges and Chewy Hearts - September 25, 2026
- 6-Inch Coffee Cake Recipe: Vanilla Bean Swirls and Buttery Streusel Topping - September 25, 2026