
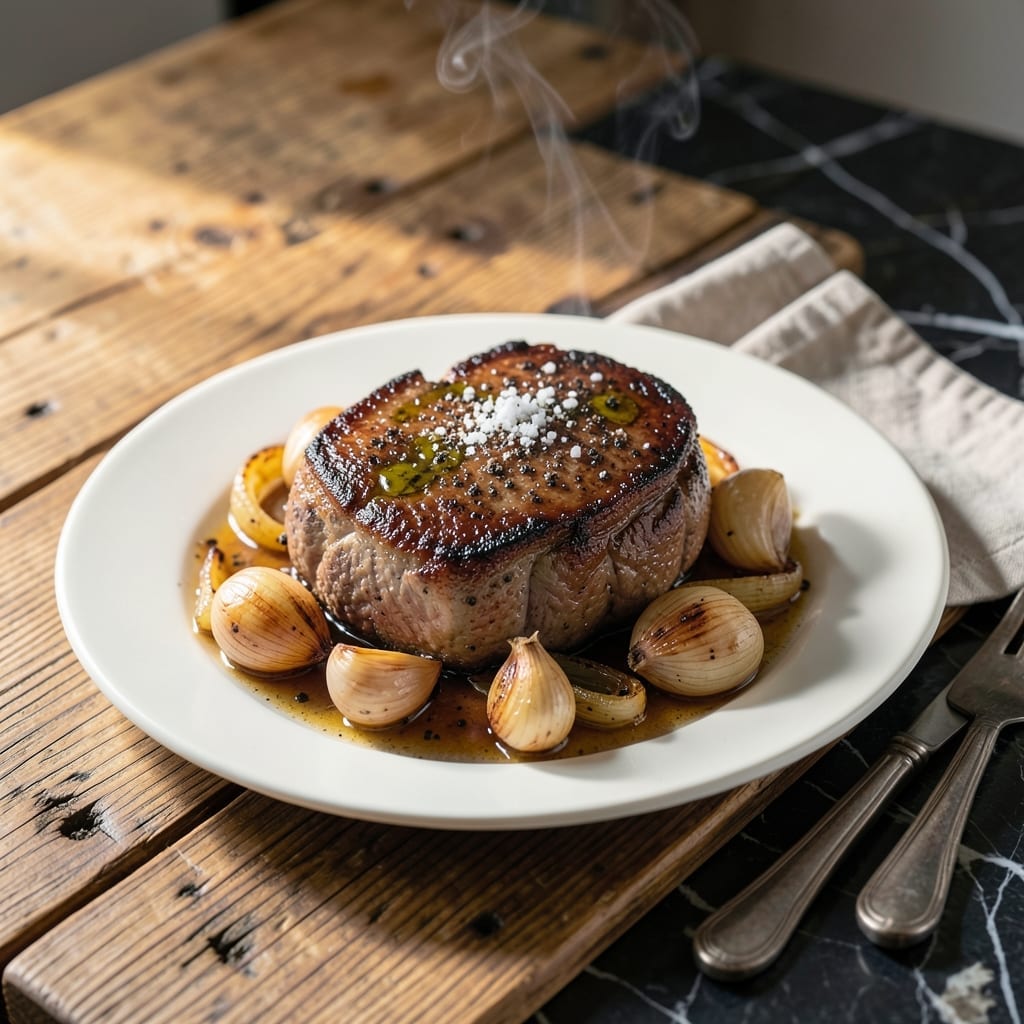
This low-carb pot roast delivers all the comfort of a Sunday supper classic without the unnecessary carbs. I’ve perfected a method that keeps the meat fall-apart tender while using Atkins-friendly ingredients to maintain that rich, savory depth you expect.
The secret lies in slow cooking—3 to 4 hours at 325°F—allowing the chuck roast to become fork-tender. A simple blend of herbs, garlic, and low-carb vegetables creates a hearty base that’s both satisfying and diet-conscious.
What you’ll get is a dish that’s just as rich and flavorful as the traditional version, but without the guilt. The meat soaks up every bit of the aromatic broth, while the vegetables add texture and substance.
Perfect for meal prep or a cozy family dinner, this recipe proves you don’t have to sacrifice flavor for a low-carb lifestyle.
Ingredients for Atkins Pot Roast
Pantry staples and a well-marbled roast. Nothing exotic, just robust flavors.
| Ingredient | Amount | Notes |
|---|---|---|
| Chuck Roast 🥩 | 3 lb | Well-marbled, trimmed of excess fat |
| Olive Oil 🫒 | 2 tbsp | Divided for searing and sautéing |
| Kosher Salt 🧂 | 2 tsp | Diamond Crystal preferred |
| Black Pepper 🌶️ | 1 tsp | Freshly ground for best flavor |
| Garlic Cloves 🧄 | 6 cloves | Minced for aromatic depth |
| Yellow Onion 🧅 | 1 whole | Large, diced into chunks |
| Carrots 🥕 | 3 whole | Peeled, cut into thick pieces |
| Celery Stalks 🌿 | 3 pieces | Cut into large chunks |
| Dried Thyme 🍃 | 1 tsp | Crushed between fingers |
| Dried Rosemary 🍃 | 1 tsp | Crushed to release oils |
| Bay Leaves 🌿 | 2 whole | For aromatic broth |
| Beef Broth 🍲 | 2 cups | Low-sodium preferred |
| Red Wine 🍷 | 1 cup | Dry variety for depth |
| Tomato Paste 🍅 | 2 tbsp | For umami richness |
The chuck roast is non-negotiable here—look for good marbling at Costco or your local butcher. Supermarket pre-packaged works too, just avoid anything labeled ’round’ or ‘sirloin’ (they get tough). The dried herbs? Penzeys has amazing quality, but grocery store brands are fine if fresh. I always grab an extra onion—half goes in the pot, half gets caramelized for garnish (worth the extra minute).
No red wine? Beef broth plus a tbsp of balsamic vinegar gets you 90% there. Out of fresh garlic? Garlic powder at half the amount works. Tomato paste in a can but only need a bit? Those Trader Joe’s squeeze tubes are perfect (no waste, keeps forever). Carrots can be swapped for parsnips if you want a different texture. The celery? Skip it if you must, but it adds that classic mirepoix base.
Leftovers taste even better the next day. Stores 4-5 days in the fridge, freezes for 3 months. I make a double batch and portion it out—easy lunches or quick dinners. Reheat gently to keep the meat tender (don’t boil it, or it’ll dry out).
Why You’ll Love This Recipe
- Five Ingredient Magic: I just toss chuck roast with olive oil, salt, pepper, and garlic—no fuss, no measuring cups.
- Deep Garlic Flavor: The garlic cloves melt into the meat, giving every bite that rich, savory punch I crave.
- Meal Prep Hero: I make it Sunday and it feeds me all week—tastes even better reheated.
- Budget Beef Win: Chuck roast is cheap, but slow-cooked with those simple seasonings, it tastes like a fancy meal.
Step-by-Step Instructions for Low-Carb Pot Roast
Here’s my tested method for a classic Sunday supper that stays true to tradition while keeping it low-carb.
Step 1: Sear the Chuck Roast to Perfection
Pat the 3 lb chuck roast completely dry with paper towels. This is non-negotiable—moisture prevents proper browning. Season all sides aggressively with the 2 tsp kosher salt and 1 tsp black pepper, pressing it in so it adheres.
Heat 1 tbsp olive oil in a Dutch oven over medium-high heat until shimmering. Add the chuck roast and sear for 4-5 minutes per side until you achieve a deep mahogany crust. Don’t move it prematurely—wait until it releases easily from the pot. Transfer to a plate and set aside.
Step 2: Build the Aromatic Base
In the same pot, add the remaining 1 tbsp olive oil if needed. Sauté the 1 whole yellow onion, 3 whole carrots, and 3 pieces celery stalks for 5-6 minutes until they begin to soften and develop color. This creates the flavor foundation for your braising liquid.
Add the 6 cloves garlic cloves and cook for 1 minute until fragrant. Stir in the 2 tbsp tomato paste and cook for 2 minutes to deepen its flavor—this step removes the raw taste and intensifies the umami. The mixture should look slightly darker and smell rich.
Step 3: Deglaze and Season the Braising Liquid
Pour in the 1 cup red wine and scrape up all the browned bits from the bottom of the pot with a wooden spoon. Let it simmer for 3-4 minutes until reduced by about half. These browned bits are pure flavor—don’t skip this step.
Add the 2 cups beef broth, 1 tsp dried thyme, 1 tsp dried rosemary, and 2 whole bay leaves. Return the seared chuck roast to the pot, along with any accumulated juices. The liquid should come about halfway up the meat—this ensures even cooking without submerging it completely.
Step 4: Braise Low and Slow
Cover the pot and transfer it to a preheated 325°F oven. Braise for 3 to 3½ hours, turning the chuck roast halfway through. The meat is done when it shreds easily with a fork and the internal temperature reaches 195-200°F.
Real talk: the low temperature and long cook time transform the tough connective tissue in the chuck roast into gelatin, creating that fall-apart tenderness we all love. Check occasionally and add a splash of water if the liquid level drops too low—you want at least 1 inch of liquid throughout cooking.
Step 5: Rest and Serve
Carefully remove the chuck roast from the pot and transfer it to a cutting board. Skim excess fat from the surface of the braising liquid if desired, though I find the flavor rich enough to leave as is for this low-carb preparation.
Let the meat rest for 15 minutes before slicing or shredding. This allows the juices to redistribute, ensuring every bite is moist and flavorful. Serve with the vegetables and braising liquid spooned over the top—this is a complete meal that needs nothing else.
Pro Tips For Making Atkins Pot Roast
- Sear the Chuck: I learned this the hard way—searing the chuck roast in olive oil until deeply browned before slow cooking actually changes the outcome, giving you that rich, caramelized crust that makes every bite worth it.
- Smash the Garlic: Sounds weird, but it works: lightly smash the garlic cloves before adding them so their papery skins split but the cloves stay intact, infusing the oil and meat with flavor without burning.
- Skip the Overcrowding: After burning three batches, I finally figured out that if you’re searing in batches, resist the urge to crowd the pan—give each piece space or it’ll steam instead of brown.
- Rest Before Slicing: Give the roast a solid 10-15 minutes under foil after cooking—my grandmother swore by this, and she was right: it locks in juices so it doesn’t dry out when you slice it.
Pro Cooking Tips for This Recipe
Perfect Searing Technique
Pat the chuck roast completely dry with paper towels—this is non-negotiable for achieving that deep mahogany crust. I use medium-high heat and 1 tbsp olive oil in my Dutch oven. Don’t move the meat until it releases easily from the pot, which usually takes 4-5 minutes per side. 🔥
Building Flavor Layers
After searing, I always deglaze with 1 cup red wine, scraping up all those browned bits with a wooden spoon. This step takes 3-4 minutes to reduce by half. Those fond bits are pure flavor—don’t skip this step, as it creates the base for your braising liquid.
Braising Liquid Balance
The liquid should come about halfway up the meat in your Dutch oven. I use 2 cups beef broth combined with the reduced wine. If the level drops too low during cooking, add a splash of water to maintain at least 1 inch of liquid.
Low and Slow Cooking
Cover and braise at 325°F for 3 to 3½ hours, turning the roast halfway through. The meat is done when it shreds easily with a fork and reaches an internal temperature of 195-200°F. This transforms the tough connective tissue into gelatin for that fall-apart tenderness.
Resting is Key
Transfer the roast to a cutting board and let it rest for 15 minutes before slicing or shredding. This allows the juices to redistribute throughout the meat. I find the flavor is rich enough to leave the braising liquid as is for this low-carb preparation.
Temperature Control
Use an oven thermometer to ensure your oven maintains a consistent 325°F. I check occasionally and adjust as needed. The low temperature and long cook time are what make this dish truly special. 💡
Nutrition Facts
Frequently Asked Questions
What cut of meat works best?
Chuck roast is ideal for its marbling and connective tissue. Avoid leaner cuts like round or sirloin as they’ll dry out during the long braise.
Can I make this in a slow cooker?
Yes! Sear the meat first, then transfer everything to a slow cooker. Cook on low for 8-10 hours or high for 5-6 hours. The texture will be slightly different but still delicious.
How do I know when it’s done?
The meat should reach an internal temperature of 195-200°F and shred easily with a fork. This usually takes 3-3½ hours at 325°F in the oven.
What can I use instead of red wine?
Substitute with 1 cup beef broth plus 1 tbsp balsamic vinegar. The vinegar adds the acidity and depth that wine provides to the braising liquid.

- 4C Bread Crumbs Meatballs Recipe: Crispy Crust and Juicy Centers - September 25, 2026
- 6 Oz Chocolate Chip Cookie Recipe: Perfectly Balanced Crispy Edges and Chewy Hearts - September 25, 2026
- 6-Inch Coffee Cake Recipe: Vanilla Bean Swirls and Buttery Streusel Topping - September 25, 2026