
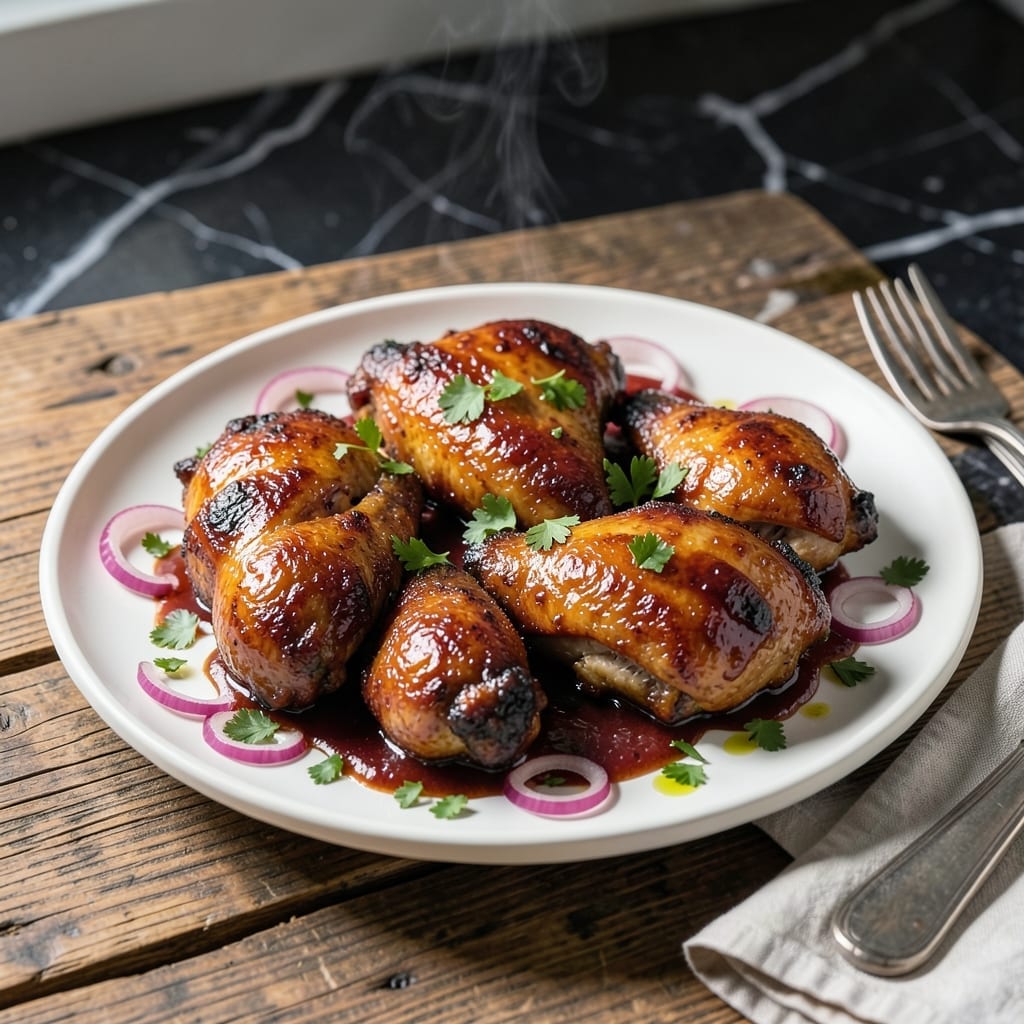
I’ve perfected a method for achieving fall-off-the-bone barbeque chicken without ever firing up the grill. This Instant Pot version delivers the same smoky sweetness you’d expect from traditional barbecue, with far less effort.
The secret lies in using the pressure cooker to infuse the chicken with bold, tangy flavor while keeping it incredibly tender. A quick sear before pressure cooking locks in juices and adds depth to the sauce.
What you get is restaurant-quality barbeque chicken with a rich, sticky glaze that clings to every bite. The meat pulls apart easily, perfect for sandwiches, salads, or serving straight from the pot.
Pair it with coleslaw or corn on the cob for a complete meal that tastes like summer, any time of year.
Ingredients for Barbeque Chicken in Instant Pot
Everything you need for that smoky sweet flavor without the grill.
| Ingredient | Amount | Notes |
|---|---|---|
| Chicken Thighs 🍗 | 2 lb | Boneless, skinless preferred |
| Barbeque Sauce 🍯 | 1 ½ cups | Thick, smoky variety |
| Chicken Broth 🥄 | ½ cup | Low-sodium preferred |
| Apple Cider Vinegar 🍏 | 2 tbsp | For tangy depth |
| Brown Sugar 🍚 | 2 tbsp | Light or dark |
| Garlic Powder 🧄 | 1 tsp | Not garlic salt |
| Onion Powder 🧅 | 1 tsp | For savory base |
| Smoked Paprika 🌶️ | 1 tsp | Essential for smokiness |
| Salt 🧂 | 1 tsp | Kosher or sea salt |
| Black Pepper 🌶️ | ½ tsp | Freshly ground |
| Olive Oil 🫒 | 1 tbsp | For searing chicken |
| Yellow Onion 🧅 | 1 whole | Medium, finely diced |
| Worcestershire Sauce 🍶 | 1 tbsp | Adds umami depth |
The chicken thighs are what make this so tender—bone-in, skin-on works too if you want extra richness (just remove the skin first). I grab mine from Costco—great price for a big pack. For the barbeque sauce, Sweet Baby Ray’s or Stubb’s are solid choices. If you’re making your own, look for a sauce with real molasses for that deep, caramelized flavor.
No apple cider vinegar? White vinegar at half the amount works in a pinch. Swap brown sugar for honey or maple syrup—just reduce the liquid slightly. Don’t have smoked paprika? Regular paprika plus a pinch of liquid smoke gets you close. The Worcestershire sauce adds complexity, but soy sauce can stand in if you’re out (trust me, it’s fine).
Leftovers keep 4-5 days in the fridge, and the flavor only gets better. Freeze for up to 3 months—shred the chicken first for easy reheating. That sticky sauce stays clingy even after freezing.
Why You’ll Love This Recipe
- Set It and Forget: I toss in the thighs, broth, and vinegar, seal the lid, and walk away—dinner practically cooks itself.
- Tangy Sweet Bite: The apple cider vinegar cuts through the brown sugar and BBQ sauce, giving that perfect sticky, tangy glaze on every piece.
- Feeds the Crew: I’ve served this at summer potlucks and weeknight family dinners—it’s always the first thing gone.
- Leftovers for Days: Honestly, it tastes even better the next day piled on buns or over rice, and it stretches a budget beautifully.
Step-by-Step Instructions for Barbeque Chicken in Instant Pot
Here’s the method I use for fall-off-the-bone tender chicken with deep smoky-sweet flavor.
Step 1: Sear and Season the Chicken Thighs
Set your Instant Pot to the Sauté function and add the 1 tbsp Olive Oil. While it heats, pat the 2 lb Chicken Thighs dry with paper towels—this ensures a good sear. Season both sides with the 1 tsp Salt, 0.5 tsp Black Pepper, 1 tsp Garlic Powder, 1 tsp Onion Powder, and 1 tsp Smoked Paprika.
Working in batches if needed, sear the chicken for 3-4 minutes per side until golden brown. Don’t overcrowd the pot—you want each piece to develop color, not steam. Transfer the seared chicken to a plate and set aside.
Step 2: Build the Flavor Base
With the Instant Pot still on Sauté, add the finely diced 1 whole Yellow Onion. Cook for 2-3 minutes until softened and just starting to turn translucent. This builds a sweet, aromatic foundation for your sauce.
Stir in the 2 tbsp Brown Sugar, 2 tbsp Apple Cider Vinegar, 1 tbsp Worcestershire Sauce, and 0.5 cup Chicken Broth. Use a wooden spoon to scrape up any browned bits from the bottom—this adds incredible depth to your sauce. Let it simmer for 1 minute.
Step 3: Pressure Cook to Perfection
Return all the chicken to the Instant Pot along with any accumulated juices. Pour the 1.5 cups Barbeque Sauce evenly over the chicken, making sure each piece is coated. Stir gently to combine everything, but don’t worry about fully mixing the sauce—it will blend as it cooks.
Secure the lid, set the valve to Sealing, and cook on High Pressure for 10 minutes. It’ll take about 10-15 minutes to come to pressure first—that’s normal. The chicken is done when it shreds easily with a fork.
Step 4: Finish and Thicken the Sauce
Once the cooking time is up, let the pressure release naturally for 5 minutes, then quick-release any remaining pressure. Remove the lid and switch the Instant Pot back to Sauté mode.
Simmer the chicken and sauce uncovered for 3-5 minutes to let the sauce thicken slightly. If it’s too thick, stir in a splash of water or broth. Taste and adjust seasoning if needed, though the barbeque sauce should provide plenty of flavor. Serve hot with extra sauce spooned over the top.
Pro Tips For Making Barbeque Chicken In Instant Pot
- Sear the Thighs: Brown the chicken thighs in the Instant Pot first using the sauté function—about 3-4 minutes per side. I learned this the hard way: skipping this step leaves the sauce tasting flat and the meat less flavorful.
- Thin the Sauce: After cooking, simmer the sauce uncovered for 5-7 minutes to thicken it. Sounds weird, but it works: barbeque sauce straight from the jar can be cloyingly sweet and thin.
- Skip the Overcrowding: Resist the urge to pack in too many thighs—leave at least an inch between pieces so the heat circulates. My first batch came out steamed rather than fall-off-the-bone tender because I crammed in eight thighs instead of six.
- Add Vinegar Last: Stir in the apple cider vinegar after pressure cooking, not before. After burning three batches, I finally figured out that its acidity can prevent the sauce from caramelizing properly during the cook.
Storing and Reheating Leftovers
Refrigerator Storage
Let your chicken cool completely before storing—this prevents condensation that can make the sauce watery. I transfer mine to an airtight container and refrigerate within 2 hours of cooking. This keeps for 4-5 days in the fridge, and honestly, the flavors taste even better the next day. ❄️
Freezer Storage
For longer storage, shred the chicken first—this makes portioning easier later. Pack in freezer-safe bags with some sauce, leaving 1 inch of headspace. It freezes beautifully for up to 3 months without losing texture or flavor. I always label with the date to keep track.
Stovetop Reheating
My go-to method: Warm in a skillet over medium-low heat with a splash of chicken broth or water. Cover and stir occasionally for 5-7 minutes until heated through. This keeps the chicken moist and the sauce clinging perfectly.
Microwave Method
For a quick meal, place individual portions in a microwave-safe dish with a damp paper towel on top. Heat on 70% power in 1-minute intervals, stirring between each, until reaching 165°F. Add a spoonful of broth if it looks dry.
Sauce Consistency Tip
If your sauce thickens too much during storage, stir in 1-2 tbsp water or broth before reheating. The Instant Pot version tends to reduce more than traditional methods. I find this especially helpful with freezer meals.
Serving After Storage
Reheated barbeque chicken works great in sandwiches, tacos, or over rice. The sauce tends to soak in more after storage, making every bite extra flavorful. I love repurposing leftovers this way. 💡
Nutrition Facts
Frequently Asked Questions
Do I need to sear the chicken first?
Searing is highly recommended for the best flavor. It adds depth and helps prevent the chicken from sticking. 3-4 minutes per side on Sauté mode gives that perfect golden crust.
Can I use chicken breasts instead of thighs?
Yes, but reduce the pressure cook time to 8 minutes to prevent dryness. Thighs stay juicier, but breasts work if that’s what you have. Just check they reach 165°F internally.
Why is my sauce too thin?
After pressure cooking, simmer uncovered on Sauté for 3-5 minutes to thicken. If still thin, mix 1 tbsp cornstarch with water and stir in while simmering.
Can I make this with homemade sauce?
Use 1.5 cups of your favorite homemade BBQ sauce. The recipe works the same, though store-bought sauces tend to be thicker.

- 4C Bread Crumbs Meatballs Recipe: Crispy Crust and Juicy Centers - September 25, 2026
- 6 Oz Chocolate Chip Cookie Recipe: Perfectly Balanced Crispy Edges and Chewy Hearts - September 25, 2026
- 6-Inch Coffee Cake Recipe: Vanilla Bean Swirls and Buttery Streusel Topping - September 25, 2026