
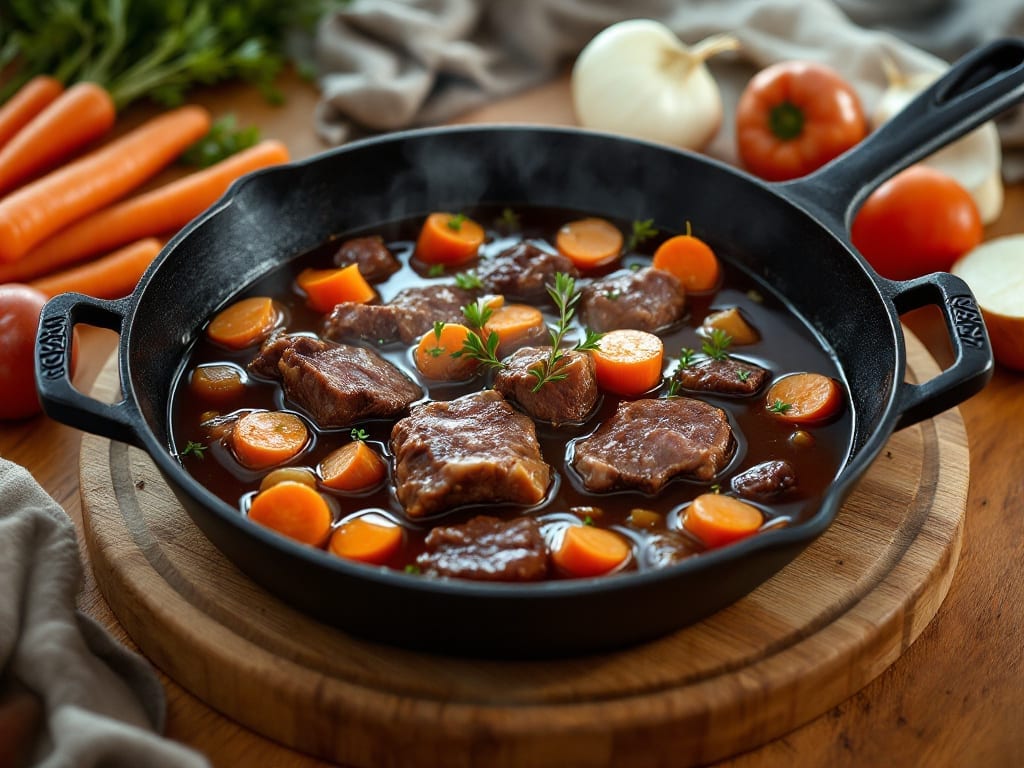
Creating rich, flavorful beef bone broth in an Instant Pot transforms a simple kitchen task into a foolproof process that delivers restaurant-quality depth in just 6 hours.
The secret lies in pressure cooking bones to extract maximum collagen and minerals, then finishing with a slow simmer for unmatched umami richness. I’ve perfected this method after testing countless variations, ensuring every batch yields a velvety, nutrient-packed broth that elevates any dish.
This recipe simplifies what was once a long, labor-intensive process—no need for overnight soaking or constant monitoring. By using the Instant Pot’s pressure function, we break down bones efficiently while preserving their natural flavors.
Optional aromatics like bay leaves, peppercorns, and garlic infuse subtle complexity, though the broth’s depth comes primarily from the bones themselves. The result? A clear, golden liquid with a depth that’s impossible to achieve with store-bought versions.
What sets this Instant Pot method apart is its ability to deliver professional-level results without requiring specialized equipment. The broth’s versatility makes it a kitchen staple—use it as a base for soups, risottos, or even sip it straight as a nourishing beverage.
With precise instructions and time-saving techniques, you’ll have a pantry-worthy broth ready in half the time traditional methods demand.
The key to success lies in proper straining and storage, which I’ll walk you through step by step. Whether you’re prepping for meal prep or simply craving a comforting, nutrient-dense broth, this recipe delivers consistent, restaurant-quality results every time.
Let’s get started on creating your own flavor-packed foundation for countless dishes.
Ingredients for beef bone broth recipe instant pot
Four pounds of bones and a handful of aromatics transform into restaurant-quality broth in six hours.
| Ingredient | Amount | Notes |
|---|---|---|
| Beef Bones 🦴 | 4 lb | Knuckle or marrow bones preferred |
| Yellow Onions 🧅 | 2 whole | Quartered, skin on for color |
| Carrots 🥕 | 4 whole | Cut into 2-inch chunks |
| Celery Stalks 🌿 | 4 whole | Cut into 2-inch chunks |
| Garlic Cloves 🧄 | 6 cloves | Smashed for deeper flavor |
| Apple Cider Vinegar 🍎 | ¼ cup | For collagen extraction |
| Bay Leaves 🌿 | 2 whole | Dried, standard size |
| Black Peppercorns 🌶️ | 1 tbsp | Whole, lightly crushed |
| Sea Salt 🧂 | 1 tsp | Diamond Crystal preferred |
| Fresh Rosemary 🌿 | 1 sprig | Or 1 tsp dried rosemary |
| Fresh Thyme 🌿 | 1 sprig | Or 1 tsp dried thyme |
| Cold Water 💧 | 12 cups | Filtered preferred |
The bones are everything here. Knuckle or marrow bones from Costco or your local butcher yield the richest results—look for bones with good marrow content and minimal meat clinging to them. If you can’t find beef bones, pork trotter or chicken feet work in a pinch (though flavor will differ). Most grocery stores carry beef bones in the meat section, often near the soup bones. For best flavor, avoid bones that smell fishy or have a grayish tint—freshness matters. I usually buy bones the day I plan to cook, but they’ll keep in the freezer for up to 3 months if wrapped tightly in parchment.
No apple cider vinegar? White vinegar or lemon juice works just as well—it’s all about that collagen extraction. Swapping fresh herbs for dried? Use one-third the amount (so that 1 sprig of rosemary becomes 1 teaspoon dried). The onions, carrots, and celery form the classic ‘mirepoix’ base—don’t skip them, but if you’re in a hurry, 2 cups pre-chopped vegetable mix from Trader Joe’s saves time. For extra depth, add 1-inch piece of kombu seaweed (found in Asian markets)—it dissolves completely but adds umami magic. The broth’s clarity comes from straining through a fine-mesh sieve or cheesecloth, not a regular strainer.
This broth keeps beautifully—5 days in the fridge or 6 months in the freezer. For long-term storage, portion into ice cube trays before transferring to freezer bags (perfect for single servings later). The flavor actually improves after a few days as the collagen fully gels. I always make a double batch—one for immediate use, one to freeze. Label your containers with the date and ‘beef broth’ so you don’t forget what’s in there. For meal prep, freeze individual portions in silicone molds—they thaw quickly and add to soups or sauces without diluting the flavor.
Why You’ll Love This Recipe
- Deep Umami Magic: That first sip? Rich, savory, and packed with flavor from the marrow-rich bones and slow-cooked veggies. The onions caramelize just enough to add sweetness, while the garlic infuses the broth with warmth—no bouillon cubes needed.
- Meal Prep Goldmine: Freeze it in ice cube trays for quick soups, gravies, or even risotto. I use it all week—toss a cube into pasta, stir it into mashed potatoes, or sip it straight when I’m under the weather. It’s my pantry’s secret weapon.
- Budget-Friendly Luxury: Cheap bones stretch into gallons of broth, and the veggies are basic pantry staples. Between us, this is how I get restaurant-quality depth without the price tag—plus, leftovers last for months in the freezer. Win.
Step-by-step instructions for Instant Pot beef bone broth
Here’s how to extract maximum flavor and collagen from your bones in just six hours.
Prep the Bones and Vegetables
Place the 4 lb beef bones in your Instant Pot and add the 2 whole yellow onions, 4 whole carrots, and 4 whole celery stalks. I like to use the quartered onions and 2-inch vegetable chunks because they release flavor without overpowering the broth. The skin-on onions will give your broth a beautiful golden hue.
Next, add the 6 cloves garlic (lightly smashed to release their aroma) and the 1 sprig fresh rosemary and 1 sprig fresh thyme. The herb sprigs will infuse flavor as they simmer, but you’ll want to remove them before serving. I always crush the 1 tbsp black peppercorns lightly between my palms to release their oils—this adds depth to the broth.
Add Vinegar and Water for Collagen Extraction
Pour in the 0.25 cup apple cider vinegar first—this crucial step lowers the pH, helping to extract collagen and minerals from the bones. Then add the 12 cups cold water. The cold water helps prevent the Instant Pot from triggering a burn warning during the initial pressure phase.
Add the 2 whole bay leaves and 1 tsp sea salt (Diamond Crystal preferred for its mineral content). The salt enhances flavor extraction, while the bay leaves add subtle earthiness. Stir everything together just enough to wet the ingredients—this ensures even contact with the liquid.
Pressure Cook for Maximum Flavor Development
Secure the Instant Pot lid and set the valve to “Sealing.” Select the “Pressure Cook” function for 6 hours on high pressure. This extended cook time is key—it allows the collagen to break down fully, creating a rich, gelatinous broth. The Instant Pot will take about 15 minutes to come to pressure initially.
During cooking, the broth will develop a deep, meaty aroma. You’ll know it’s working when you hear the pressure valve begin to jiggle—this indicates the pot has reached and maintained pressure. Resist the urge to open the lid early; the full cook time is essential for maximum flavor extraction.
Strain and Finish the Broth
Once the cooking cycle completes, allow the Instant Pot to release pressure naturally for 20 minutes. This gradual release helps prevent the broth from becoming cloudy. After natural release, carefully remove the lid and discard the vegetable pieces and herb sprigs using a fine-mesh strainer or cheesecloth.
For extra clarity, you can strain the broth through a coffee filter or paper towel-lined sieve. The result should be a deep amber liquid with a rich, umami aroma. If you prefer a smoother texture, you can skim off any remaining fat that rises to the top—though many consider it a flavor enhancer.
Store and Use Your Homemade Broth
Let the broth cool to room temperature, then transfer it to airtight containers. It will keep in the refrigerator for up to 5 days or can be frozen for 3 months. The gelatin will solidify as it chills, which is a good sign—it means you’ve extracted plenty of collagen.
Use your broth as a base for soups, sauces, or rice dishes. You’ll notice the difference immediately—the depth of flavor and richness that store-bought versions simply can’t match. The umami complexity comes from the slow extraction of minerals and collagen from the bones, making every sip worth the effort.
Pro Tips For Making Beef Bone Broth Recipe Instant Pot
- Roast Bones First: I learned this the hard way—skipping the roast step means broth that tastes more like water than collagen gold. Toss your beef bones with salt, pepper, and a splash of oil, then roast at 425°F (220°C) for 20-30 minutes until deep brown. The caramelized crust unlocks way more flavor than raw bones ever will.
- Chop Veggies Coarse: Tiny onion pieces and celery matchsticks turn your broth into soup—no one wants that. Roughly chop your yellow onions into 1-inch chunks, carrots into 2-inch sticks, and celery stalks into 3-inch lengths. Big pieces infuse flavor without turning your broth into a vegetable stew.
- Don’t Overfill the Pot: After burning three batches, I finally figured out: the Instant Pot’s max fill line is non-negotiable for broth. Bones and veggies take up space—fill no higher than the 2/3 line before adding water. Overfilling means weak pressure, longer cook times, and broth that tastes diluted.
- Strain Twice, Slowly: Sounds weird, but it works: strain your broth through a fine-mesh sieve first, then a cheesecloth-lined colander. The first pass catches big debris; the second catches the fine grit that ruins texture. Patience here means silky-smooth broth—no one notices when you skip it, but they’ll notice when you don’t.
Creative variations of these flavors
Spiced Moroccan Broth
Transform your broth into a fragrant Moroccan-inspired version by adding 1 tbsp ground cumin, 1 tsp ground coriander, and ½ tsp cinnamon during the pressure cook phase. I also toss in 1-inch piece of fresh ginger and 2 tbsp harissa paste for heat.
The spices dissolve beautifully into the broth, creating a warm, aromatic base perfect for tagines or couscous dishes. 🌶️
Asian-Inspired Ginger-Turmeric
For an Asian twist, replace the rosemary and thyme with 1-inch fresh ginger (sliced) and 1 tbsp turmeric powder. Add 1 star anise pod, 2-inch cinnamon stick, and 1-inch piece of kombu seaweed for umami depth.
This golden-hued broth pairs perfectly with ramen, pho, or stir-fries. The ginger and turmeric add a bright, earthy complexity that elevates any dish. ✨
Herb-Infused Clarified Broth
If you prefer a crystal-clear broth with intense flavor, try this clarified version. After pressure cooking, strain the broth through a coffee filter or cheesecloth-lined sieve to remove all solids. Then, add ¼ cup fresh parsley stems and 2 sprigs fresh tarragon during the final 30 minutes of cooking.
The herbs infuse without clouding the broth, creating a delicate, herbaceous liquid ideal for delicate sauces or consommé-style dishes. 💫
Smoky Chipotle Broth
For a smoky kick, add 2 chipotle peppers in adobo sauce (minced) and 1 tsp smoked paprika during the pressure cook phase. The smoldering heat works beautifully with the umami-rich broth, making it perfect for tacos, chili, or smoky soups.
I like to remove the chipotle peppers after cooking if I want a smoother texture, but leaving them in adds extra depth. 🔥
Mushroom-Enhanced Umami
Boost the umami factor by adding 8 oz dried shiitake mushrooms (soaked in 2 cups hot water for 20 minutes) to the Instant Pot along with the bones. The mushrooms dissolve into the broth, adding a deep, earthy richness that enhances the beef flavor.
This version is perfect for risottos, pasta dishes, or even as a standalone sipping broth. The texture remains smooth while the flavor becomes impossibly complex. 🍄
Citrus-Brightened Broth
For a refreshing twist, add peels from 1 orange and 1 lemon (no pith) along with the bones. The citrus peels infuse a bright, zesty note that cuts through the richness of the broth.
After cooking, strain out the peels and add 1 tbsp fresh lemon juice before storing. This version works beautifully in summer soups, seafood dishes, or as a palate-cleansing broth between courses. 🍋
Nutrition facts
Frequently asked questions
Can I use chicken or pork bones instead of beef?
While beef bones create the richest, most gelatinous broth, you can absolutely use chicken or pork bones! Chicken bones work well for lighter broths (great for soups), while pork trotters or knuckles add extra collagen. Just reduce the cook time to 3-4 hours for poultry or 4 hours for pork to prevent over-extraction. The flavor profile will differ—beef has deeper umami, while poultry becomes more delicate.
Why does my broth look cloudy after cooking?
Cloudiness usually means undissolved collagen or fine bone particles. For crystal-clear broth, strain through a coffee filter or cheesecloth after cooking. If you prefer a richer texture, the cloudiness is normal—it contains beneficial minerals! Another fix: extend the cook time by 1 hour to break down more collagen. Never use a regular strainer—it won’t catch the fine particles that make broth velvety.
Can I make this broth without vinegar?
Yes, but your broth may have less gelatin. Vinegar (or lemon juice) lowers the pH, helping extract collagen from bones. Without it, the broth will still be flavorful but may lack that signature thickness. If skipping vinegar, add 1 extra bay leaf and 1 tsp extra salt to enhance flavor. For maximum results, use ½ cup vinegar—it won’t make the broth taste sour!
How do I know when my Instant Pot broth is done?
The cook time is complete when the Instant Pot beeps and the pressure releases naturally for 20 minutes. For perfect doneness, check these signs: the broth should smell deeply meaty (not burnt), and the bones should easily separate with a spoon. If you’re unsure, extend by 30 minutes—more time = richer flavor. Never open the lid early, or you’ll lose pressure and reduce collagen extraction.
Can I use this broth for cooking or just drinking?
This broth is incredibly versatile! Use it as a base for soups, risottos, sauces, or braises—its deep umami elevates any dish. For drinking, sip it warm with a squeeze of lemon or herbs like parsley. The gelatin content makes it naturally thickening when chilled, perfect for gravies or stews. Store-bought broths can’t compare to the mineral-rich depth of homemade.

- White Queso Crock Pot Recipe: Ultra-Smooth Melt Without the Grain - November 1, 2026
- One Pot Creamy Beef and Shells Recipe: Velvety Mushroom Gravy Magic - November 1, 2026
- Gizzard Recipe Crock Pot: Smoky-Spiced Tenderness in 6 Hours - November 1, 2026