
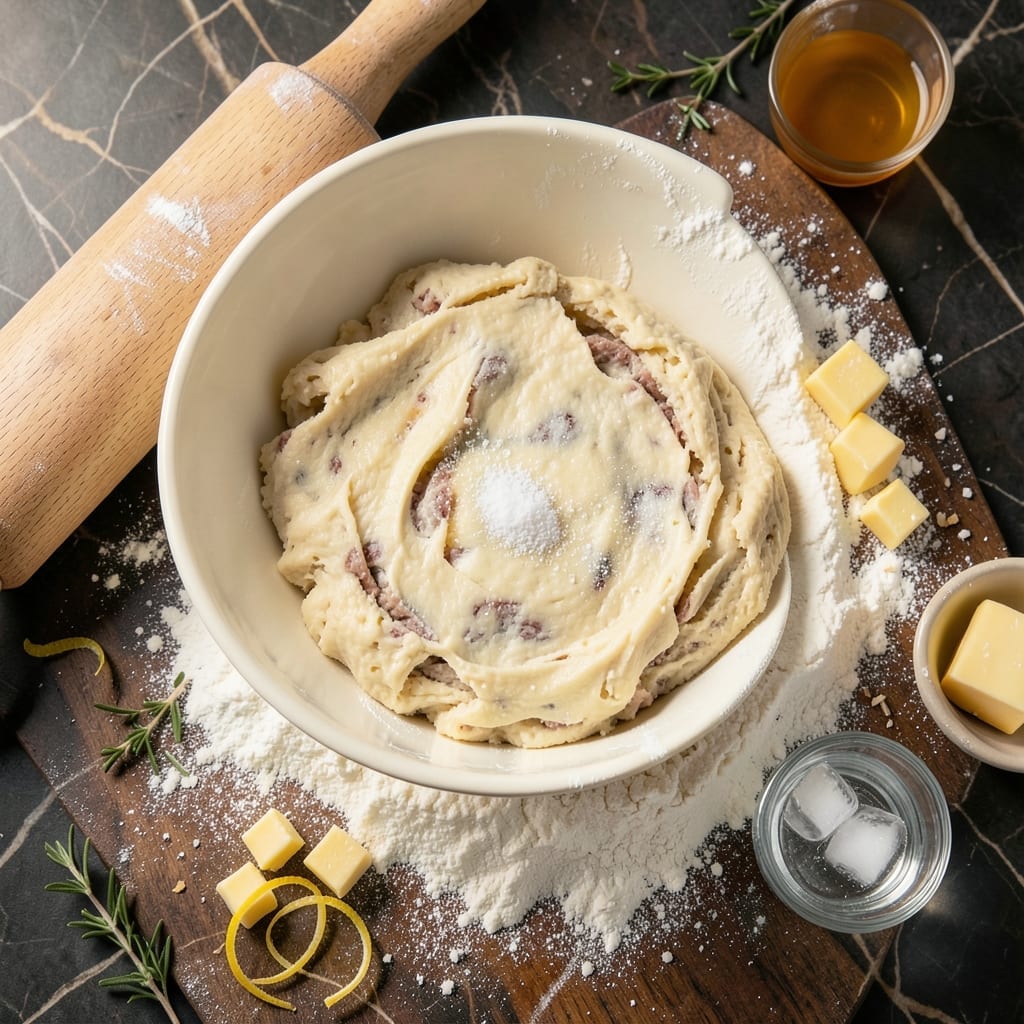
This dough transforms pot pie from good to extraordinary with its flaky, golden layers that perfectly encase rich beef fillings. I developed this recipe after years of testing to achieve a crust that’s both sturdy enough to hold hearty fillings and tender enough to melt in your mouth.
The secret lies in using cold ingredients and minimal handling to create distinct butter layers. This method ensures a flaky texture that bakes to a golden brown finish, with each bite delivering that satisfying crunch.
What sets this apart is its ability to maintain structure while complementing the savory beef filling. The dough comes together quickly with basic pantry staples, requiring just 15 minutes of active preparation before resting.
Perfect for classic beef pot pie or any savory filling you choose. Here’s how to make this essential component.
Ingredients for Beef Pot Pie Dough
Basic pantry staples create extraordinary layers for your savory pie filling.
| Ingredient | Amount | Notes |
|---|---|---|
| All-Purpose Flour 🌾 | 3 cups | Plus extra for dusting |
| Unsalted Butter 🧈 | 1 cup | Cold, cubed into 1/2-inch pieces |
| Ice Water 💧 | ¾ cup | Plus more as needed |
| Salt 🧂 | 1 tsp | Fine sea salt preferred |
| Granulated Sugar 🍚 | 1 tsp | Optional, enhances browning |
| Egg 🥚 | 1 whole | For egg wash finish |
| White Vinegar 🍶 | 1 tbsp | Helps tenderize crust |
The butter is non-negotiable here. European-style unsalted butter (like Plugrá or Kerrygold) has higher fat content for superior flakiness. Keep it ice-cold—warm butter ruins the layering. King Arthur Flour is my go-to for all-purpose, but any unbleached variety works. The vinegar might seem odd, but it inhibits gluten development, keeping the crust tender. Measure your flour by spooning into the cup, not scooping (prevents packed, dense dough).
No vinegar? Lemon juice works at the same ratio. Out of all-purpose flour? Half all-purpose, half cake flour yields an even more delicate crust. For a richer flavor, swap 1/4 cup of the water for cold vodka—alcohol evaporates during baking, leaving extra flakiness. The egg wash can be omitted, but it delivers that golden brown finish the recipe promises.
The dough rests best 1-2 hours in the fridge, but overnight is even better. Wrapped tightly, it keeps for 3 days refrigerated or 1 month frozen. Bring to room temperature slightly before rolling for easier handling. Discard any scraps after re-rolling once to prevent toughness.
Why You’ll Love This Recipe
- No-Fuss Mixing: I just pulse the flour, cold butter, and a pinch of sugar in my food processor—no fancy techniques, just simple ingredients coming together fast.
- Buttery Crisp: The unsalted butter layers into the flour so every bite has that flaky, golden crust that shatters just right.
- Freezer Friendly: I make a double batch and freeze the extra dough—perfect for last-minute pot pies or even quick hand pies later.
- Pantry Staples: All-purpose flour, butter, salt, sugar—everything I already keep on hand, so I can whip this up without a special grocery trip.
Step-by-Step Instructions for Pot Pie Dough
This method yields flaky, golden layers that perfectly complement any savory filling.
Step 1: Combine Dry Ingredients
In a large mixing bowl, whisk together the 3 cups All-Purpose Flour, 1 tsp Salt, and 1 tsp Granulated Sugar until fully incorporated. The sugar enhances browning, creating that coveted golden finish on your crust.
This dry mixture forms the foundation of your dough. Ensure there are no lumps in the flour before proceeding—this guarantees an even texture throughout the final product.
Step 2: Cut in the Cold Butter
Add the 1 cup Unsalted Butter, cubed into ½-inch pieces, to the dry ingredients. Using a pastry cutter or your fingertips, work the butter into the flour until the mixture resembles coarse crumbs with some pea-sized butter pieces remaining visible.
This technique creates the flaky layers characteristic of excellent pie dough. The cold butter must stay solid—if it begins to melt, briefly chill the mixture in the freezer before continuing.
Step 3: Incorporate the Liquid Components
Create a well in the center of the flour-butter mixture. Add the 0.75 cup Ice Water and 1 tbsp White Vinegar to the well. The vinegar tenderizes the gluten, resulting in a more delicate crust.
Using a fork, gently mix the liquid into the dry ingredients until the dough just begins to come together. It will appear shaggy and slightly dry—that’s exactly what you want at this stage.
Step 4: Knead and Shape the Dough
Turn the dough out onto a lightly floured surface. Gently knead it just until it forms a cohesive ball, about 4-5 turns. Overworking the dough develops gluten, which makes the crust tough rather than tender.
Divide the dough into two equal portions, flatten each into a 1-inch thick disc, and wrap them tightly in plastic wrap. Refrigerate for at least 1 hour before rolling out—this resting period allows the gluten to relax and the butter to rechill.
Step 5: Prepare for Baking
When ready to use, roll out one disc to fit your pie dish, leaving a slight overhang. Brush the top crust with a beaten 1 whole Egg for a glossy, golden finish. This egg wash also helps seal the edges and adds a professional touch to your final product.
Bake according to your pot pie recipe instructions, typically at 375-400°F until the crust is deep golden brown and the filling is bubbling. The vinegar and sugar in the dough will ensure a beautifully browned, crisp finish.
Pro Tips For Making Beef Pot Pie Dough
- Chill Your Butter: Cut the butter into small cubes and refrigerate for 15 minutes before mixing—this keeps the dough flaky instead of greasy. I learned this the hard way after my first few pies came out dense.
- Use Ice-Cold Water: Fill a glass with water and ice cubes, then measure from that—any warmer and the dough toughens. Sounds fussy, but it actually changes the outcome.
- Skip Overworking Dough: Mix just until the flour disappears; over-kneading develops gluten and makes the crust chewy. My grandmother swore by this, and she was right.
- Add Vinegar for Flakiness: Replace 1 tablespoon of ice water with white vinegar—it tenderizes the dough without affecting taste. I was skeptical until I tried it and saw the difference.
Perfect Pairings for This beef pot pie dough
Wine Pairings
A medium-bodied Pinot Noir from Oregon complements the buttery crust and rich beef filling beautifully. Its bright acidity cuts through the richness while enhancing the savory notes. I love Eyrie Vineyards for this pairing. 🍷
Beer Options
For beer lovers, a malty Amber Ale like Fat Tire balances the dish’s heartiness. The caramel notes in the beer echo the golden crust while cleaning your palate. Avoid overly hoppy IPAs that can clash with the filling.
Side Salads
A crisp green salad with 2 tbsp lemon vinaigrette provides fresh contrast. Toss 4 cups mixed greens with shaved Parmesan and toasted almonds for crunch. The acidity cuts through the richness perfectly.
Vegetable Sides
Roasted Brussels sprouts with 1 tbsp balsamic glaze add a caramelized depth that pairs well. Roast at 400°F for 20-25 minutes until crispy. Simple and satisfying alongside your pot pie. 🌟
Soup Starters
A light tomato bisque makes an elegant starter. Its creamy texture contrasts with the pot pie’s flaky crust. Serve in small portions to avoid overwhelming the main course.
Dessert Follow-Up
End with vanilla ice cream and warm apple pie to continue the comforting theme. The cold cream and warm fruit filling create a perfect balance after the savory meal.
Nutrition Facts
Frequently Asked Questions
Can I use shortening instead of butter?
Yes, but butter provides superior flavor and flakiness. If using shortening, keep it cold and use the same amount. The texture will be slightly different but still effective.
Why does the dough need to rest?
Resting allows the gluten to relax and the butter to rechill. This prevents shrinking during baking and ensures a tender, flaky crust. 1 hour minimum is ideal.
Can I make the dough ahead of time?
Wrap tightly and refrigerate for up to 3 days or freeze for 1 month. Thaw in the fridge before rolling for best results.
How do I prevent a soggy bottom crust?
Blind-bake the bottom crust for 10 minutes before adding filling. Also, ensure your filling isn’t too wet before assembling.

- 6 Oz Chocolate Chip Cookie Recipe: Perfectly Balanced Crispy Edges and Chewy Hearts - September 25, 2026
- 6-Inch Coffee Cake Recipe: Vanilla Bean Swirls and Buttery Streusel Topping - September 25, 2026
- 1 Hour Soup Recipe: Velvety Richness Without the Wait - September 25, 2026