
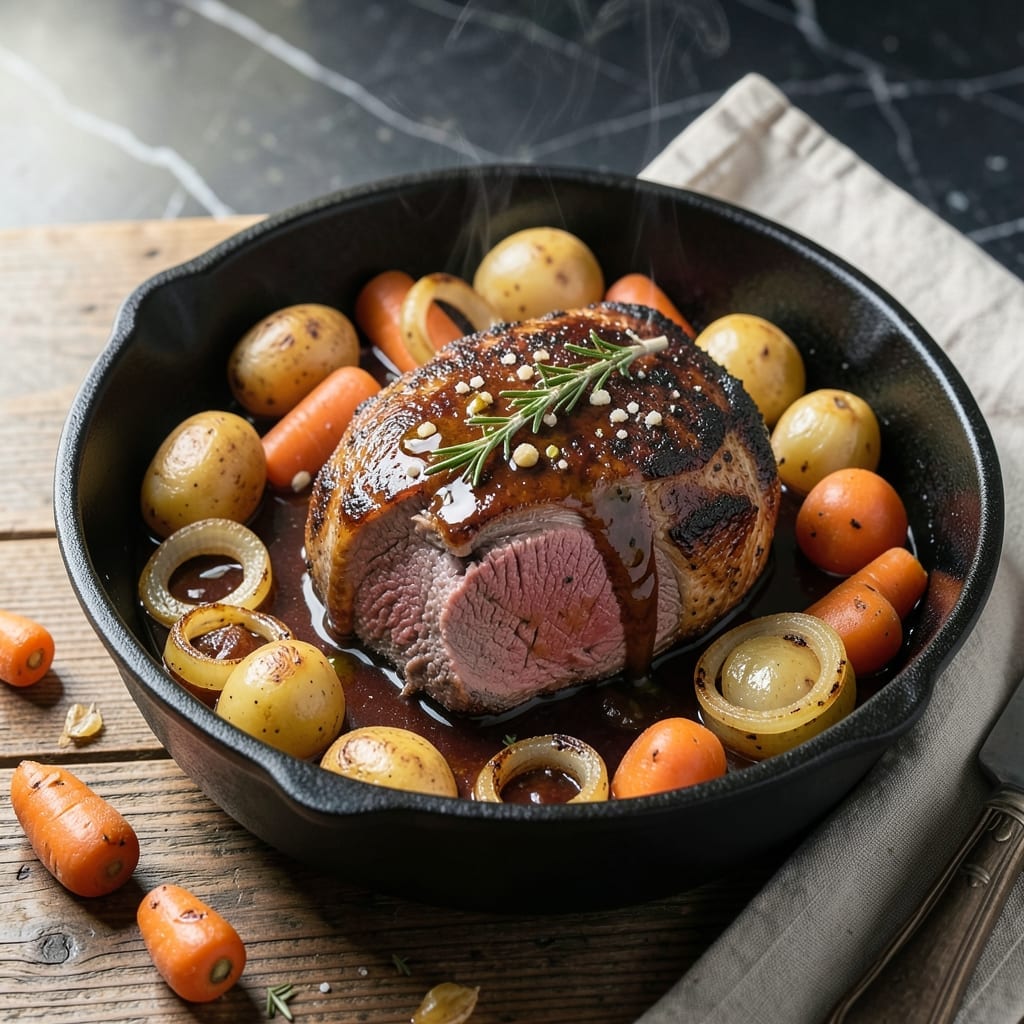
I used to think pot roast required all day in the oven, but my pressure cooker changed everything. Melt-in-your-mouth beef in under an hour? Absolutely possible.
The secret is browning the meat first for deep flavor, then letting the pressure cooker work its magic. This method locks in juices while breaking down tough cuts into something incredibly tender.
You’ll get fall-apart beef, perfectly cooked vegetables, and a rich gravy—all without babysitting the stove. It’s the ultimate set-it-and-forget-it dinner.
Best part? The aroma will have everyone gathering in the kitchen before it’s even done. Let’s get started.
Ingredients for Beef Pot Roast Recipe Pressure Cooker
Rich beef, hearty veggies, and bold seasonings blend into pure comfort food magic.
| Ingredient | Amount | Notes |
|---|---|---|
| Beef Chuck Roast 🥩 | 3 lb | Well-marbled, cut into large chunks |
| Olive Oil 🫒 | 2 tbsp | Divided for browning and sautéing |
| Yellow Onion 🧅 | 1 whole | Large, roughly chopped |
| Garlic Cloves 🧄 | 6 cloves | Minced for depth of flavor |
| Carrots 🥕 | 3 whole | Peeled, cut into thick pieces |
| Yukon Gold Potatoes 🥔 | 1 ½ lb | Cut into large chunks |
| Beef Broth 💧 | 2 cups | Low-sodium preferred |
| Red Wine 🍷 | ½ cup | Dry variety like Cabernet |
| Tomato Paste 🍅 | 2 tbsp | For richness in gravy |
| Worcestershire Sauce 🫗 | 1 tbsp | Adds umami depth |
| Fresh Thyme Sprigs 🌿 | 3 pieces | Or 1 tsp dried thyme |
| Bay Leaf 🍃 | 1 whole | Dried, for aroma |
| Kosher Salt 🧂 | 1 ½ tsp | Diamond Crystal preferred |
| Black Pepper 🌶️ | 1 tsp | Freshly ground for best flavor |
| All-Purpose Flour 🌾 | 2 tbsp | For thickening gravy |
The beef is non-negotiable here. Chuck roast with good marbling is what melts into that fall-apart texture—skip the lean cuts like round or sirloin (they’ll turn out tough). I grab mine from Costco for the best price, but any supermarket with a decent butcher section works. Look for bright red meat with white fat streaks throughout (that’s the marbling). If it’s pre-cut into stew meat, even better—saves you a step.
No red wine? Beef broth plus 1 tsp balsamic vinegar mimics the acidity. Swap Yukon Golds for russets or sweet potatoes—they hold up well. Fresh out of thyme? Dried thyme at one-third the amount works, or sub in rosemary. The tomato paste can be skipped in a pinch, but the gravy won’t be as rich. For the Worcestershire, soy sauce plus a dash of lemon juice gets you close.
This tastes even better the next day. Store leftovers in an airtight container for up to 4 days in the fridge, or freeze for 3 months. The gravy thickens as it cools—just stir in a splash of broth when reheating. Perfect for meal prep!
Why You’ll Love This Recipe
- I’ll be real: a tough cut like chuck turns into something luxurious in the pressure cooker without breaking the bank.
- Set It and Forget It: I toss everything in the pressure cooker and walk away—no babysitting, no stirring, just tender beef waiting for me an hour later.
- Feeds the Whole Crew: Between us, this makes enough for Sunday dinner plus leftovers for sandwiches the next day.
- Budget-Friendly Comfort: I’ll be real: a tough cut like chuck turns into something luxurious in the pressure cooker without breaking the bank.
Step-by-Step Instructions for Pressure Cooker Beef Pot Roast
Here’s the method that transforms tough cuts into buttery tenderness in record time.
Step 1: Sear the Beef Chuck Roast to Lock in Flavor
Set your pressure cooker to the sauté function and add 1 tbsp olive oil from the 2 tbsp Olive Oil. When the oil shimmers, pat the 3 lb Beef Chuck Roast dry with paper towels and season aggressively with the 1.5 tsp Kosher Salt and 1 tsp Black Pepper. You want a visible crust of seasoning on all sides.
Sear the beef for 4-5 minutes per side until deeply browned. Don’t rush this—you’re building the flavor foundation. The meat should release easily from the pot when it’s ready to flip. Transfer the roast to a plate and set aside.
Step 2: Build the Aromatic Base for Rich Depth
In the same pot, add the remaining 1 tbsp olive oil, then toss in the roughly chopped 1 whole Yellow Onion. Sauté for 3 minutes until softened and translucent at the edges. Add the 6 cloves minced Garlic Cloves, 2 tbsp Tomato Paste, and 1 tbsp Worcestershire Sauce, stirring constantly for 1 minute until the tomato paste darkens slightly.
This step creates the umami backbone of your dish. The tomato paste should turn from bright red to a deeper brick color, signaling that its sugars have caramelized. The garlic will release its fragrance but shouldn’t brown—burnt garlic tastes bitter.
Step 3: Deglaze and Pressure Cook to Perfection
Pour in the 0.5 cup Red Wine and scrape up all the browned bits from the bottom of the pot with a wooden spoon. These fond bits are pure flavor. Add the 3 whole Carrots, 1.5 lb Yukon Gold Potatoes, 2 cups Beef Broth, 3 pieces Fresh Thyme Sprigs, and 1 whole Bay Leaf. Return the seared beef to the pot, nestling it into the vegetables.
Secure the lid and set the pressure cooker to high pressure for 45 minutes. The beef will emerge fork-tender, with vegetables that have absorbed all the rich, meaty flavors. The natural release method works best here—it prevents the beef from drying out.
Step 4: Thicken the Gravy and Finish
Once the pressure has released naturally, remove the beef and vegetables to a serving platter. Set the pressure cooker to sauté again. In a small bowl, whisk the 2 tbsp All-Purpose Flour with 2 tbsp of the cooking liquid until smooth, then stir this slurry into the pot.
Simmer for 3-4 minutes, stirring constantly, until the gravy thickens enough to coat the back of a spoon. The transformation is magical—watch as the thin liquid becomes a luxurious, velvety sauce. Pour this gravy over the beef and vegetables before serving.
Pro Tips For Making Beef Pot Roast Recipe Pressure Cooker
- Sear the Beef First: I learned this the hard way—skipping the sear leaves your pot roast bland and pale. A quick 2-3 minutes per side in hot olive oil gives that deep, caramelized crust that makes the dish taste like it simmered all day.
- Cut Carrots Evenly: Sounds picky, but uneven pieces turn mushy or stay crunchy. Aim for 2-inch chunks so everything cooks through at the same rate in the pressure cooker.
- Deglaze the Pot: After searing, pour in a splash of broth or water and scrape up those browned bits—this isn’t just cleanup, it’s where a ton of flavor hides. Skip this and your sauce will taste flat.
- Use Natural Release: Resist the urge to quick-release the pressure. Letting it sit for 10-15 minutes keeps the beef juicy instead of tough and dry. I rush this when I’m hungry, but the texture suffers every time.
Essential Equipment for beef pot roast recipe pressure cooker
Pressure Cooker Choice
I swear by my Instant Pot Duo Crisp—it has 11 customizable programs and the air fryer lid for crisping. For this dish, any 6-quart or larger electric pressure cooker works perfectly. The key is consistent pressure and reliable safety features. 💡
Searing Surface
A good stainless steel pressure cooker insert is essential for proper browning. Avoid non-stick inserts for this recipe—they don’t develop the same fond. I also keep a wooden spoon handy for deglazing without scratching.
Browning Tools
Use tongs for flipping the beef during searing—never pierce the meat. A paper towel roll nearby helps for quick drying of the roast between searing sides. This ensures a perfect crust forms on all surfaces.
Measuring Essentials
Accurate measurements matter here. I use OXO Good Grips measuring spoons and cups for the broth, wine, and spices. The 1.5 tsp Kosher Salt and 1 tsp Black Pepper need precise amounts for proper seasoning.
Finishing Touches
A slotted spoon helps remove the beef without breaking it apart. For the gravy, a whisk creates smooth lumps-free results. I also keep small bowls ready for making the flour slurry. 🔥
Safety Gear
Always use heat-resistant silicone gloves when handling the lid. A long-handled wooden spoon keeps your hands safe during deglazing. These small investments prevent burns and make the process much more enjoyable.
Nutrition Facts
Frequently Asked Questions
What’s the best cut for this method?
Use chuck roast with good marbling for the most tender results. Avoid lean cuts like round or sirloin as they can turn out tough. The fat marbling breaks down under pressure, creating that melt-in-your-mouth texture.
Can I skip the searing step?
Don’t skip it! Searing builds deep flavor through the Maillard reaction. It only takes 4-5 minutes per side and makes a noticeable difference in the final dish. The browned bits also create a richer gravy.
How do I know when it’s done?
The beef should be fork-tender after 45 minutes on high pressure. If it resists, cook for an additional 10-15 minutes. Always use natural release to prevent the meat from drying out.
Can I use a different liquid instead of wine?
Yes! Substitute with beef broth plus 1 tsp balsamic vinegar for similar acidity. The wine adds depth, but this alternative works in a pinch without sacrificing flavor.

- 6 Oz Chocolate Chip Cookie Recipe: Perfectly Balanced Crispy Edges and Chewy Hearts - September 25, 2026
- 6-Inch Coffee Cake Recipe: Vanilla Bean Swirls and Buttery Streusel Topping - September 25, 2026
- 1 Hour Soup Recipe: Velvety Richness Without the Wait - September 25, 2026