
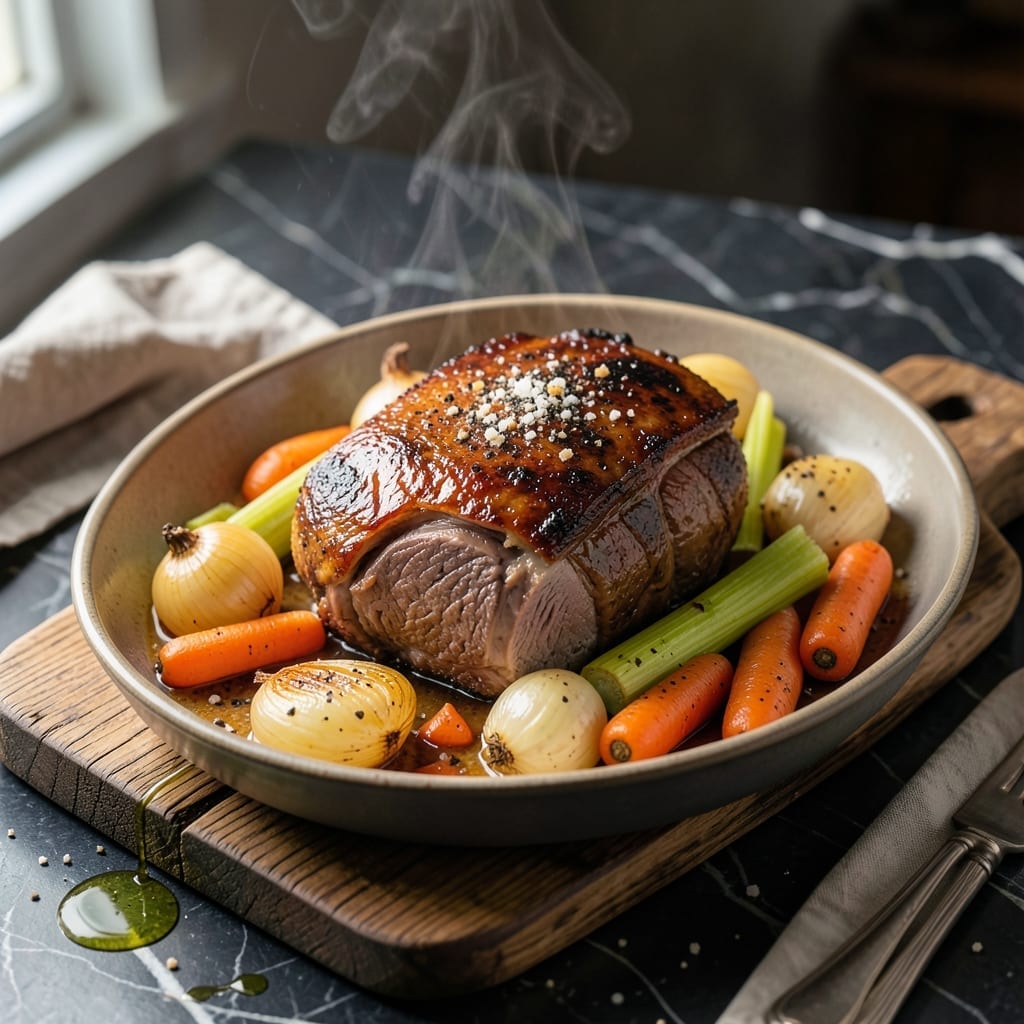
This crock pot method transforms tough beef shoulder into fork-tender perfection with minimal effort. The slow cooking process breaks down connective tissue, resulting in meat that practically falls apart at the touch.
I developed this technique to maximize flavor while keeping preparation simple. A few hours on low heat allows the beef to absorb the seasonings deeply, creating a rich, savory dish that tastes like it’s been cooking all day.
The result is a melt-in-your-mouth roast with a velvety texture and robust flavor. The natural juices concentrate into a light gravy that enhances every bite, making this dish a standout for any meal.
Ideal for busy days when you want a hearty, home-cooked dinner ready when you walk in the door. This is comfort food at its most effortless and delicious.
Ingredients for Beef Shoulder Roast Crock Pot
Fork-tender beef and aromatics create a rich, savory dish with minimal effort.
| Ingredient | Amount | Notes |
|---|---|---|
| Beef Shoulder Roast 🥩 | 3 lb | Chuck roast preferred, well-marbled |
| Kosher Salt 🧂 | 2 tsp | Diamond Crystal or Morton |
| Black Pepper 🌶️ | 1 tsp | Freshly ground preferred |
| Garlic Cloves 🧄 | 6 cloves | Peeled and smashed |
| Yellow Onions 🧅 | 2 whole | Medium, quartered |
| Carrots 🥕 | 4 whole | Peeled, cut into chunks |
| Celery Stalks 🌿 | 3 whole | Cut into large pieces |
| Low-Sodium Beef Broth 💧 | 1 ½ cups | Homemade or quality store-bought |
| Tomato Paste 🍅 | 2 tbsp | For depth of flavor |
| Dried Thyme 🍃 | 1 tsp | Or 1 tbsp fresh |
| Dried Rosemary 🌿 | 1 tsp | Crushed between fingers |
| Bay Leaves 🍃 | 2 whole | Dried, for aroma |
| Worcestershire Sauce 🫒 | 1 tbsp | Adds umami depth |
| Olive Oil 🫒 | 2 tbsp | For searing beef |
The beef shoulder is key here. Chuck roast is ideal—look for good marbling at Costco or your local butcher. The fat keeps it moist during the long cook. I grab mine from Whole Foods when they have sales (usually Thursdays). Don’t trim the fat cap—that’s flavor. For the broth, Better Than Bouillon is my go-to for depth without the salt overload.
No chuck? Brisket or short ribs work too (adjust cook time). Out of fresh garlic? Garlic powder at one-third the amount in a pinch. Swap the carrots and celery for frozen mirepoix if that’s what’s in your freezer. The Worcestershire can be subbed with soy sauce plus a pinch of sugar. Fresh herbs? Use triple the amount and add them at the end.
Leftovers taste even better the next day. Store in the fridge for up to 4-5 days or freeze for 3 months. I portion it into meal-sized containers—perfect for sandwiches or tacos later. The gravy thickens as it cools, so stir in a splash of water when reheating.
Why You’ll Love This Recipe
- Set It & Forget: I toss the beef in the crock pot with onions and garlic before work, and dinner’s ready when I walk in.
- Rich Garlic Depth: The slow cooker turns those simple cloves and onions into a sauce so deep, I soak it up with crusty bread.
- Feeds the Whole Crew: One roast, one pot, and suddenly I’ve got sandwiches, tacos, and stew for days.
- Budget Beef Win: Shoulder roast is half the price of prime cuts, and honestly, it tastes twice as good after eight hours on low.
Step-by-Step Instructions for Beef Shoulder Roast Crock Pot
Here’s how to transform this cut into melt-in-your-mouth perfection with minimal effort.
Step 1: Sear and Season the Beef Shoulder Roast
Pat the 3 lb Beef Shoulder Roast dry with paper towels, then season generously on all sides with the 2 tsp Kosher Salt and 1 tsp Black Pepper. This dry surface ensures a good sear.
Heat the 2 tbsp Olive Oil in a large skillet over medium-high heat until it shimmers. Sear the roast on all sides for 3-4 minutes per side until deeply browned. You’ll see the crust forming—that’s flavor building. Transfer the roast to your crock pot.
Step 2: Layer Aromatics and Build the Braising Liquid
Add the 2 whole Yellow Onions, 4 whole Carrots, and 3 whole Celery Stalks to the crock pot, arranging them around the roast. Scatter the 6 cloves Garlic Cloves, 1 tsp Dried Thyme, 1 tsp Dried Rosemary, and 2 whole Bay Leaves on top.
In a small bowl, whisk together the 1.5 cups Low-Sodium Beef Broth, 2 tbsp Tomato Paste, and 1 tbsp Worcestershire Sauce until smooth. Pour this mixture over the roast and vegetables. The liquid should come about halfway up the roast.
Step 3: Slow Cook to Fork-Tender Perfection
Cover the crock pot and cook on low heat for 8-10 hours or on high heat for 5-6 hours. I prefer low heat for this cut—it breaks down the connective tissue slowly for maximum tenderness.
Resist the urge to peek during cooking. Every time you lift the lid, you add 20-30 minutes to the cooking time. The roast is done when it pulls apart easily with a fork and reaches an internal temperature of 195-200°F.
Step 4: Rest and Shred for Serving
Carefully transfer the roast to a cutting board and let it rest for 10-15 minutes. This allows the juices to redistribute throughout the meat. The vegetables will be wonderfully tender and flavored from cooking in the braising liquid.
Shred the beef with two forks, discarding any large chunks of fat. Skim excess fat from the cooking liquid if desired, then return the shredded beef to the crock pot to soak up all those delicious juices before serving.
Pro Tips For Making Beef Shoulder Roast Crock Pot
- Sear the Roast: I learned this the hard way—browning the beef shoulder in a hot pan before it hits the crock pot adds depth of flavor you just can’t get otherwise. About 2-3 minutes per side in a little oil does the trick.
- Cut Onions Thick: After ending up with mushy onions too many times, I now slice them into ½-inch chunks so they hold up during the long cook. They’ll soften but still have some texture.
- Skip the Water: The beef releases enough liquid on its own—adding extra water just dilutes the flavor. Trust the natural juices and the onions to keep everything moist.
- Use a Meat Thermometer: Sounds obvious, but I used to guess and ended up with dry roast. Aim for 195-200°F for fall-apart tender beef shoulder, and pull it out when it hits that mark.
Health Benefits of These Flavors
Rich in Protein
This dish delivers an impressive 24 grams of protein per 3-ounce serving, supporting muscle maintenance and repair. The slow cooking process preserves these essential nutrients, making it an excellent option for active lifestyles. I always feel satisfied and energized after enjoying this meal. 💪
Iron and Zinc Boost
Beef shoulder is packed with heme iron and zinc, both crucial for immune function and energy production. A single serving provides about 15% of your daily iron needs and 30% of zinc requirements, helping keep your body functioning at its best.
B Vitamin Powerhouse
You’ll get a significant dose of B vitamins, including B12, B6, and niacin, which support metabolism and nervous system health. These nutrients are naturally abundant in beef, making this dish a nutritional all-star.
Collagen Benefits
The connective tissue in beef shoulder breaks down during cooking into gelatin, which supports joint and skin health. This slow-cooked method maximizes collagen extraction, giving you added benefits with every tender bite. 🌟
Low-Carb Friendly
With virtually no carbohydrates, this creation fits perfectly into low-carb or keto diets. The natural fats provide sustained energy, while the protein keeps you full. It’s a hearty option that aligns with various dietary needs.
Rich in Antioxidants
The carrots and celery in this recipe contribute vitamin A and vitamin C, powerful antioxidants that protect your cells. Combined with the beef’s natural nutrients, this dish supports overall health. 🥕
Nutrition Facts
Frequently Asked Questions
What’s the ideal internal temperature for tenderness?
Aim for 195-200°F internally. At this range, collagen fully breaks down into gelatin, creating that melt-in-your-mouth texture. Use a meat thermometer for accuracy.
Can I skip the searing step?
You can, but searing adds deep flavor through the Maillard reaction. Without it, the roast may lack richness. If short on time, sear just 2 sides for 3-4 minutes each.
How do I prevent the meat from drying out?
Don’t trim the fat cap, and avoid lifting the lid during cooking. The fat bastes the meat, while trapped steam keeps it moist. Always let it rest 10-15 minutes before shredding.
What’s the best way to store leftovers?
Cool completely, then store in an airtight container with some cooking liquid. Refrigerate for up to 4-5 days or freeze for 3 months. Reheat gently with a splash of water.

- 6 Oz Chocolate Chip Cookie Recipe: Perfectly Balanced Crispy Edges and Chewy Hearts - September 25, 2026
- 6-Inch Coffee Cake Recipe: Vanilla Bean Swirls and Buttery Streusel Topping - September 25, 2026
- 1 Hour Soup Recipe: Velvety Richness Without the Wait - September 25, 2026