
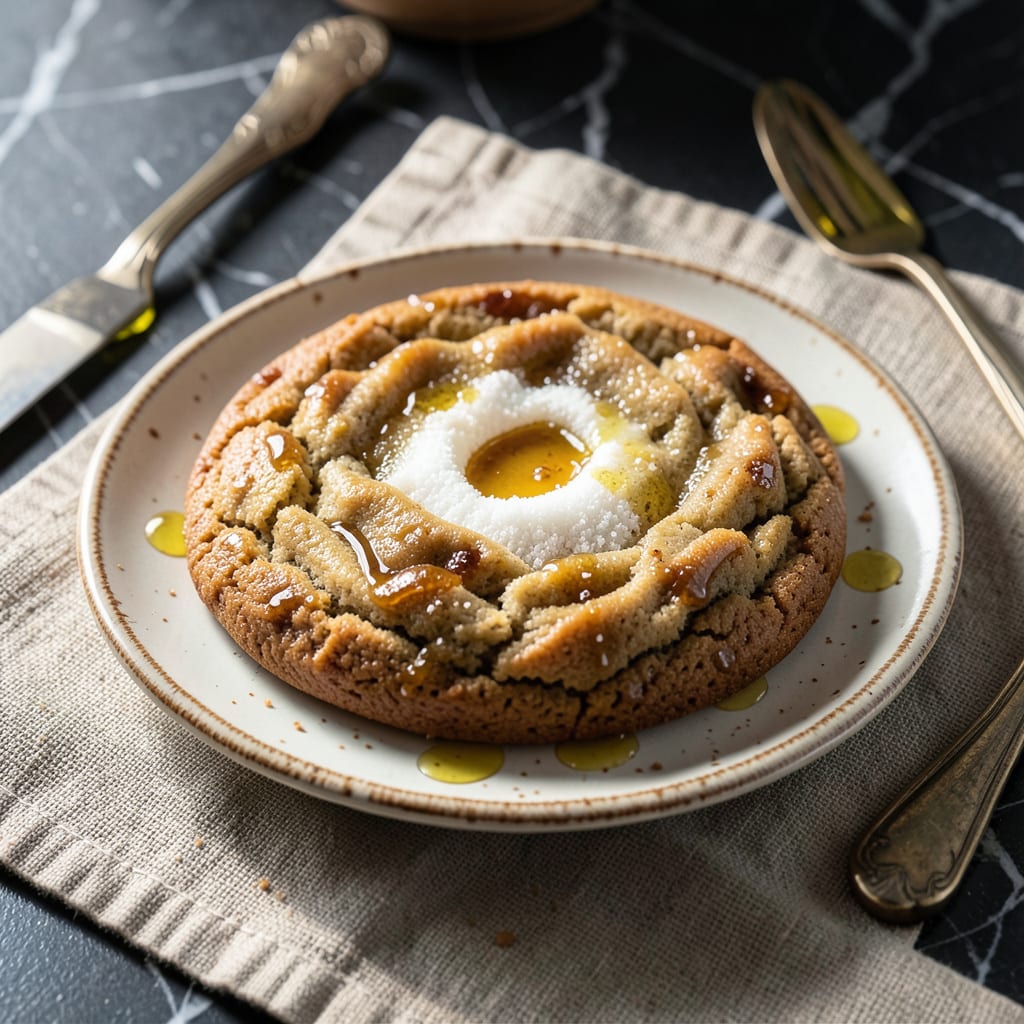
These cookies deliver bakery-style thickness with perfectly crisp edges and gooey centers every time. The secret lies in chilling the dough, which prevents excessive spreading during baking.
With simple ingredients and precise timing, this method ensures restaurant-quality results without complicated techniques. The texture stays soft and rich for days after baking.
Ingredients for Big Fat Cookie
Simple pantry staples plus chocolate create bakery-style thickness with gooey centers.
| Ingredient | Amount | Notes |
|---|---|---|
| All-Purpose Flour 🌾 | 2 ¾ cups | Spoon and level method |
| Baking Soda 🧂 | 1 tsp | Ensures proper rise |
| Cornstarch 🌽 | 2 tbsp | For tender texture |
| Unsalted Butter 🧈 | 1 cup | Cold, cubed, high-quality |
| Granulated Sugar 🍚 | ¾ cup | Fine grain preferred |
| Light Brown Sugar 🟤 | ¾ cup | Packed firmly |
| Large Eggs 🥚 | 2 whole | Room temperature |
| Vanilla Extract 🌿 | 2 tsp | Pure, not imitation |
| Semi-Sweet Chocolate Chips 🍫 | 2 cups | High-quality for melty pockets |
| Salt 🧂 | 1 tsp | Fine sea salt |
| Chopped Walnuts 🌰 | 1 cup | Toasted, optional |
| Flaky Sea Salt 🧂 | ½ tsp | For finishing |
The butter quality matters—Plugrá or European-style gives that rich, bakery flavor. Use King Arthur or Gold Medal for flour; both deliver consistent results. Cornstarch is non-negotiable for that soft, cake-like crumb. For chocolate chips, Ghirardelli or Guittard melt beautifully and don’t skimp on the cocoa percentage (60% or higher).
No cornstarch? Replace with 1 tbsp cake flour per tablespoon. Brown sugar can be swapped for all granulated, but texture changes slightly. For nut-free, omit walnuts or use toasted oats. Butter can be substituted with vegan butter at a 1:1 ratio, though flavor depth varies. Always weigh flour if possible—1 cup = 120g for precision.
Dough chills 24-48 hours for optimal flavor development. Store baked cookies airtight at room temperature for up to 5 days. Dough balls freeze beautifully for 3 months—bake straight from frozen, adding 2-3 minutes to bake time.
Why You’ll Love This Recipe
- One Bowl Magic: I dump everything in, mix, and bake—no fancy tools, just a bowl and a spoon.
- Buttery Richness: The melted butter and sugar create that golden, caramelized flavor that makes them irresistible.
- Crowd Pleaser: Honestly, these disappear at potlucks, and I always get asked for the recipe.
- Stays Soft: Thanks to the cornstarch, they stay chewy for days—if they last that long.
Step-by-Step Instructions for Big Fat Cookies
Master the technique for thick, bakery-style cookies with perfectly gooey centers every time.
Step 1: Cream Butter and Sugars to Optimal Volume
In a stand mixer fitted with the paddle attachment, beat the 1 cup Unsalted Butter with the 0.75 cup Granulated Sugar and 0.75 cup Light Brown Sugar on medium speed for 4-5 minutes. The mixture should become pale and nearly double in volume.
This extended creaming incorporates maximum air, which creates those coveted crackly tops and prevents dense cookies. The butter must be softened but not melted—press your finger into it; it should leave a slight indent. Use fine grain granulated sugar for even distribution.
Step 2: Incorporate Eggs and Vanilla for Structure
Add the 2 whole Large Eggs, one at a time, mixing on low for 30 seconds after each addition. Scrape the bowl between additions to ensure even mixing. Then add the 2 tsp Vanilla Extract and mix for an additional 10 seconds.
The eggs provide structure while the vanilla adds depth. Room temperature eggs emulsify better into the butter-sugar mixture, creating a smoother, more stable dough. The mixture may look slightly curdled at this stage, but will smooth out once dry ingredients are added.
Step 3: Combine Dry Ingredients for Perfect Texture
In a separate bowl, whisk together the 2.75 cups All-Purpose Flour, 1 tsp Baking Soda, 2 tbsp Cornstarch, and 1 tsp Salt. Add this to the wet ingredients and mix on low speed for 45 seconds until just combined—visible flour streaks should remain.
Overmixing develops gluten, which would make the cookies tough rather than tender. The cornstarch is crucial here—it softens the protein in the flour, creating that melt-in-your-mouth texture that defines these cookies. Stop mixing as soon as the last flour streaks disappear.
Step 4: Fold in Mix-Ins for Maximum Flavor
Remove the bowl from the mixer and fold in the 2 cups Semi-Sweet Chocolate Chips and 1 cup Chopped Walnuts by hand using a silicone spatula. This prevents overmixing and ensures even distribution without crushing the chocolate chips.
High-quality chocolate chips melt better and create those beautiful gooey pockets. The walnuts add texture and richness, but can be omitted for a nut-free version. Make sure they’re evenly distributed throughout the dough with no clumps.
Step 5: Portion, Chill, and Bake for Ideal Thickness
Scoop the dough into ⅓-cup portions (about 3.5 oz each) and roll into balls. Place them 4 inches apart on parchment-lined baking sheets. Chill for at least 1 hour (overnight is ideal).
Bake at 350°F for 14-16 minutes until edges are golden brown but centers still look slightly underdone. Sprinkle with 0.5 tsp Flaky Sea Salt immediately after removing from the oven. The cookies will continue setting as they cool, creating thick, bakery-style results.
Pro Tips For Making Big Fat Cookie
- Chill the Dough: Give your dough at least 30 minutes in the fridge—I learned this the hard way after my first batch spread into a single giant pancake.
- Cream Butter Longer: Beat the butter and sugar for a full 3-4 minutes until it’s pale and fluffy; this traps air for that thick, bakery-style texture.
- Measure Flour Right: Spoon the flour into your cup and level it off—scooping directly from the bag packs it down and turns cookies into hockey pucks.
- Use Room-Temp Butter: Pull your butter out 1-2 hours before baking; cold butter won’t cream properly, and melted butter makes greasy, flat cookies.
Storing and Reheating This Dish
Room Temperature Storage
Let cookies cool completely before storing in an airtight container at room temperature. They’ll stay soft and fresh for up to 5 days. I like using glass containers with silicone seals to maintain that perfect texture we worked so hard to achieve. ❄️
Freezing Baked Cookies
For longer storage, freeze baked cookies in a single layer on a tray first, then transfer to a freezer bag. They’ll keep for 3 months. To revive, thaw at room temperature for 2 hours or microwave for 15-20 seconds for that just-baked warmth.
Freezing Dough Balls
Unbaked dough balls freeze beautifully for up to 3 months. Scoop and roll as usual, then freeze on a tray before transferring to bags. Bake straight from frozen, adding 2-3 minutes to the baking time. This is my favorite way to have fresh cookies on demand. 💡
Reheating for Freshness
To restore that bakery-fresh quality, warm cookies in a 300°F oven for 5-7 minutes. This method works better than microwaving for maintaining the crisp edges and gooey centers we love so much.
Revival Trick
If cookies lose their softness, place a slice of bread in the storage container overnight. The cookies will absorb moisture from the bread, restoring their perfect texture. It’s an old baker’s trick that works like magic.
Nutrition Facts
Frequently Asked Questions
Why do I need to chill the dough?
Chilling prevents excessive spreading, allowing the cookies to maintain their thickness. It also gives the flour time to hydrate, enhancing flavor and texture.
Can I use melted butter instead of softened?
No, melted butter will make the cookies spread too much and lose their thickness. Softened butter should hold its shape but yield slightly when pressed.
How do I know when they’re done baking?
Edges should be golden brown while centers look slightly underdone. They’ll continue cooking on the tray after removal.
What if my cookies spread too much?
Ensure your butter wasn’t too soft and you chilled the dough long enough. Also, avoid over-creaming butter and sugars.

- 8 Bean Soup Recipe Crock Pot: Hearty Vegetable Medley in One Pot - September 25, 2026
- 4C Bread Crumbs Meatballs Recipe: Crispy Crust and Juicy Centers - September 25, 2026
- 6 Oz Chocolate Chip Cookie Recipe: Perfectly Balanced Crispy Edges and Chewy Hearts - September 25, 2026