
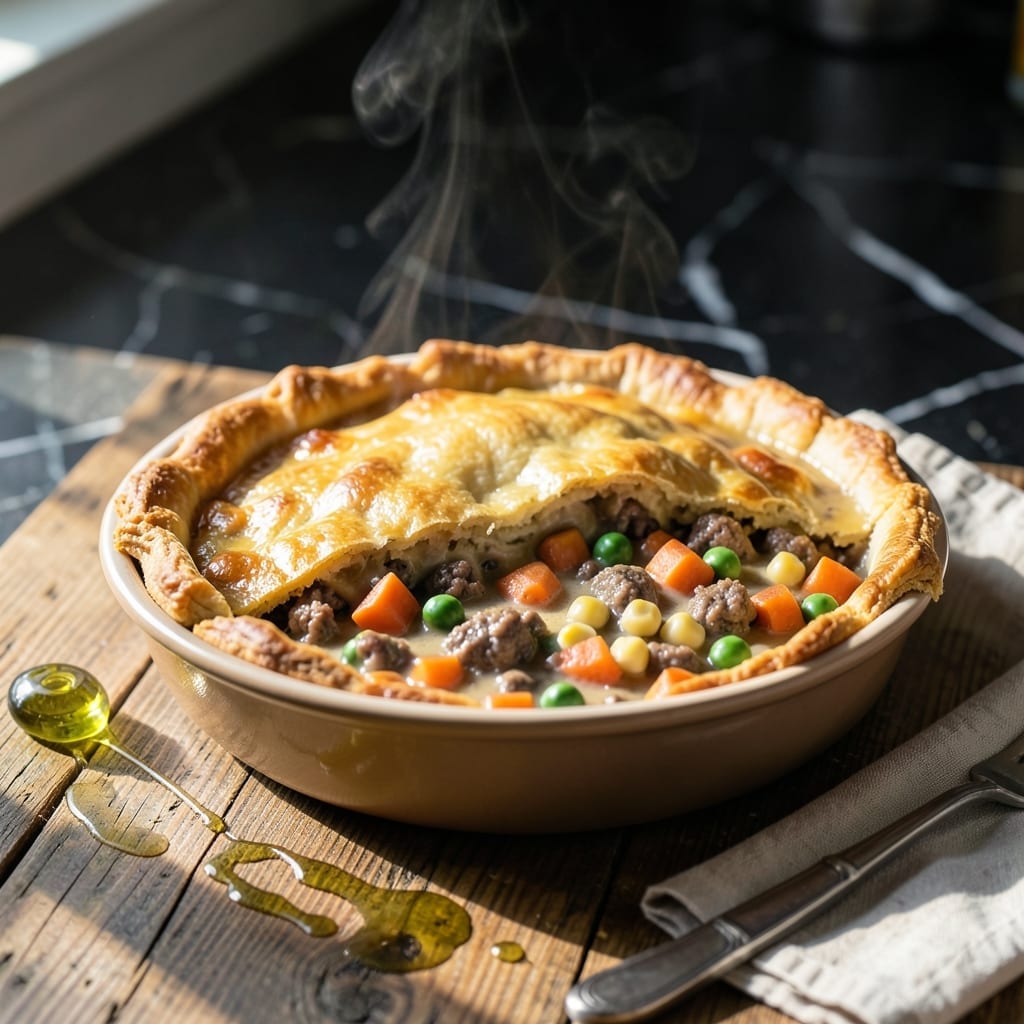
I’ve refined this pot pie to deliver flaky layers with minimal effort, using Bisquick for a foolproof crust that bakes golden every time. The savory beef filling comes together quickly with pantry staples, making it ideal for busy weeknights.
This method skips complicated pastry work while still achieving that buttery, flaky texture we all love. The filling is rich with tender beef and vegetables, all wrapped in a crust that holds up beautifully without turning soggy.
The entire dish bakes in under an hour, start to finish. It’s the kind of meal that tastes like it took all day but comes together in a fraction of the time—quick enough for last-minute dinners.
Serve it straight from the oven for maximum comfort. Here’s how to make it.
Ingredients for Bisquick Beef Pot Pie
Bisquick, beef, and veggies make this comforting classic effortlessly delicious.
| Ingredient | Amount | Notes |
|---|---|---|
| Bisquick Baking Mix 🥣 | 2 ½ cups | Original or buttermilk variety |
| Ground Beef 🥩 | 1 lb | 80/20 lean-to-fat ratio |
| Frozen Mixed Vegetables 🥕 | 2 cups | Peas, carrots, corn, green beans |
| Cream of Mushroom Soup 🍲 | 1 can | 10.5 oz size preferred |
| Beef Broth 🥣 | 1 ½ cups | Low-sodium if preferred |
| Onion 🧅 | 1 whole | Medium size, finely diced |
| Garlic Cloves 🧄 | 2 cloves | Minced for depth |
| Worcestershire Sauce 🫒 | 1 tbsp | Adds umami richness |
| Salt 🧂 | 1 tsp | Adjust to taste |
| Black Pepper 🌶️ | ½ tsp | Freshly ground preferred |
| Milk 🥛 | ⅔ cup | For Bisquick crust |
| Butter 🧈 | 2 tbsp | Melted for crust |
| Dried Thyme 🌿 | ½ tsp | Optional for extra flavor |
The Bisquick is the magic here—any variety works, but I grab the buttermilk one at Walmart (cheaper than the name brand). For the beef, ground chuck with 80/20 fat ratio stays juicy. The cream of mushroom soup? Campbell’s is my go-to, but store brand saves a buck with zero difference in flavor. Frozen veggies work best (fresh can get watery).
No Bisquick? Homemade baking mix (2 cups flour + 1 tbsp baking powder + 1 tsp salt + 1/3 cup shortening) at one-to-one ratio works. Swap beef for ground turkey or chicken if you prefer. Out of cream of mushroom? Cream of chicken or celery soup does the trick. The Worcestershire adds depth, but soy sauce works in a pinch (use half the amount).
Prep the filling ahead and refrigerate for 2 days max. Baked pot pie keeps 3-4 days in the fridge, reheats beautifully. Freeze unbaked pies for up to 2 months (just thaw before baking).
Why You’ll Love This Recipe
- One Pan Wonder: I just dump the Bisquick, browned beef, veggies, soup, and broth in a dish—no extra bowls, no fuss.
- That Crust Though: The Bisquick topping bakes up golden and flaky while soaking up all the savory beef and mushroom flavors.
- Feeds the Crew: Honestly, it’s my go-to for potlucks or when the kids have friends over—always disappears.
- Budget Hero: Ground beef and frozen veggies keep it cheap, and leftovers taste even better the next day.
Step-by-Step Instructions for Bisquick Beef Pot Pie
Here’s how to build this comforting dish with a golden crust and hearty filling.
Step 1: Brown the Ground Beef and Aromatics
Heat a large skillet over medium-high heat. Add the 1 lb Ground Beef and cook for 5-6 minutes, breaking it apart with a wooden spoon until evenly browned and no pink remains.
Add the diced 1 whole Onion and cook for another 3 minutes until softened. Stir in the minced 2 cloves Garlic Cloves and cook for 30 seconds until fragrant. This builds the flavor foundation for your filling.
Step 2: Create the Rich Beef Filling
Pour in the 1.5 cups Beef Broth, 1 can Cream of Mushroom Soup, 1 tbsp Worcestershire Sauce, 1 tsp Salt, 0.5 tsp Black Pepper, and 0.5 tsp Dried Thyme. Stir well to combine.
Add the 2 cups Frozen Mixed Vegetables and bring to a gentle simmer. Cook for 5-7 minutes until the mixture thickens slightly and the vegetables are heated through. The sauce should coat the back of a spoon when ready.
Step 3: Prepare the Bisquick Crust
In a bowl, whisk together the 2.5 cups Bisquick Baking Mix and 0.66 cup Milk until just combined. The dough will be thick and slightly sticky—don’t overmix or the crust will be tough.
Melt the 2 tbsp Butter and stir it into the dough. This adds richness and helps create that promised flaky texture. Set aside while you transfer the filling to your baking dish.
Step 4: Assemble and Bake to Golden Perfection
Pour the beef filling into a 9×9-inch baking dish. Drop spoonfuls of the Bisquick dough evenly over the top—it will spread as it bakes. Don’t worry about making it perfect; a rustic look is fine.
Bake at 375°F for 25-30 minutes until the crust is golden brown and the filling is bubbling at the edges. Let it rest for 5 minutes before serving to allow the filling to set slightly.
Pro Tips For Making Bisquick Beef Pot Pie
- Brown the Beef First: Cook the ground beef until deeply browned, not just gray—this builds flavor that the Bisquick topping can’t provide on its own. I learned this the hard way after a few bland batches.
- Thaw the Veggies: Drain and thaw the frozen mixed vegetables first, or they’ll release too much water and turn your filling into soup. Sounds obvious, but I skipped this step once and regretted it.
- Thicken the Filling: Simmer the beef broth and cream of mushroom soup for 3-4 minutes before adding it to the beef—this prevents a runny pot pie that soaks the Bisquick crust.
- Use Cold Butter: Cut in 2 tablespoons of cold butter into the Bisquick topping mix for a flakier crust. My grandmother swore by this, and she was right.
Essential Equipment for bisquick beef pot pie
Baking Dish Essentials
For this recipe, a 9×9-inch baking dish is my go-to—it provides the perfect depth for the filling while allowing the Bisquick crust to crisp evenly. I prefer stoneware from Pyrex because it distributes heat uniformly and looks great on the table.
Mixing Bowls
A large mixing bowl (at least 3-quart capacity) makes combining the Bisquick dough effortless. I use a stainless steel bowl from Cuisinart—it’s lightweight and easy to clean. Avoid plastic if possible, as it can absorb odors over time.
Skillet for Browning
A 12-inch skillet with a heavy bottom works best for browning the beef and veggies. My Lodge cast iron is ideal for even heat distribution and developing deep flavors. If you’re using nonstick, ensure it’s oven-safe if you plan to transfer it directly to the oven.
Stir with a wooden spoon to avoid scratching your pan. 💡
Measuring Tools
Accurate measurements matter for the crust’s texture. I rely on my OXO Good Grips measuring cups and spoons—they’re durable and easy to read. For the 2.5 cups Bisquick, use the scoop-and-level method for consistency.
Pastry Brush
Before baking, brush the crust with a bit of melted butter for extra browning. A silicone pastry brush from Wilton works perfectly and won’t melt or shed bristles. It’s a small touch that makes a big difference in appearance.
Nutrition Facts
Frequently Asked Questions
Can I use ground turkey instead of beef?
Yes, ground turkey works perfectly as a lighter alternative. Use the same 1 lb amount and follow the recipe as written. The flavor will be slightly milder, so consider adding an extra ½ tsp of seasoning.
How do I prevent a soggy bottom crust?
Ensure your filling is hot and thickened before adding the Bisquick topping. Also, let the baked pie rest for 5 minutes after removing from the oven to allow the crust to set.
Can I make this ahead and bake later?
Assemble the dish, cover tightly, and refrigerate for up to 24 hours. Add 5-10 minutes to the baking time if starting cold.
What if my crust isn’t browning?
If the crust isn’t golden after 25 minutes, broil for 1-2 minutes while watching closely. Alternatively, brush the top with melted butter before baking for extra browning.

- 4C Bread Crumbs Meatballs Recipe: Crispy Crust and Juicy Centers - September 25, 2026
- 6 Oz Chocolate Chip Cookie Recipe: Perfectly Balanced Crispy Edges and Chewy Hearts - September 25, 2026
- 6-Inch Coffee Cake Recipe: Vanilla Bean Swirls and Buttery Streusel Topping - September 25, 2026