
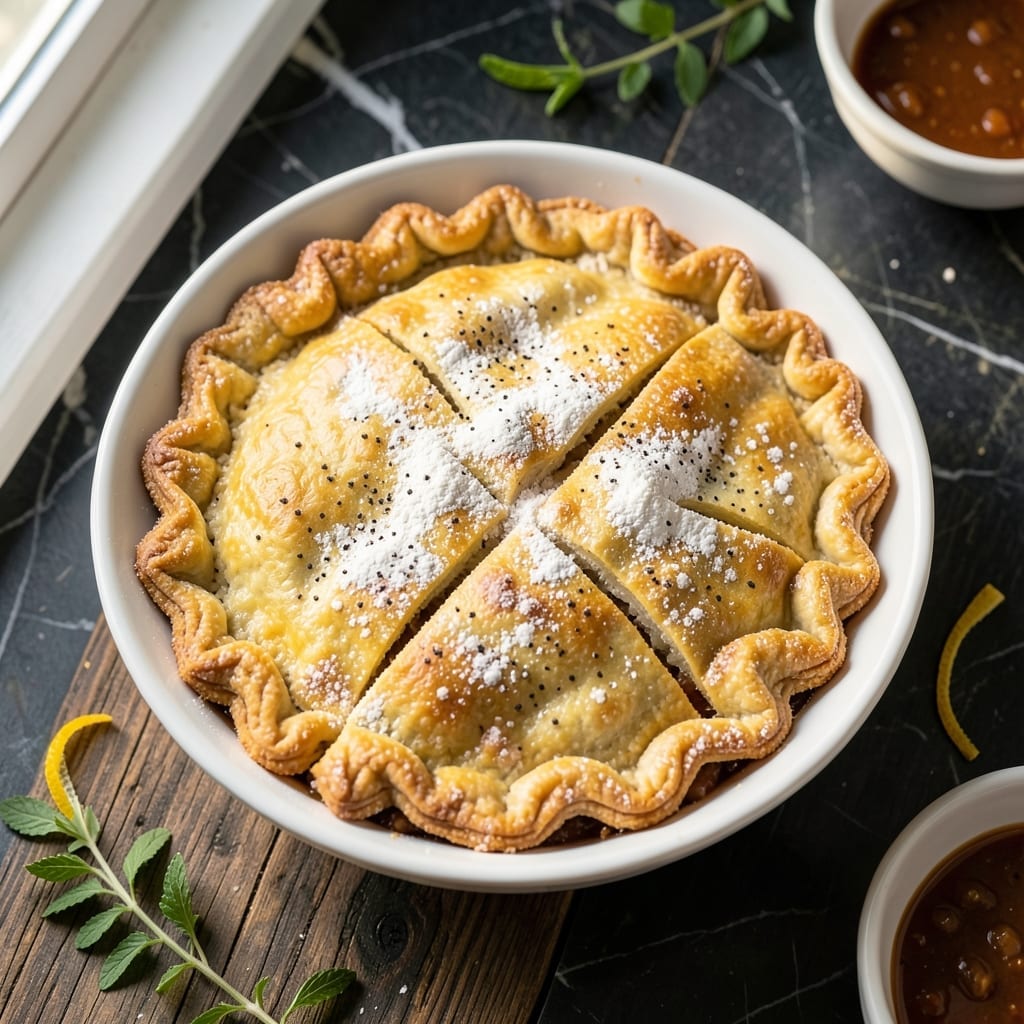
There’s no need to make pie crust from scratch when Bisquick delivers a flaky, golden result in minutes.
This shortcut method creates a tender, buttery crust that holds up perfectly to hearty pot pie fillings. The secret is in the ratio—just enough Bisquick, cold butter, and milk to form a dough that bakes up light and crisp.
In under 30 minutes, you’ll have a crust that rivals traditional pastry, with none of the fuss. It’s the ideal base for savory comfort, whether you’re making chicken, beef, or vegetable pot pie.
Roll it out, fill it up, and bake to golden perfection. The result is pure, no-stress satisfaction.
Ingredients for Bisquick Pot Pie Crust
Nine simple ingredients transform into a buttery, flaky crust in minutes.
| Ingredient | Amount | Notes |
|---|---|---|
| Bisquick Baking Mix 🥣 | 2 cups | Original or buttermilk variety |
| Cold Unsalted Butter 🧈 | ½ cup | Cubed, keep chilled until use |
| Whole Milk 🥛 | ⅓ cup | Cold, for flaky texture |
| All-Purpose Flour 🌾 | ¼ cup | For dusting work surface |
| Salt 🧂 | ¼ tsp | Fine grain for even seasoning |
| Black Pepper 🌶️ | 0.125 tsp | Freshly ground preferred |
| Garlic Powder 🧄 | ¼ tsp | Optional for savory depth |
| Dried Thyme 🌿 | ¼ tsp | Crushed between fingers |
| Paprika 🌶️ | ¼ tsp | For golden color |
The Bisquick is doing most of the work here. General Mills original is my go-to, but the buttermilk version adds nice tang. Cold butter is non-negotiable—chilled cubes create those flaky layers. Most grocery stores stock Bisquick in the baking aisle. If you buy it in bulk at Costco, just store the extra in an airtight container. The milk can be whatever you have, but whole gives the richest flavor.
No Bisquick? Self-rising flour plus a little baking powder gets you close. Out of thyme? Dried rosemary at half the amount works. The paprika is mostly for color, so skip it if you don’t have it. Butter substitutes like margarine won’t give the same flake, but coconut oil in a pinch. For a dairy-free version, swap in vegan butter and plant-based milk.
Dough can sit wrapped in plastic for 2 days in the fridge. Baked crust keeps 3-4 days at room temp. Freeze uncooked dough balls for up to 3 months—thaw before rolling. Perfect for last-minute pot pies.
Why You’ll Love This Recipe
- Five Ingredient Magic: Honestly, I just stir together Bisquick, cold butter, milk, flour, and salt—no rolling pins, no stress.
- Buttery Crisp Layers: That cold butter creates flaky pockets that shatter with every bite, and the Bisquick base gives it a subtly rich, biscuit-like warmth.
- Freezer to Table: I prep a double batch, freeze the extra crust, and pull it out for impromptu pot pies or even quick hand pies.
- Pantry Staples Only: Between us, I always have these ingredients on hand, so dinner feels fancy without a special grocery run.
Step-by-Step Instructions for a Bisquick Pot Pie Crust
This flaky crust comes together quickly with simple techniques for perfect results every time.
Step 1: Prepare Your Work Surface and Ingredients
Lightly dust your counter with the 0.25 cup All-Purpose Flour to prevent sticking. Keep the 0.5 cup Cold Unsalted Butter chilled until the last moment—warm butter means tough crust.
In a small bowl, mix the 0.25 tsp Salt, 0.125 tsp Black Pepper, 0.25 tsp Garlic Powder, 0.25 tsp Dried Thyme, and 0.25 tsp Paprika. This blend adds savory depth to the crust, perfect for pot pie.
Here’s the thing—cold ingredients are non-negotiable for flakiness. Measure out the 0.33 cup Whole Milk and return it to the fridge until you’re ready to use it.
Step 2: Cut the Butter into the Bisquick
In a large bowl, combine the 2 cups Bisquick Baking Mix with your spice mixture. Add the cubed Cold Unsalted Butter and use a pastry cutter or two forks to work it in until the mixture resembles coarse crumbs with pea-sized butter pieces visible.
Don’t overwork it—you want visible butter flakes that will create those beautiful flaky layers. If the butter starts to soften, pop the bowl in the fridge for 5 minutes to firm it back up.
Real talk: This step determines your crust’s texture. Larger butter pieces mean more flakiness, while smaller pieces create a more uniform crumb.
Step 3: Form the Dough and Chill
Make a well in the center of the Bisquick mixture and pour in the 0.33 cup Whole Milk. Use a fork to stir just until the dough starts to come together—it’ll look shaggy, and that’s perfect.
Turn the dough onto your floured surface and gently pat it into a 1-inch thick rectangle. Fold it in half like a book, then fold it in half again. This layering technique creates the flaky texture you’re after.
Wrap the dough tightly in plastic and refrigerate for 30 minutes. This rest allows the gluten to relax and the butter to firm up, making it easier to roll out without toughening the crust.
Step 4: Roll and Fit the Crust
On your floured surface, roll the chilled dough into a 12-inch circle—about ⅛-inch thick. Work from the center outward, rotating the dough occasionally to prevent sticking. If it cracks, just press the edges together with your fingers.
Transfer the rolled dough to your pie dish by loosely folding it in quarters, then unfolding it into the pan. Press it gently into the bottom and up the sides without stretching. Trim any excess, leaving a ½-inch overhang.
For a top crust, roll out a second piece the same way. If you’re making a double-crust pie, cut slits in the top crust to allow steam to escape during baking.
Step 5: Bake to Golden Perfection
Preheat your oven to 425°F. For a pre-baked crust, line the dough with parchment paper, fill with pie weights or dried beans, and blind bake for 12-15 minutes until the edges start to turn light golden brown.
For a filled pot pie, assemble with your filling, then bake at 375°F for 30-40 minutes until the crust is deep golden brown and the filling is bubbling. The paprika in the dough will give it a beautiful, appetizing color.
Let it rest for 5-10 minutes before slicing—this gives the filling time to set and makes for cleaner portions. The crust should be crisp, flaky, and full of buttery layers.
Pro Tips For Making Bisquick Pot Pie Crust
- Chill the Butter: Cut the butter into the Bisquick while it’s still ice-cold—this is what creates those flaky layers in your crust. I learned this the hard way after my first few pot pies came out dense and flat.
- Use Whole Milk: Skip the skim or 2% here; the fat in whole milk reacts with the Bisquick and butter to make the crust richer and more tender. Sounds weird, but it works.
- Don’t Overmix: Stir the dough just until it comes together—overworking it develops gluten, which makes the crust tough. My grandmother swore by this, and she was right.
- Preheat the Oven: Get that oven to 425°F before the pie goes in, or the crust won’t rise properly. After burning three batches, I finally figured out that patience here pays off.
Serving Suggestions for bisquick pot pie crust
Classic Presentation
Serve your pot pie straight from the dish, family-style at the table. The golden crust deserves to be seen. I place the whole pie on a wooden board with a large serving spoon for scooping portions. The contrast of the flaky top against the creamy filling is pure comfort. 💛
Individual Portions
For a more elegant approach, bake in 6-ounce ramekins for single servings. These cook faster—about 20-25 minutes at 375°F—and everyone gets their own perfect crust-to-filling ratio. Great for dinner parties.
Garnish Ideas
A sprinkle of fresh thyme leaves or chopped parsley adds a pop of color right before serving. I also love a light dusting of flaky sea salt on the crust for extra flavor contrast. Simple touches make it look restaurant-worthy.
Side Pairings
A crisp green salad with lemon vinaigrette cuts through the richness beautifully. For heartier meals, serve with roasted Brussels sprouts or buttered green beans. These sides balance the dish without competing with it.
Beverage Match
An iced herbal tea like mint or chamomile complements the savory flavors. For wine lovers, a crisp white like Sauvignon Blanc works perfectly. Beer drinkers will enjoy a light lager with its clean finish. 🍵
Leftovers Tip
If you have extra crust, bake it into cheese straws for dipping. Just cut strips, twist, sprinkle with paprika, and bake at 375°F for 10-12 minutes. Zero waste, all deliciousness.
Nutrition Facts
Frequently Asked Questions
Can I use Bisquick Heart Smart instead of original?
Yes, Bisquick Heart Smart works in a 1:1 swap. The texture may be slightly less flaky due to lower fat content, but it still produces a tender, golden crust.
Why is my crust tough instead of flaky?
Overworking the dough is the most common culprit. Use a light touch when mixing and rolling, and ensure your butter stays cold. Resting the dough for 30 minutes also prevents toughness.
Can I make this crust ahead of time?
Shape the dough into a disk, wrap tightly, and refrigerate for up to 2 days. For longer storage, freeze for up to 3 months. Thaw overnight in the fridge before rolling.
How do I prevent a soggy bottom crust?
Blind bake the bottom crust for 10 minutes before adding filling. Also, ensure your filling isn’t too wet—thicken it well to avoid steam softening the crust.

- 4C Bread Crumbs Meatballs Recipe: Crispy Crust and Juicy Centers - September 25, 2026
- 6 Oz Chocolate Chip Cookie Recipe: Perfectly Balanced Crispy Edges and Chewy Hearts - September 25, 2026
- 6-Inch Coffee Cake Recipe: Vanilla Bean Swirls and Buttery Streusel Topping - September 25, 2026