
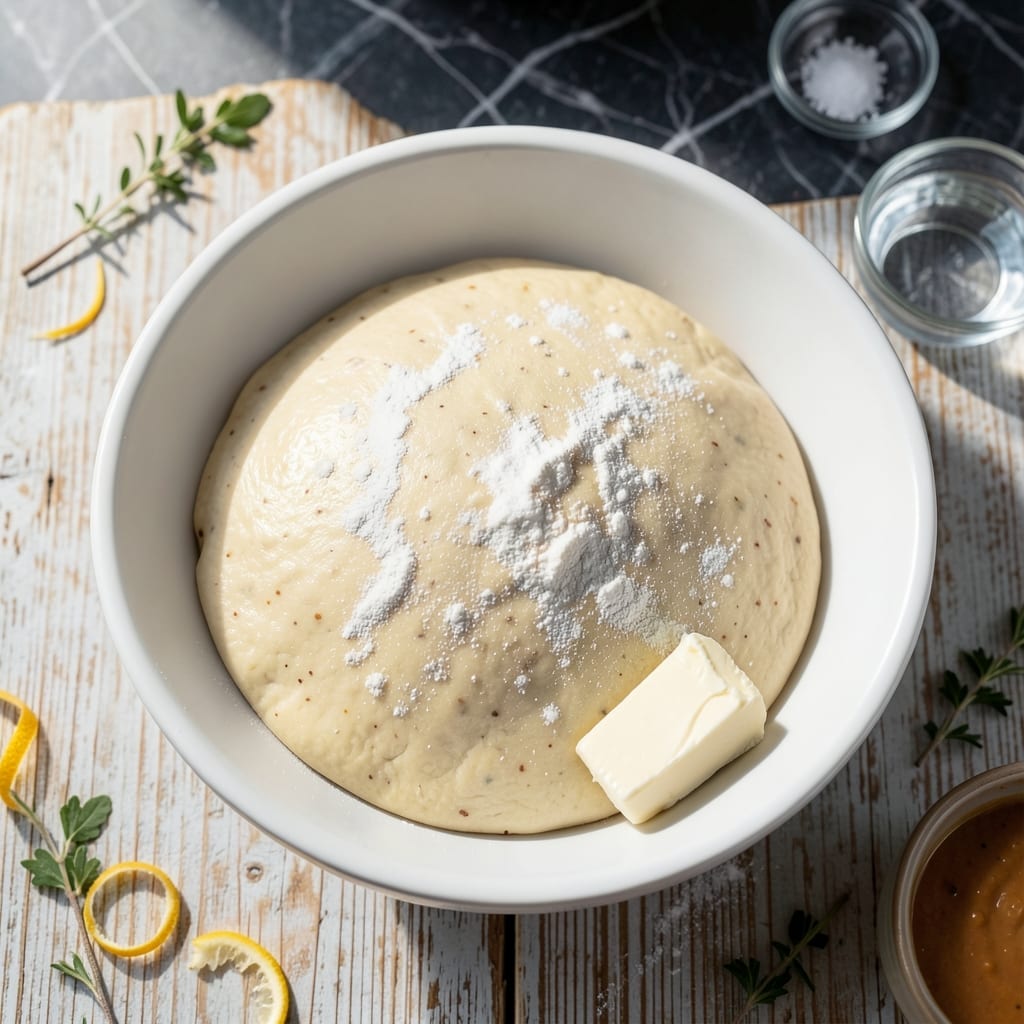
Creating a sturdy, reliable pot pie dough doesn’t have to involve finicky pastry techniques. This boiled method produces a tender yet durable crust that holds up beautifully to hearty fillings without turning soggy or tough.
The process is surprisingly simple: a hot water dough comes together quickly on the stovetop, eliminating the need for chilling or resting. The boiling step develops gluten just enough to create structure while maintaining a soft, pliable texture perfect for enclosing savory fillings.
What results is a dough that rolls out smoothly, seals tightly, and bakes into a golden crust with just the right amount of chew. It’s the ideal foundation for chicken pot pie or any savory hand pie creation.
This method delivers consistent results every time, with minimal effort and maximum flavor.
Ingredients for Boiled Pot Pie Dough
These precise ingredients create a durable, tender crust for any savory pie filling.
| Ingredient | Amount | Notes |
|---|---|---|
| All-Purpose Flour 🌾 | 3 cups | Plus extra for dusting surface |
| Unsalted Butter 🧈 | ¾ cup | Cut into small cubes |
| Water 💧 | ¾ cup | Divided for boiling and mixing |
| Salt 🧂 | 1 tsp | Diamond Crystal kosher preferred |
| Baking Powder 🧂 | 1 tsp | Ensures slight lift in crust |
| Large Egg 🥚 | 1 whole | For binding and richness |
| Apple Cider Vinegar 🍏 | 1 tbsp | Balances dough elasticity |
| Shortening 🧈 | ¼ cup | Crisco recommended for flakiness |
| Sugar 🍚 | 1 tsp | Optional, for slight sweetness |
| Milk 🥛 | 2 tbsp | Whole milk for richness |
The flour is the foundation—King Arthur or Gold Medal for consistent results. Butter quality matters here; European-style unsalted (like Plugrá) has higher fat content for better texture. Use Crisco for the shortening—it’s the gold standard for flaky layers. The egg should be cold, straight from the fridge, to help create structure without overworking the dough.
No all-purpose flour? Bread flour at a 1:1 ratio works but yields a slightly chewier crust. Out of shortening? Additional cold butter can substitute, though texture will differ. Apple cider vinegar can be swapped with white vinegar or lemon juice. For a richer dough, replace water with chicken stock—just ensure it’s unsalted to control seasoning.
The dough can be refrigerated for up to 2 days or frozen for 3 months. Let it sit at room temperature for 15 minutes before rolling. Wrap tightly in plastic to prevent drying. For best results, use within 48 hours of preparation.
Why You’ll Love This Recipe
- No-Fuss Dough: I can mix this with just flour, butter, and water—no chilling, no waiting. The baking powder does the lifting while I prep the filling.
- Buttery Layers: The steam from boiling creates this tender, flaky texture that soaks up pot pie gravy like a dream.
- Freezer Friendly: I’ll double the batch and freeze half for next week’s dinner. Honestly, it reheats just as soft.
- Pantry Staples: Five ingredients I always have on hand—no special trips to the store. Even the butter can be swapped for shortening in a pinch.
Step-by-Step Instructions for Boiled Pot Pie Dough
Precision in method ensures a sturdy, flaky base for your savory pies every time.
Step 1: Combine Dry Ingredients and Cold Fats
In a large mixing bowl, whisk together the 3 cups All-Purpose Flour, 1 tsp Salt, 1 tsp Sugar, and 1 tsp Baking Powder until evenly distributed. The baking powder provides subtle lift, while the sugar balances the dough’s elasticity without overwhelming the savory filling.
Add the 0.75 cup Unsalted Butter (cut into small cubes) and 0.25 cup Shortening to the flour mixture. Using a pastry cutter or your fingertips, work the fats into the flour until the mixture resembles coarse crumbs with pea-sized pieces of fat remaining. This uneven texture creates the flaky layers in your finished crust.
Step 2: Incorporate Wet Ingredients for Binding
Create a well in the center of the flour-fat mixture. Add the 1 whole Large Egg, 1 tbsp Apple Cider Vinegar, and 2 tbsp Milk to the well. The vinegar tenderizes the gluten slightly, while the milk adds richness without making the dough tough.
Using a fork, gradually incorporate the dry ingredients into the wet, starting from the center and working outward. Add 0.5 cup of the 0.75 cup Water reserved for mixing, 1 tbsp at a time, until the dough just comes together. It should be shaggy but hold when pressed—overworking develops gluten, resulting in a tough crust.
Step 3: Boil the Dough for Elasticity
Bring the remaining 0.25 cup Water to a rolling boil in a small saucepan. Meanwhile, turn the dough out onto a lightly floured surface and knead gently 4-5 times just until smooth. Divide the dough into 4 equal portions for individual pot pies.
Working with one portion at a time, roll the dough into a ¼-inch thick rectangle. Place the dough in the boiling water and cook for 30-45 seconds until it rises to the surface and appears slightly translucent. This boiling step creates an elastic, sturdy dough that won’t fall apart during steaming.
Step 4: Rest and Shape the Dough
Remove the boiled dough from the water with a slotted spoon and transfer to a lightly floured surface. Let it rest for 2-3 minutes to cool slightly and relax the gluten. This brief rest makes the dough more pliable and easier to handle.
Roll each portion into a ⅛-inch thick round or rectangle, depending on your pot pie dish. The dough should be smooth and elastic, with visible layers from the fat. If the dough springs back, let it rest for another 1-2 minutes before attempting to roll it again.
Use the shaped dough immediately for your pot pies, or wrap tightly in plastic and refrigerate for up to 2 days. The boiled dough maintains its structure exceptionally well during steaming, ensuring a perfect base for your savory filling.
Pro Tips For Making Boiled Pot Pie Dough
- Chill the Butter: Cut your unsalted butter into small cubes and chill for 15 minutes before mixing—I learned this the hard way after my first few doughs turned out tough and dense.
- Use Ice Water: Swap regular water for ice-cold water when combining the dough. Sounds weird, but it works: it keeps the butter from melting too soon and guarantees flakier layers.
- Don’t Overmix: Stop mixing as soon as the dough comes together, even if it looks a little shaggy. After overworking three batches, I finally figured out that overmixing develops gluten, making the crust chewy instead of tender.
- Rest Before Rolling: Give the dough a solid 20-30 minutes in the fridge before rolling it out—my grandmother swore by this, and she was right: it relaxes the gluten and makes the dough easier to handle.
Creative Variations of boiled pot pie dough
Herb-Infused Dough
Add 1 tbsp finely chopped fresh rosemary or 1 tsp dried thyme to your dry ingredients. The herbs infuse the crust with aromatic depth, complementing chicken or turkey fillings beautifully. I love the earthy scent that fills my kitchen when baking this variation. 🌿
Cheesy Twist
Mix in ½ cup shredded sharp cheddar or Parmesan cheese with the dry ingredients. The cheese melts into the dough, creating a savory, golden crust that pairs perfectly with creamy fillings. Use Cabot sharp cheddar for the best melt.
Whole Wheat Version
Replace 1 cup of all-purpose flour with whole wheat flour. The dough will be slightly denser but adds nutty flavor and extra fiber. I recommend King Arthur white whole wheat for a milder taste. Add 1-2 tbsp extra water if the dough seems too dry.
Spiced Crust
Stir ½ tsp smoked paprika or ¼ tsp cayenne pepper into the dry ingredients for a subtle kick. This works wonders with beef or lamb fillings. The spice adds warmth without overpowering the dish. 🔥
Sweet-Savory Blend
Increase the sugar to 2 tbsp and add ½ tsp cinnamon for a sweet-savory dough. This pairs surprisingly well with apple or pear pot pies. The cinnamon adds warmth that complements fall fruits perfectly.
Gluten-Free Option
Use a 1:1 gluten-free flour blend like Bob’s Red Mill in place of all-purpose flour. Add 1 tsp xanthan gum to improve elasticity. The texture will differ slightly but still holds up well to fillings.
Nutrition Facts
Frequently Asked Questions
Why boil the dough instead of baking it?
Boiling creates a uniquely sturdy, elastic texture that holds up perfectly to steaming. The 30-45 seconds in boiling water develops just enough structure without making it tough.
Can I make this ahead of time?
Yes! The dough keeps well refrigerated for up to 2 days. Wrap it tightly in plastic to prevent drying, and let it rest at room temperature for 15 minutes before rolling.
What if my dough springs back while rolling?
Let it rest for 1-2 minutes between rolls. This relaxes the gluten, making it easier to shape. The boiling process already makes this dough more cooperative than traditional pie crusts.

- 4C Bread Crumbs Meatballs Recipe: Crispy Crust and Juicy Centers - September 25, 2026
- 6 Oz Chocolate Chip Cookie Recipe: Perfectly Balanced Crispy Edges and Chewy Hearts - September 25, 2026
- 6-Inch Coffee Cake Recipe: Vanilla Bean Swirls and Buttery Streusel Topping - September 25, 2026