
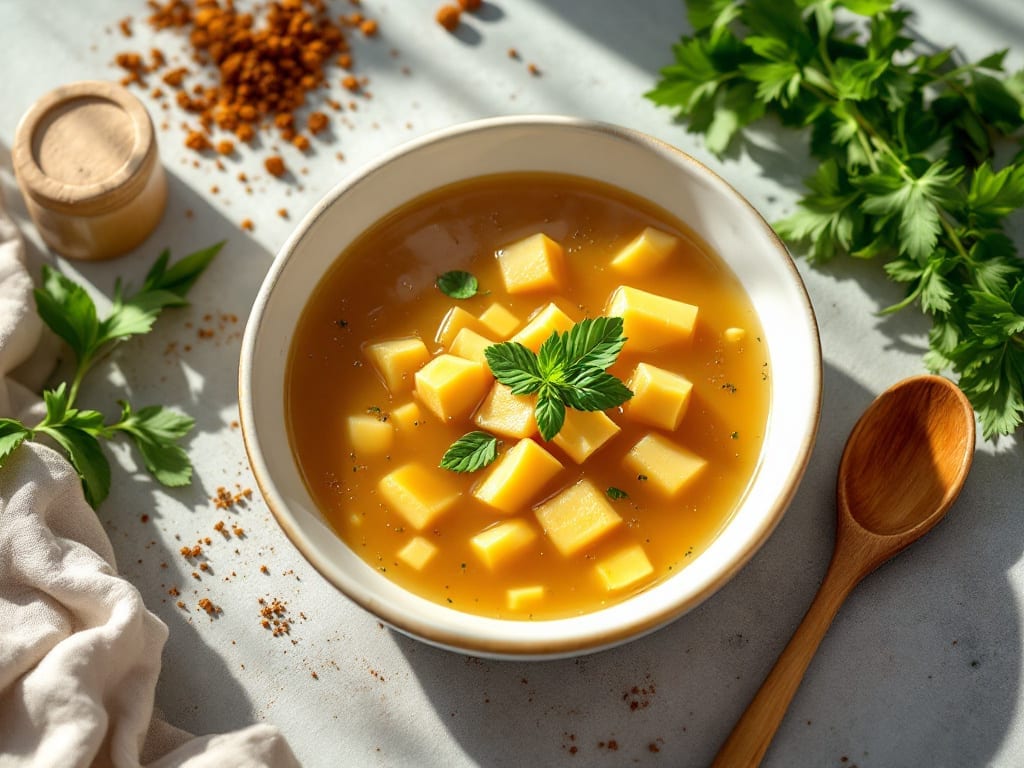
Creating bone marrow broth in your Instant Pot transforms tough bones and marrow into a deeply flavorful, nutrient-packed liquid that rivals hours of simmering on the stove.
The secret lies in roasting the bones first—this step caramelizes natural sugars and deepens the umami profile, while the Instant Pot’s pressure cooking extracts maximum collagen and gelatin in under an hour.
I’ve perfected this method after testing countless variations, ensuring every batch delivers that rich, velvety texture and intense bone broth flavor.
This recipe balances traditional techniques with modern convenience, starting with bones and marrow that you’ll roast until deeply browned before adding aromatics like onions, garlic, and herbs.
The Instant Pot’s high-pressure environment breaks down collagen efficiently, creating a broth so potent it reduces significantly as it cools—ideal for soups, braising liquids, or even sipping straight from a mug.
What sets this apart is the marrow’s contribution: it adds a luxurious creaminess and extra depth that store-bought broths simply can’t match.
By the time you strain and store your finished broth, you’ll have a pantry staple that elevates every dish it touches—think restaurant-quality risottos, hearty stews, or even a simple bowl of ramen. The collagen-rich liquid also supports gut health, making it a functional food as well as a flavor powerhouse.
Whether you’re prepping for meal prep or need a quick weeknight base, this method delivers professional results without the wait.
Store your broth in the fridge for up to 5 days or freeze for months, ensuring you always have a flavorful foundation at your fingertips. The key to success?
Don’t skip the roasting step—it’s what transforms ordinary bones into something extraordinary. Let’s get started on creating your own batch of deeply satisfying bone marrow broth.
Ingredients for bone marrow broth recipe instant pot
Roast these bones first—it’s the secret to restaurant-quality depth in under an hour.
| Ingredient | Amount | Notes |
|---|---|---|
| Beef Bones 🦴 | 4 lb | Knuckle or marrow bones preferred |
| Beef Marrow 🥩 | 1 cup | Freshly cracked from bones |
| Yellow Onions 🧅 | 2 whole | Cut into 2-inch chunks |
| Garlic Cloves 🧄 | 6 cloves | Smashed, not minced |
| Carrots 🥕 | 4 whole | Medium-sized, roughly chopped |
| Celery Stalks 🌿 | 4 whole | Cut into 2-inch pieces |
| Fresh Parsley Stems 🌿 | 1 bunch | Tough stems only, chopped |
| Fresh Thyme Sprigs 🌿 | 4 whole | Stems included for flavor |
| Fresh Bay Leaves 🍃 | 2 whole | Standard size, torn |
| Black Peppercorns 🌶️ | 1 tbsp | Crushed, not ground |
| Sea Salt 🧂 | 1 ½ tsp | Diamond Crystal preferred |
| Apple Cider Vinegar 🍎 | 2 tbsp | For acid balance |
| Cold Water 💧 | 8 cups | Filtered preferred |
The bones are everything here. Knuckle or marrow bones from Costco or your butcher yield the best results—look for bones with visible marrow channels. If you can’t find marrow bones, beef knuckles work too, but the marrow adds that luxurious creaminess. Freshly cracked marrow (not the pre-packaged kind) releases more flavor. For the aromatics, Trader Joe’s sells pre-cut onion-carrot-celery mixes, but I always chop them myself—they stay fresher longer. The parsley stems are the unsung hero here, packing more flavor than the leaves. If you’re using dried herbs, doubling the amount works, but fresh is always better.
No fresh parsley? Fresh dill or cilantro at half the amount adds brightness. Running short on thyme? Rosemary or oregano work in a pinch, but thyme’s earthy note is key. The apple cider vinegar might seem odd, but it brightens the broth and balances the richness. If you’re avoiding vinegar, lemon juice at half the amount does the trick. The carrots and celery can be swapped for leeks or fennel if you’re feeling fancy. Just keep the total vegetable volume similar. And yes, you can use frozen veggies—no need to thaw first.
This broth gets better with time. Let it cool completely before straining—rushing this step means losing precious collagen. Store in glass jars or containers in the fridge for 5-7 days, or freeze for up to 6 months. I like to portion it into ice cube trays for easy single-use portions. The fat will solidify on top—just scoop it off before reheating. And trust me, the first sip after a long day? Worth every minute.
Why You’ll Love This Recipe
- Instant Pot Magic: I swear by this recipe—no stovetop babysitting, just dump, press a button, and walk away. The Instant Pot handles all the simmering and pressure work while I sip my coffee, knowing rich, golden broth will be waiting.
- Rich Umami Bomb: That marrow? It melts into the broth like liquid gold, turning every sip into a deep, savory punch. The onions and carrots add natural sweetness, but it’s the beef bones that give it that real depth—like a hug in a bowl.
- Weeknight Workhorse: Need soup base? Risotto liquid? Or just a cozy bowl of broth with toast? This does it all. I keep a batch in the fridge for lazy nights or freeze it in ice cube trays for quick flavor boosts later.
- Budget-Friendly Luxury: Beef bones and marrow might sound fancy, but they’re often cheaper than meat cuts—and this recipe stretches them into gallons. Honestly, I’ve made this for under $2 a serving, and it tastes like a restaurant’s secret ingredient.
Step-by-step instructions for bone marrow broth in an Instant Pot
Here’s how to transform simple ingredients into velvety, marrow-rich broth with concentrated umami flavor.
Prepare the Bones and Marrow for Maximum Flavor Extraction
Begin by placing the 4 lb beef bones in your Instant Pot. I like to arrange them in a single layer at the bottom to ensure even cooking and maximum surface area exposure. The marrow bones will release their golden, gelatin-rich contents during cooking, creating that luxurious texture we’re after.
Next, crack open the 1 cup beef marrow with a cleaver or heavy knife. Spread the exposed marrow evenly over the bones – this is where the magic happens. The marrow will slowly melt into the broth, creating a silky, rich base that traditional bone broths simply can’t match. Don’t worry about getting every last bit out – the heat will work its way through completely.
Build the Aromatic Base with Vegetables and Herbs
Add the chopped vegetables to the Instant Pot: the 2 whole yellow onions (cut into 2-inch chunks), 4 whole carrots (roughly chopped), and 4 whole celery stalks (cut into 2-inch pieces). These form the classic “mirepoix” base that develops deep, sweet flavors during cooking. The larger chunks will soften but maintain structure, infusing the broth without turning it mushy.
Add the 6 smashed garlic cloves, 1 bunch fresh parsley stems (chopped), 4 fresh thyme sprigs, and 2 fresh bay leaves. The thyme and bay leaves will contribute earthy, piney notes that elevate the broth beyond basic vegetable stock. I always include the herb stems – they contain concentrated oils that release during cooking, adding complexity to the final flavor.
Season and Add the Acid Component
Sprinkle the 1 tbsp crushed black peppercorns and 1.5 tsp sea salt over everything. The peppercorns will add subtle heat and depth, while the salt enhances all the flavors. I use Diamond Crystal sea salt here – it dissolves completely and has a cleaner flavor than table salt.
Pour in the 2 tbsp apple cider vinegar – this is crucial. The acid helps break down collagen in the bones and marrow, creating more gelatin during the cooking process. It also brightens the final flavor, cutting through the richness. Finally, add the 8 cups cold water. The cold water helps prevent the Instant Pot from overheating during the pressure cooking phase.
Pressure Cook to Extract Maximum Gelatin and Flavor
Secure the Instant Pot lid and set it to high pressure for 90 minutes. This longer cook time is essential – it allows the collagen in the bones and marrow to fully break down into gelatin, creating that signature bone marrow broth texture. The Instant Pot’s sealed environment traps steam, which penetrates the bones more effectively than stovetop methods.
During this time, the marrow will completely melt into the broth, creating a luxurious, almost custard-like quality. The vegetables will soften but maintain their structure, continuing to infuse flavor. Resist the temptation to check on it – every time you open the lid, you release pressure and potentially extend cooking time.
Strain and Finish for Silky Perfection
Once the cooking time is complete, allow the pressure to release naturally for 20 minutes, then quick-release any remaining pressure. Line a fine-mesh strainer with cheesecloth or a coffee filter to create a makeshift bag. Place all the solids (bones, vegetables, and herbs) into this bag and suspend it in a large bowl or pot.
Slowly ladle the hot broth through the strainer bag, pressing gently on the solids to extract every last bit of flavor. The result should be a velvety, golden broth with visible gelatin strands that coat the back of a spoon. If the broth isn’t clear enough after straining, simply strain it through a fine-mesh sieve for additional clarity. This broth is rich enough to stand alone or use as a base for soups and sauces.
Pro Tips For Making Bone Marrow Broth Recipe Instant Pot
- Sear Bones First: Toss those beef bones in the Instant Pot’s sauté function until they’re deep brown—no, not just lightly colored. I used to skip this, and the broth always tasted flat. Five minutes of browning makes a real difference, especially with the marrow.
- Scrape Out Marrow: Don’t just drop marrow bones in—crack them open and scoop out the marrow before adding them to the pot. It melts faster and infuses the broth with richer flavor. (Yes, it’s messy, but worth it.)
- Skip the Lid Early: Let the broth boil uncovered for the first 10 minutes to drive off impurities and concentrate the flavor. I learned this the hard way—covered cooking from the start leaves a cloudy broth.
- Add Carrots Last: Toss in the carrots only after the bones and marrow have simmered for 30 minutes. They’ll soften perfectly without turning to mush, and you avoid the blandness of overcooked veggies. (Your future self will notice.)
Wine and beer pairings for these flavors
Rich Red Wine Pairings
Bone marrow broth’s deep umami richness pairs beautifully with bold red wines that can stand up to its intensity. I reach for a Cabernet Sauvignon from Napa Valley—its dark fruit and oak notes complement the marrow’s luxurious creaminess.
The tannins in the wine cut through the broth’s richness, creating a perfect balance. For something lighter, a Pinot Noir from Oregon offers bright red fruit flavors that contrast nicely with the broth’s savory depth. 🍷
Earthy Beer Complements
For beer lovers, a dark lager like Schneider Weisse Aventinus (a German doppelbock) brings malty sweetness that enhances the broth’s umami. The caramel and toasted notes in the beer mirror the roasted flavors from the bones.
Alternatively, a Belgian-style brown ale with its nutty, spiced profile adds complexity to each sip. Avoid hoppy IPAs—they’ll overpower the delicate gelatinous texture.
White Wine Brightness
If you prefer white wine, a dry Riesling from Germany or Alsace offers crisp acidity that refreshes the palate after each spoonful. The wine’s citrus and mineral notes contrast beautifully with the broth’s richness.
For a richer white, a Chardonnay from Burgundy with its buttery texture pairs surprisingly well, especially when the broth is used in creamy soups. The wine’s oakiness echoes the depth of the marrow.
Non-Alcoholic Options
Skip the alcohol? A sparkling hibiscus tea (brew hibiscus flowers with ginger and lime) adds a tangy, floral note that cleanses the palate. For something richer, try cold-brewed rooibos tea with a splash of vanilla syrup—its earthy sweetness mirrors the broth’s umami.
Both options highlight the broth’s natural flavors without overpowering them. 💛
Regional Adaptations
In French cuisine, this broth would pair with a Bordeaux red blend—its herbal notes complement the thyme and bay leaves in the recipe. For Italian dishes, a Chianti Classico enhances the umami, especially when the broth is used in risottos or braised meats.
Each region’s wine reflects its culinary traditions, making the pairing feel authentic and elevated.
Nutrition facts
Frequently asked questions
Why does this recipe use beef marrow in addition to bones?
The marrow adds a luxurious creaminess and extra umami depth that regular bone broth simply can’t match. When cooked, it melts into the broth creating that signature velvety texture and rich flavor profile that makes this broth perfect for gourmet dishes like risottos or braised meats.
Can I substitute chicken or pork bones instead of beef?
While you can technically use chicken or pork bones, beef bones are ideal because they contain more collagen and marrow fat. Chicken bones will make a lighter broth, and pork bones may have a stronger flavor. For best results, stick with beef knuckle or marrow bones as they provide that rich, gelatinous texture we’re aiming for.
What’s the best way to store leftover broth?
Store your finished broth in glass jars or containers in the fridge for 5-7 days or freeze for up to 6 months. The fat will solidify on top when chilled – just scoop it off before reheating. For convenience, portion into ice cube trays for easy single-use servings in future recipes.
Do I need to use an Instant Pot for this recipe?
While the Instant Pot makes this process much faster (under 90 minutes total), you can adapt it to a slow cooker by simmering for 12-16 hours instead. The key is the long cooking time to extract maximum collagen. For stovetop methods, you’d need to simmer for 10-12 hours – the Instant Pot’s pressure cooking cuts that time dramatically.
Can I make this broth without roasting the bones first?
Roasting the bones is crucial for developing deep, caramelized flavors that create that restaurant-quality depth. If you skip this step, your broth will be more mild and less complex. For best results, always roast the bones until deeply browned before adding them to your Instant Pot.

- Braised Beef Short Ribs Recipe: Crock Pot Fall-Off-Bone Magic in 6 Hours - November 1, 2026
- Crock Pot Cocoa Recipe: Velvety Warmth With Hidden Spice Magic - November 1, 2026
- White Queso Crock Pot Recipe: Ultra-Smooth Melt Without the Grain - November 1, 2026