
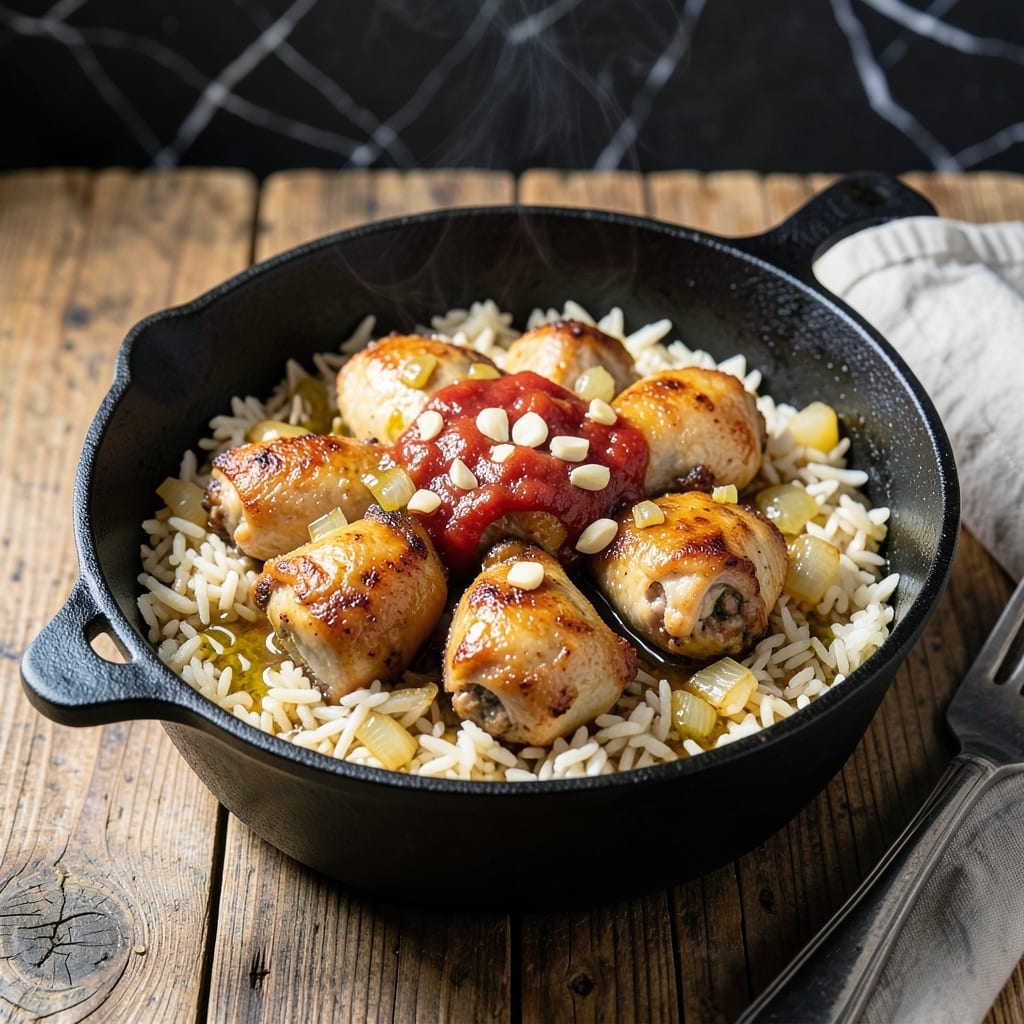
There’s nothing quite like the satisfaction of flipping over a pot to reveal a perfectly crispy golden layer beneath tender chicken and fluffy rice. This dish transforms simple ingredients into a showstopping meal with minimal effort.
The technique is straightforward: cook the rice and chicken together until the bottom develops a coveted crunch. It’s a one-pot wonder that balances textures and flavors beautifully, with the crispy layer adding depth to every bite.
What emerges is a dish that feels both comforting and impressive—juicy chicken atop fragrant rice, all crowned with that signature crispy crust. It’s a meal that speaks for itself.
Ready to achieve that perfect crunch at home? This method ensures it every time.
Ingredients for Bottom of the Pot Chicken and Rice
Simple ingredients come together for a meal that feels special. Nothing exotic, just well-chosen staples.
| Ingredient | Amount | Notes |
|---|---|---|
| Chicken Thighs 🍗 | 1 ½ lb | Boneless, skin-on preferred |
| Long-Grain White Rice 🍚 | 1 ½ cups | Rinsed until water runs clear |
| Yellow Onion 🧅 | 1 whole | Finely diced for even cooking |
| Garlic Cloves 🧄 | 4 cloves | Minced for maximum flavor |
| Chicken Stock 🥣 | 2 ½ cups | Low-sodium preferred for control |
| Tomato Paste 🍅 | 2 tbsp | For depth and color |
| Ground Turmeric 🌶️ | ½ tsp | For golden hue and earthiness |
| Ground Cumin 🌿 | 1 tsp | Toasted lightly for warmth |
| Salt 🧂 | 1 ½ tsp | Diamond Crystal kosher salt |
| Black Pepper 🌶️ | ½ tsp | Freshly ground preferred |
| Olive Oil 🫒 | ¼ cup | For searing and crisping |
| Butter 🧈 | 2 tbsp | Unsalted, for browning |
| Saffron Threads 🌼 | 1 pinch | Optional, for aroma |
| Fresh Parsley 🌿 | ¼ cup | Chopped, for garnish |
The chicken is critical here. Thighs with skin-on render fat that crisps the rice beautifully—Costco or butcher shop for the best selection. Look for pieces with even thickness to ensure even cooking. The rice should be long-grain white (jasmine or basmati work well) and rinsed thoroughly to remove excess starch, which helps achieve that coveted crunch.
No chicken thighs? Bone-in works too but may require longer cooking. For the stock, homemade is ideal, but Swanson or Kitchen Basics are reliable store-bought options. Skip the turmeric if you prefer a paler rice, but it adds a lovely golden color. The saffron is optional but worth the splurge (a little goes a long way) for special occasions.
The crispy bottom loses its texture if left to sit, so serve immediately. Leftovers keep in the fridge for 3-4 days but are best reheated in a dry skillet to revive the crust. Freezing is not recommended as it softens the crispy layer.
Why You’ll Love This Recipe
- One Pan Wonder: I toss in the thighs, rice, onion, and garlic, then let the stock do the work—minimal effort, maximum flavor.
- Crispy Comfort: That golden crust at the bottom with the tender chicken and fluffy rice? Pure satisfaction in every bite.
- Feeds a Crowd: Honestly, it’s my go-to for family dinners, potlucks, or Sunday meal prep—always a hit.
- Budget Friendly: Chicken thighs and pantry staples stretch far, and leftovers taste even better the next day.
Step-by-Step Instructions for Bottom of the Pot Chicken and Rice
This method guarantees a golden crust beneath fluffy rice and tender chicken every time.
Step 1: Sear the Chicken Thighs to Golden Perfection
Heat 0.25 cup olive oil in a heavy-bottomed pot over medium-high heat. Season the 1.5 lb chicken thighs with 1.5 tsp salt and 0.5 tsp black pepper, then arrange them skin-side down in the hot oil.
Sear undisturbed for 6-8 minutes until the skin turns deep golden brown and releases easily from the pot. Flip and cook for another 3-4 minutes until the other side is equally browned. Remove the chicken and set aside—this searing builds the foundation for both flavor and the crispy bottom.
Step 2: Toast Spices and Build the Base
In the same pot, reduce heat to medium and add the 1 whole yellow onion, finely diced. Sauté for 4-5 minutes until softened and translucent. Stir in the 4 cloves minced garlic cloves, 0.5 tsp ground turmeric, and 1 tsp ground cumin, toasting for 30 seconds until fragrant.
Add 2 tbsp tomato paste and cook for 1 minute, stirring constantly, until it darkens slightly. This step develops the deep, complex flavors that will infuse the rice. Pour in 0.5 cup of the 2.5 cups chicken stock to deglaze, scraping up any browned bits from the bottom.
Step 3: Layer and Cook for the Crispy Bottom
Add the 1.5 cups long-grain white rice, rinsed until water runs clear, to the pot. Stir to coat the grains in the oil and spices. Pour in the remaining 2 cups chicken stock and 1 pinch saffron threads, if using, and bring to a gentle boil.
Arrange the seared chicken thighs skin-side up on top of the rice. Reduce heat to low, cover, and cook undisturbed for 20-25 minutes. Resist the urge to peek—the steam is crucial for cooking the rice evenly and forming the crispy bottom layer.
Step 4: Crisp the Bottom and Rest
After 20-25 minutes, remove the lid and increase heat to medium-high. Cook for an additional 5-7 minutes until you hear a sizzling sound and the bottom of the pot develops a golden, crispy crust. The rice should be tender and the chicken fully cooked through.
Turn off the heat and let the dish rest, covered, for 10 minutes. This allows the crispy layer to set and the flavors to meld. To serve, carefully flip sections onto a platter to showcase the crispy bottom, then garnish with 0.25 cup chopped fresh parsley.
Pro Tips For Making Bottom Of The Pot Chicken And Rice
- Brown the Chicken Well: Get your thighs deeply golden in the pot first—this builds the flavor foundation for the rice. I learned this the hard way after making bland batches with pale chicken.
- Toast the Rice: After removing the chicken, let the rice cook in the fat for 2-3 minutes until it smells nutty. This step actually changes the outcome more than you’d expect.
- Skip the Rinsing: Resist the urge to rinse the rice—you want that starchy coating to help create the coveted crispy bottom layer.
- Use Hot Stock: Pour in boiling chicken stock instead of cold to jumpstart the cooking process. Sounds weird, but it works and saves about 5 minutes of simmering time.
Storing and Reheating bottom of the pot chicken and rice
Refrigerator Storage
Let this dish cool for no more than 2 hours before transferring to airtight containers. It keeps well in the fridge at 40°F or below for up to 3 days. The crispy bottom softens, but the flavors deepen beautifully. ❄️
Freezing Instructions
Freezing isn’t ideal because the crispy layer loses its texture, but if necessary, portion into freezer-safe bags. Squeeze out excess air and freeze for up to 2 months. Thaw overnight in the fridge before reheating.
Stovetop Reheating
My favorite method: place portions in a dry skillet over medium heat for 5-7 minutes to revive the crust. Add a splash of water or stock if the rice seems dry. Cover for the last 2 minutes to steam slightly. 🔥
Microwave Option
For quick reheating, use 50% power in 1-minute intervals until reaching 165°F. Place a damp paper towel over the dish to retain moisture. Note that the crispy bottom won’t be as pronounced.
Serving Tip
Always serve immediately after reheating to preserve the texture. If the crispy layer isn’t perfect, a quick broil for 2-3 minutes in the oven can help restore some crunch.
Nutrition Facts
Frequently Asked Questions
Why does my crispy bottom not form?
If the heat is too low, the bottom won’t crisp. Use medium-high heat during the final uncovered cooking stage. Also, resist stirring the rice while cooking, as this prevents the crust from developing.
Can I use chicken breasts instead of thighs?
You can, but thighs are ideal because their higher fat content helps create the crispy layer. If using breasts, add 2 tbsp extra butter to compensate and monitor closely to avoid drying out.
How do I know when it’s done?
Listen for a sizzling sound and check for a golden-brown crust at the bottom. The chicken should reach 165°F internally, and the rice should be tender with no liquid remaining.
What pot works best?
A heavy-bottomed pot like Dutch oven or stainless steel distributes heat evenly. Avoid nonstick, as it can prevent proper crisping and may not withstand the high heat needed.

- 4C Bread Crumbs Meatballs Recipe: Crispy Crust and Juicy Centers - September 25, 2026
- 6 Oz Chocolate Chip Cookie Recipe: Perfectly Balanced Crispy Edges and Chewy Hearts - September 25, 2026
- 6-Inch Coffee Cake Recipe: Vanilla Bean Swirls and Buttery Streusel Topping - September 25, 2026