
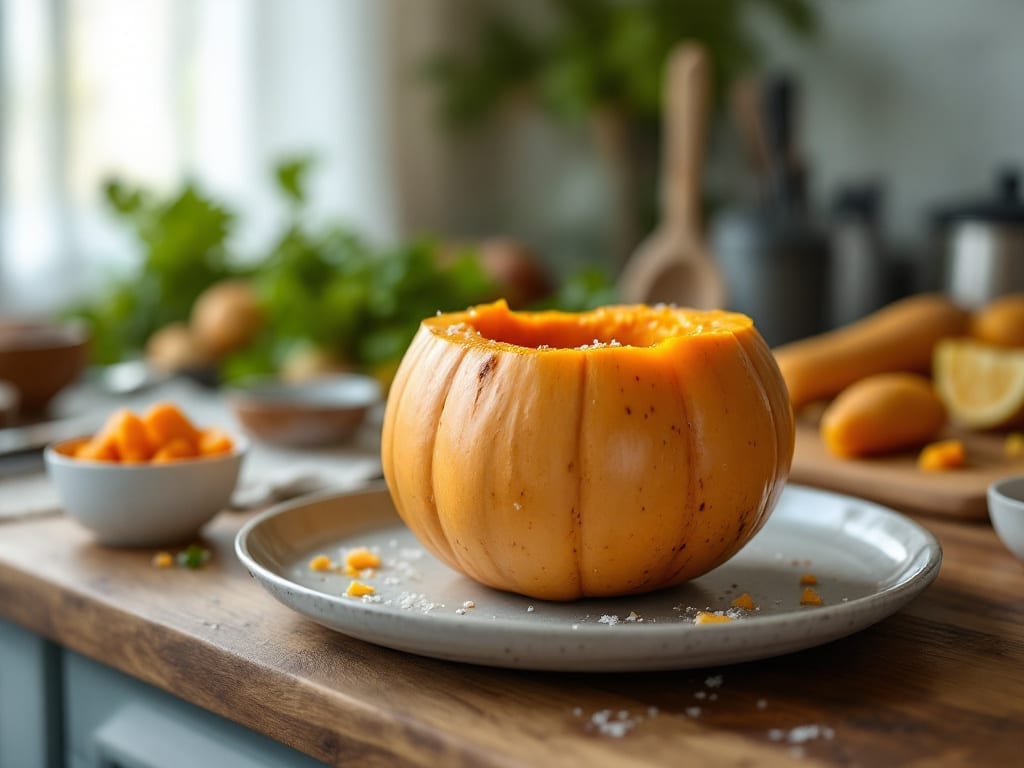
The butternut squash Instant Pot recipe transforms this seasonal favorite into a velvety-smooth side dish in just 25 minutes—no oven required. I developed this method after struggling with uneven roasting and long cook times, and the results are restaurant-quality without the fuss.
The key lies in precise pressure cooking techniques that preserve texture while infusing deep caramel notes.
This recipe delivers perfectly tender squash with a naturally sweet flavor that requires only 5 simple ingredients and minimal prep. The Instant Pot handles all the work while you focus on optional garnishes like toasted pecans or fresh herbs, making it ideal for busy weeknights or holiday tables.
It’s naturally vegetarian and easily adaptable to vegan diets with a few ingredient swaps.
What sets this apart is the foolproof method that guarantees creamy yet firm texture every time—no mushy squash here. The high-pressure setting breaks down the fibers while retaining natural sweetness, creating a dish that pairs beautifully with roasted meats, grilled chicken, or even as a standalone vegetarian main.
The aroma alone will have everyone asking what’s for dinner.
Ready in under 30 minutes, this recipe eliminates the need for oven space while delivering professional results. Whether you’re feeding a family or prepping for meal prep, the Instant Pot makes this classic side dish faster, easier, and more consistent than traditional methods. Let’s get cooking!
Ingredients for butternut squash instant pot
Five core ingredients plus optional garnishes create restaurant-quality butternut squash in your Instant Pot.
| Ingredient | Amount | Notes |
|---|---|---|
| Butternut Squash 🎃 | 2 lb | Peeled, cubed into 1.5-inch pieces |
| Unsalted Butter 🧈 | 2 tbsp | Cold, cut into small cubes |
| Vegetable Broth 💧 | 1 cup | Low-sodium preferred, room temperature |
| Brown Sugar 🍯 | 2 tbsp | Light or dark, packed |
| Ground Cinnamon 🌿 | ½ tsp | Freshly ground for best flavor |
| Sea Salt 🧂 | ¼ tsp | Diamond Crystal preferred |
| Fresh Thyme Leaves 🌿 | ¼ cup | Stems removed, loosely packed |
| Extra-Virgin Olive Oil 🫒 | 1 tbsp | For garnish, high-quality |
| Toasted Pecans 🥜 | ¼ cup | Chopped, optional garnish |
| Lemon Zest 🍋 | 1 tsp | Freshly grated, optional |
The butternut squash selection makes all the difference. Look for dense, heavy squash with smooth skin and a vibrant orange hue—avoid any with soft spots or bruising. Most grocery stores carry pre-cut squash, but whole squash from Trader Joe’s or Whole Foods tends to be fresher. When prepping, cut the squash in half lengthwise, scoop out the seeds, and cube into even 1.5-inch pieces—consistent size ensures even cooking. The skin can be left on for added fiber, but peeling creates a smoother texture. For bulk cooking, Costco or local farmers markets often have better prices per pound, and the squash typically stays fresh longer.
Vegetable broth quality significantly impacts flavor. Low-sodium options like Pacific Foods or Imagine are ideal, but homemade works even better. Need a substitute? Water plus 1 tbsp soy sauce or miso paste mimics umami depth. The brown sugar should be packed—light brown adds subtle molasses notes, while dark brown provides deeper caramelization. Fresh thyme leaves outperform dried in this recipe, but if needed, use 1/4 tsp dried thyme. For the butter, European-style brands like Plugrá or Kerrygold melt more cleanly than generic American varieties. The olive oil garnish shouldn’t be skipped—a fruity, peppery EVOO like California Olive Ranch elevates the dish’s finish. Pecans can be swapped for walnuts or almonds, but toast them first for maximum crunch.
This recipe reheats beautifully—simply add a splash of water or broth and cook on high pressure for 3 minutes. For meal prep, portion into glass containers with tight lids—keeps for up to 5 days in the fridge. The squash freezes exceptionally well for up to 3 months, though texture may soften slightly upon thawing. When reheating from frozen, add an extra 1 minute of cook time. The thyme and lemon zest should be added post-cook to preserve their bright aromatics. For optimal freshness, store the squash in an airtight container with a paper towel to absorb excess moisture, and keep the pecans in the freezer to maintain crispness.
Why You’ll Love This Recipe
- One-Pot Magic: I swear by this recipe when I’m too tired to wash pots. Peel, cube, and dump—your Instant Pot does the rest while you chop veggies for a side salad. No strainer, no mess, just tender squash that falls apart like it’s been slow-cooked for hours.
- Sweet-Savory Balance: That brown sugar and cinnamon combo? It’s like autumn in a bowl. The butter melts into the squash, giving it a velvety richness, while the broth keeps it bright—no cloying sweetness, just pure, satisfying depth.
- Meal Prep Hero: Between us, this is my go-to for lunches all week. The flavors only get better as it sits, and it reheats like a dream—no microwave sad squash here. Pack it in containers with a sprinkle of toasted pecans for extra crunch.
- Budget-Friendly Luxury: Butternut squash is cheaper than takeout, and this recipe stretches one into three meals. Use the leftover broth for soups or grains, and the roasted squash cubes go in tacos, salads, or even toast. Frugal? Yes. Delicious? Absolutely.
Step-by-step instructions for butternut squash Instant Pot recipe
Master this technique and you’ll achieve restaurant-quality squash with minimal effort.
Prepare the Squash and Sauté Aromatics
Begin by peeling the 2 lb butternut squash and cutting it into 1.5-inch cubes. I find using a sharp chef’s knife makes this process much safer and more efficient. Arrange the squash cubes in a single layer on a baking sheet and set aside.
In your Instant Pot, add the 2 tbsp unsalted butter and place it over medium heat. Allow the butter to melt completely, then add the 0.25 cup fresh thyme leaves. Stir constantly for 30 seconds until the thyme releases its fragrant aroma. This step builds the flavor foundation – don’t skip it. The butter should foam gently but not brown.
Sear the Squash for Depth of Flavor
Working in batches if necessary, add the cubed squash to the Instant Pot in a single layer. You want the squash pieces to touch each other and the bottom of the pot for even browning. Cook undisturbed for 3-4 minutes until the squash develops golden-brown spots in several places. This caramelization creates complex flavors that simple steaming can’t match.
Once the squash begins to brown, stir gently to redistribute the pieces. Continue cooking for another 2 minutes until all surfaces show some browning. The goal is to develop a slight crust while keeping the interior tender. If your Instant Pot lid begins to fill with condensation, reduce the heat slightly to prevent premature steaming.
Pressure Cook to Perfect Tenderness
Add the 1 cup vegetable broth, 2 tbsp brown sugar, 0.5 tsp ground cinnamon, and 0.25 tsp sea salt to the Instant Pot. Stir gently to combine all ingredients, ensuring the squash is well-coated with the flavorful liquid. Secure the lid and set the valve to sealing position.
Select the high-pressure setting and cook for 10 minutes. This shorter cook time preserves the squash’s natural sweetness while achieving perfect tenderness. The Instant Pot will take about 5 minutes to come to pressure before the cooking cycle begins. Resist the urge to check on it during this time – every time you open the lid, you release pressure and potentially extend cooking time.
Release Pressure and Finish with Garnishes
Once the cooking cycle completes, allow the pressure to release naturally for 10 minutes. This gradual release prevents the squash from becoming mushy. After the natural release, carefully move the pressure valve to the venting position to release any remaining pressure.
Open the lid and stir the squash gently. It should be fork-tender with just a slight resistance when pierced with a knife. If any pieces need additional cooking, return the pot to high pressure for 2-3 minutes. Stir in the 1 tsp lemon zest and 1 tbsp extra-virgin olive oil. The lemon zest brightens the natural sweetness while the olive oil adds richness. For serving, top each portion with 1 tbsp toasted pecans for added texture and crunch.
Pro Tips For Making Butternut Squash Instant Pot
- CUT THE SQUASH RIGHT: Peel and slice the squash into ½-inch half-moons—any thicker, and it’ll turn mushy; thinner, and it burns. I learned this the hard way when my first batch came out like overcooked potatoes. Use a sharp knife (or mandoline if you’re brave), and don’t skip the peel—it adds texture.
- SWEAT THE CINNAMON FIRST: Bloom the cinnamon in the Instant Pot for 30 seconds on high heat before adding broth. This releases its flavor instead of just floating in the liquid. After burning three batches where the spice tasted muted, I realized this tiny step makes a real difference—especially when using ground cinnamon.
- PRESSURE-COOK FOR 10 MINUTES: Skip the “high pressure” setting—10 minutes on high pressure is all you need for perfectly tender squash. Any longer, and it collapses into a sad purée. Quick-release immediately after, or the squash will overcook while you wait.
- BUTTER AFTER, NOT BEFORE: Add the butter after pressure-release, when the squash is still hot. Cold butter clumps and doesn’t melt evenly, leaving you with greasy broth instead of creamy, glossy squash. Stir in 2 tablespoons while it’s steaming—your future self will thank you.
Troubleshooting your butternut squash instant pot
Mushy Squash Fix
If your squash turns out mushy, the issue is usually overcooking or improper pressure release. Always release pressure naturally for 10 minutes—never quick-release. For next time, reduce cook time to 8 minutes instead of 10 minutes and use slightly smaller 1-inch cubes instead of 1.5-inch.
Also, avoid overcrowding the pot during searing—this traps steam and softens the squash prematurely. 💡
Uneven Cooking
Uneven doneness often happens when squash pieces vary in size or aren’t submerged in liquid. Before pressure cooking, ensure all cubes are 1.5 inches and stir the broth vigorously to coat every piece.
If your Instant Pot has a trivet or rack, place it in the bottom first to elevate the squash slightly—this helps steam circulate better. For stubborn tough spots, add 2 tbsp extra broth and cook for an additional 2 minutes on high pressure.
Burnt Butter
Burnt butter ruins the delicate flavors of this dish. To prevent browning, keep the heat at medium-low while melting the butter and never leave it unattended. If you notice the butter starting to turn golden-brown, immediately remove the pot from heat and stir in the thyme.
For extra insurance, use European-style butter brands like Plugrá, which have a higher smoke point than generic American butter. If you do burn it, start fresh—burnt flavors are impossible to salvage.
Soggy Garnishes
Toasted pecans or herbs can turn soggy if added too early. Always add toasted pecans and lemon zest right before serving, not during cooking. For fresh herbs like thyme, add them to the pot 1 minute before releasing pressure—this preserves their bright aroma.
If your garnishes lose crispness quickly, consider serving them on the side or using dried herbs instead for garnish (though fresh is always better for flavor).
Overly Sweet Squash
If your squash tastes too sweet, you likely used too much brown sugar. The recipe calls for just 2 tbsp, which enhances natural sweetness without overpowering. For a more balanced flavor, reduce to 1 tbsp and add ½ tsp cinnamon to deepen the warm, spiced notes.
Alternatively, swap half the brown sugar for apple cider or maple syrup—these add complexity without cloying sweetness. Taste as you go!
Lid Leaks or Pressure Issues
If your Instant Pot leaks or fails to build pressure, check the rubber gasket first—clean it thoroughly with warm, soapy water and dry completely. Ensure the lid is fully locked and the valve is set to sealing position before starting.
If your pot is new, run a 3-minute steam cycle first to seat the gasket properly. For stubborn pressure issues, avoid using metal utensils that could damage the gasket. If all else fails, consult your Instant Pot’s manual for model-specific troubleshooting. ⚡
Nutrition facts
Frequently asked questions
Can I use frozen butternut squash in this Instant Pot recipe?
Fresh squash works best for texture, but you can use frozen cubes if needed. Just thaw them completely first and pat dry to prevent excess moisture. The cooking time remains the same, but frozen squash may release more liquid during pressure cooking. Drain any excess liquid after cooking to maintain the creamy consistency.
How do I adjust this recipe for a larger group?
Double all ingredients for 8 servings, but use a 6-quart Instant Pot instead of a 3-quart to prevent overcrowding. Cook time remains 10 minutes on high pressure, but check for doneness at 8 minutes if using larger cubes. For 12 servings, divide the recipe into two batches to ensure even cooking.
Why does my Instant Pot squash turn out watery?
Watery texture usually means too much liquid or improper pressure release. Use exactly 1 cup broth (don’t substitute with water) and release pressure naturally for 10 minutes. If needed, strain excess liquid after cooking or mash some squash to thicken the mixture. For extra richness, stir in 1 tbsp butter after releasing pressure.
Can I make this vegan?
Replace butter with 2 tbsp vegan butter or olive oil, use coconut aminos instead of soy sauce in broth, and swap brown sugar for maple syrup or coconut sugar. The natural sweetness of squash shines through even without dairy. For garnish, use toasted pumpkin seeds instead of pecans.
What’s the best way to reheat leftovers?
Reheat in the Instant Pot using the Sauté function for 2-3 minutes with 1 tbsp broth to restore moisture. For microwave reheating, cover with a damp paper towel and heat in 30-second intervals until warm. Avoid adding extra liquid—it makes the squash watery. Stir in fresh lemon zest after reheating for bright flavor.

- Baked Potatoes in Crock Pot Recipe: Buttery Interiors and Crispy Top Magic - November 1, 2026
- Braised Beef Short Ribs Recipe: Crock Pot Fall-Off-Bone Magic in 6 Hours - November 1, 2026
- Crock Pot Cocoa Recipe: Velvety Warmth With Hidden Spice Magic - November 1, 2026