
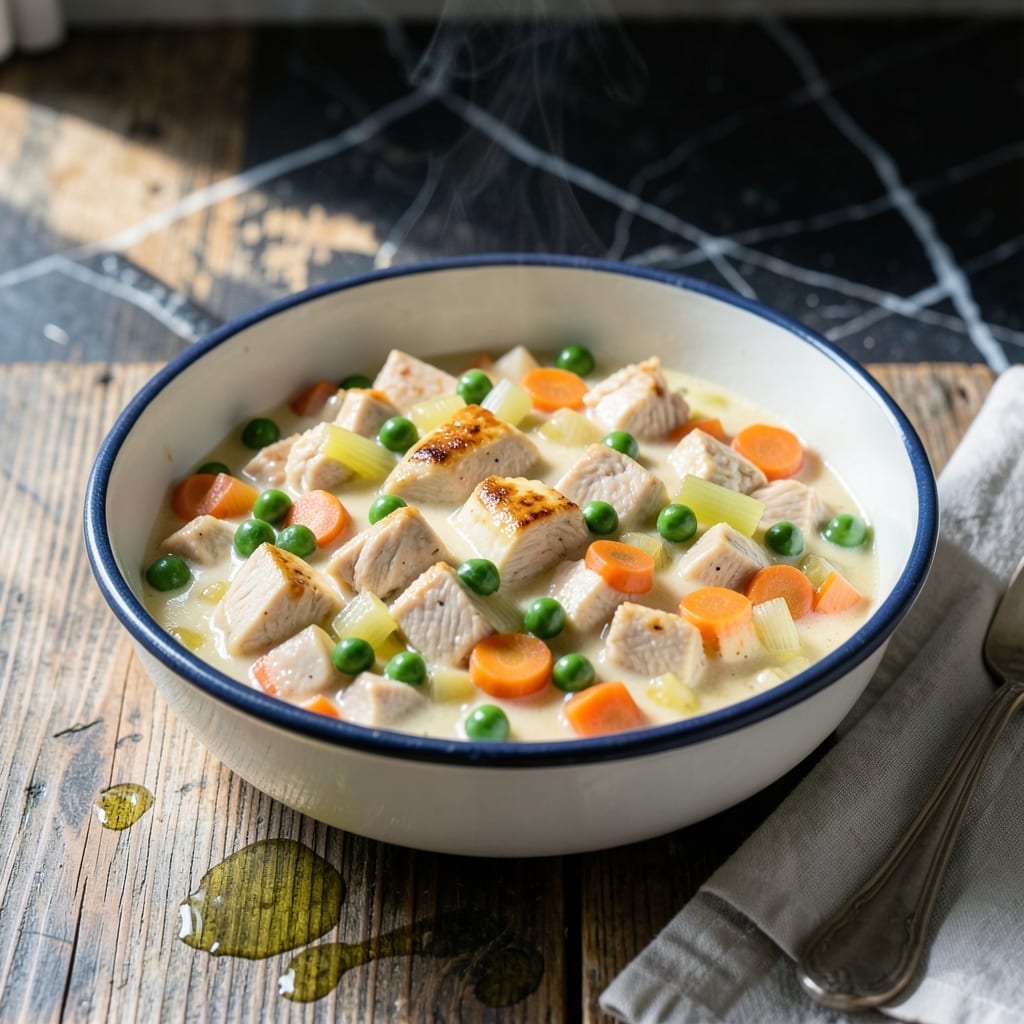
Preserving the hearty comfort of chicken pot pie filling has never been more practical. This method transforms a beloved meal into a shelf-stable staple you can enjoy year-round.
By canning the filling separately, you maintain complete control over the savory flavors and textures. The process ensures every ingredient stays tender and delicious, ready to be baked into a pie whenever cravings strike.
The beauty lies in its convenience—simply open a jar, add your preferred crust, and bake. It delivers the same warm, comforting experience as the classic dish with minimal effort.
Perfect for busy weeknights or emergency meals, this canned filling brings homemade taste without the last-minute prep.
Ingredients for Canning Chicken Pot Pie Filling
Pantry staples and fresh veggies come together for this canned filling. Hearty, comforting, and ready when you are.
| Ingredient | Amount | Notes |
|---|---|---|
| Boneless Chicken Breast 🍗 | 1 ½ lb | Diced into bite-sized pieces |
| Carrots 🥕 | 1 ½ cups | Peeled and diced |
| Celery 🌿 | 1 cup | Finely chopped |
| Yellow Onion 🧅 | 1 whole | Medium, finely diced |
| Frozen Green Peas 🌱 | 1 cup | Thawed before canning |
| Unsalted Butter 🧈 | ½ cup | For cooking the roux |
| All-Purpose Flour 🌾 | ½ cup | For thickening the filling |
| Chicken Broth 🥣 | 3 cups | Low-sodium preferred |
| Whole Milk 🥛 | 1 cup | For creamy texture |
| Salt 🧂 | 1 tsp | Adjust to taste |
| Black Pepper 🌶️ | ½ tsp | Freshly ground preferred |
| Dried Thyme 🍃 | ½ tsp | For savory depth |
| Garlic Powder 🧄 | ½ tsp | Enhances flavor profile |
| Bay Leaf 🍁 | 1 whole | Removed before canning |
The chicken is key here—boneless, skinless breasts stay tender during canning. I grab mine from Costco for bulk savings, but any grocery store works. Carrots and celery should be fresh and firm (no limp veggies). For the broth, low-sodium lets you control the salt. Butter and flour make the roux, so don’t skip these—they thicken the filling perfectly.
No chicken? Turkey breast works just as well. Out of peas? Diced potatoes add heartiness. For a dairy-free version, swap the milk for coconut milk. Fresh thyme can replace dried at three times the amount. If you’re short on broth, use water with a bouillon cube. The bay leaf adds subtle depth, but it’s fine to omit if you don’t have it.
Canned filling keeps for 12-18 months in a cool, dark place. Once opened, use within 5 days or freeze for up to 3 months. Perfect for quick meals—just heat, add crust, and bake. Always check jars for proper sealing before storing.
Why You’ll Love This Recipe
- One Pot Wonder: I love throwing chicken, carrots, and celery into a single pot and letting it simmer—no complicated steps.
- Comfort in a Jar: The creamy broth with peas and tender chicken tastes like a warm hug from my grandma’s kitchen.
- Pantry Lifesaver: Between us, having these jars ready means dinner’s half done before I even start.
- Budget Stretcher: Honestly, boneless chicken breast and frozen peas keep this filling both hearty and wallet-friendly.
Step-by-Step Instructions for Canning Chicken Pot Pie Filling
Here’s the method I’ve perfected for creating this comfort food staple that stores beautifully.
Step 1: Cook the Chicken and Vegetables
In a large pot, bring the 1.5 lb Boneless Chicken Breast and enough water to cover to a boil. Reduce heat and simmer for 15-20 minutes until the chicken is fully cooked and no longer pink inside. Remove the chicken and let it cool slightly before dicing into bite-sized pieces.
In the same pot, add the 1.5 cups Carrots, 1 cup Celery, and 1 whole Yellow Onion. Cook for 5-7 minutes until the vegetables begin to soften. Drain and set aside with the chicken.
Step 2: Prepare the Creamy Roux
In a clean, large pot, melt the 0.5 cup Unsalted Butter over medium heat. Add the 0.5 cup All-Purpose Flour and whisk constantly for 1-2 minutes to form a smooth roux. This creates the base for your creamy filling.
Cook until the roux turns a light golden color and smells slightly nutty. Be careful not to let it brown too much, as this can affect the flavor and color of your final dish.
Step 3: Build the Filling with Broth and Milk
Gradually whisk in the 3 cups Chicken Broth, ensuring no lumps form. Stir in the 1 cup Whole Milk, then add the 1 tsp Salt, 0.5 tsp Black Pepper, 0.5 tsp Dried Thyme, 0.5 tsp Garlic Powder, and 1 whole Bay Leaf.
Bring the mixture to a gentle boil, then reduce heat to medium-low. Cook for 5-7 minutes, stirring frequently, until the filling thickens enough to coat the back of a spoon.
Step 4: Combine and Simmer
Add the cooked chicken and vegetables, including the 1 cup Frozen Green Peas, to the pot. Stir everything together gently to combine. Simmer for an additional 5 minutes to allow the flavors to meld together beautifully.
Remove the Bay Leaf before proceeding to the canning stage. Taste and adjust seasoning if needed, though remember flavors will concentrate slightly during canning.
This filling should be thick and hearty, perfect for pie crust or biscuit topping when you’re ready to use it.
Pro Tips For Making Canning Chicken Pot Pie Filling
- Pre-Cook the Chicken: Poach the boneless chicken breasts in broth for 12-15 minutes until just done—this keeps them tender and prevents rubbery texture in the final filling.
- Blanch the Veggies: Lightly blanch carrots and celery for 2 minutes in boiling water before adding to the filling; it preserves their color and texture during canning.
- Avoid Overfilling Jars: Leave a full 1-inch headspace in each jar to prevent liquid from bubbling over and compromising the seal during processing.
- Use Fresh Peas: Skip thawing frozen peas entirely—toss them in straight from the freezer to avoid mushiness in the finished filling.
Creative Variations of This canning chicken pot pie filling
Turkey Twist
Swap the chicken for 1.5 lb boneless turkey breast, which stays moist during canning. The flavor is milder, making it perfect for those who prefer a subtler taste. I love using leftover holiday turkey for this.
Vegetarian Version
Replace chicken with 2 cups diced mushrooms and 1 cup chickpeas for a hearty meat-free option. Sauté the mushrooms first to develop deep umami flavors that mimic chicken’s richness. 💪
Creamy Herb Upgrade
Add 1 tsp fresh rosemary and 1 tsp fresh sage to the filling for a gourmet twist. These herbs pair beautifully with the existing thyme and add a sophisticated depth.
Spicy Kick
For heat lovers, stir in ½ tsp cayenne pepper or 1 diced jalapeño with the vegetables. The spice cuts through the creaminess wonderfully. I always keep some spicy jars on hand for chilly evenings.
Dairy-Free Adaptation
Use coconut milk instead of whole milk and olive oil in place of butter. The coconut adds a subtle sweetness that complements the savory filling. Be sure to use full-fat coconut milk for best results. 🥥
Hearty Potato Addition
Add 1.5 cups diced potatoes when cooking the other vegetables. They soak up the creamy sauce and make the filling even more substantial. Yukon Golds work particularly well.
Nutrition Facts
Frequently Asked Questions
How long does canned filling last?
Properly sealed jars stay fresh for 12-18 months in a cool, dark pantry. Once opened, use within 5 days or freeze for up to 3 months.
Can I use turkey instead of chicken?
Yes! Use 1.5 lb boneless turkey breast for a milder flavor. It stays just as tender and works perfectly in this recipe.
Why remove the bay leaf before canning?
Bay leaves can become tough and sharp when canned. Removing it ensures a smooth texture and prevents accidentally biting into it later.
What if my filling is too thin?
Simmer uncovered for an extra 5-10 minutes to thicken. If still thin, mix 1 tbsp cornstarch with cold water and stir in before canning.

- 6 Oz Chocolate Chip Cookie Recipe: Perfectly Balanced Crispy Edges and Chewy Hearts - September 25, 2026
- 6-Inch Coffee Cake Recipe: Vanilla Bean Swirls and Buttery Streusel Topping - September 25, 2026
- 1 Hour Soup Recipe: Velvety Richness Without the Wait - September 25, 2026