
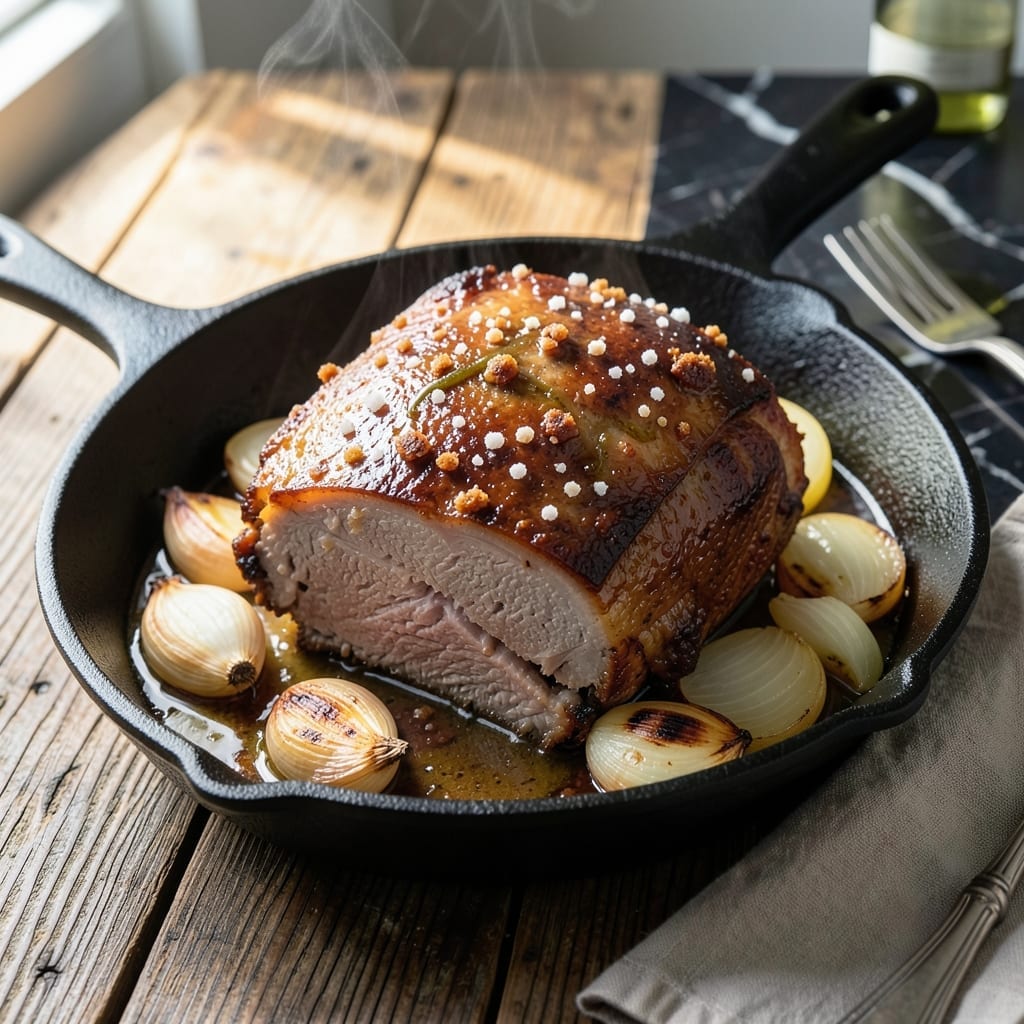
This crock pot method transforms tough pork shoulder into fall-apart tender meat with minimal effort. The slow cooking process breaks down connective tissue, resulting in succulent results every time.
By focusing solely on pork and salt, this carnivore approach lets the meat’s natural flavors shine. The hands-off technique requires no advanced skills—just time and a reliable slow cooker.
After hours of gentle cooking, you’ll have rich, juicy pork that pulls apart with a fork. The simplicity of this method makes it ideal for beginners and busy cooks alike.
Serve as is or shred for various carnivore-friendly preparations. The results speak for themselves.
Ingredients for Carnivore Pork Shoulder Crock Pot
Minimalist carnivore perfection requires just pork, salt, and time. No fuss, all flavor.
| Ingredient | Amount | Notes |
|---|---|---|
| Pork Shoulder 🥩 | 3 lb | Bone-in, skin-on preferred for flavor |
| Coarse Kosher Salt 🧂 | 1 tbsp | Diamond Crystal brand recommended |
| Black Peppercorns 🌶️ | 1 tsp | Freshly cracked for best aroma |
| Garlic Cloves 🧄 | 4 cloves | Smashed, optional for depth |
| Water 💧 | ½ cup | Or substitute with beef bone broth |
| Yellow Onion 🧅 | 1 whole | Quartered, optional for aroma |
| Bay Leaves 🍃 | 2 pieces | Dried, for subtle earthiness |
| Olive Oil 🫒 | 1 tbsp | For searing pork (optional step) |
The pork shoulder quality is paramount here. Bone-in, skin-on cuts yield the richest results, as the collagen breaks down into gelatin during the long cook. Costco or Whole Foods typically carry well-marbled shoulders—look for pieces with visible fat streaks. Avoid pre-cut chunks, as the whole roast retains moisture better. The salt should be coarse kosher, preferably Diamond Crystal, for even seasoning without bitterness.
For strict carnivore adherence, skip the aromatics entirely—just pork and salt will suffice. However, if you’re open to slight flexibility, garlic and onion add depth without compromising the meat-forward focus. Beef bone broth can replace water for extra richness. No slow cooker? A Dutch oven in a 275°F oven works equally well. The bay leaves are entirely optional but contribute a subtle complexity.
Store raw pork shoulder in the fridge for up to 3 days or freeze for 6-12 months. Cooked pork keeps refrigerated for 4-5 days or frozen for 3 months. Reheat gently in its juices to maintain moisture—microwaving tends to dry it out (worth the extra minute).
Why You’ll Love This Recipe
- Hands-Off Cooking: I toss everything in the crock pot before work and come home to fall-apart tender pork.
- Rich Garlic Bite: The slow-cooked garlic cloves melt into the meat, giving every bite deep, savory flavor.
- Meal Prep MVP: I shred it Sunday and it fuels my lunches all week—no extra effort.
- Budget Stretcher: One affordable pork shoulder feeds my family for days, with leftovers that taste even better.
Step-by-Step Instructions for Carnivore Pork Shoulder in Crock Pot
This straightforward method yields fall-apart tender meat with minimal hands-on time.
Step 1: Season and Prepare the Pork Shoulder
Pat the 3 lb pork shoulder dry with paper towels to ensure optimal browning and seasoning adherence. Generously rub the surface with the 1 tbsp coarse kosher salt and 1 tsp black peppercorns, pressing the seasoning into the meat for maximum flavor penetration.
If using the optional searing step, heat the 1 tbsp olive oil in a large skillet over medium-high heat. Sear the pork shoulder on all sides until deep golden brown, about 3-4 minutes per side. This step enhances the depth of flavor but can be skipped for true hands-off preparation.
Step 2: Add Aromatics to the Crock Pot
Place the 1 whole yellow onion (quartered), 4 cloves garlic cloves (smashed), and 2 pieces bay leaves at the bottom of the crock pot. These aromatics will infuse the meat with subtle, complementary flavors during the long cooking process.
Arrange the seasoned pork shoulder on top of the aromatics. If you seared the meat, place it fat-side up to allow the rendered fat to baste the pork as it cooks. The aromatics create a natural rack, ensuring even heat distribution.
Step 3: Cook on Low Heat for Maximum Tenderness
Pour the 0.5 cup water into the crock pot, taking care not to wash off the seasoning from the pork. Cover and cook on the low setting for 8-10 hours. This extended cooking time allows the connective tissues to break down slowly, resulting in exceptionally tender meat.
Resist the urge to lift the lid during cooking, as each opening can add 20-30 minutes to the total cook time. The pork is done when it shreds easily with a fork and reaches an internal temperature of 195-200°F.
Step 4: Rest and Shred the Pork
Once the cooking time is complete, carefully transfer the pork shoulder to a large bowl or cutting board. Discard the bay leaves, yellow onion, and garlic cloves, as they have already imparted their flavors into the meat.
Let the pork rest for 10-15 minutes before shredding. This resting period allows the juices to redistribute, ensuring moist, flavorful meat. Use two forks to pull the pork apart into your desired size pieces, discarding any large fat deposits if preferred.
Pro Tips For Making Carnivore Pork Shoulder Crock Pot
- Dry the Pork First: Pat the pork shoulder completely dry before seasoning—this helps the salt and pepper actually stick and form a better crust during the slow cook.
- Crush the Peppercorns: Lightly crush the black peppercorns before adding them; it releases more flavor than using pre-ground pepper.
- Don’t Overfill the Crock: Keep the water level below the pork so it’s not fully submerged, or you’ll end up with boiled meat instead of slow-cooked, tender pulled pork.
- Let It Rest: After cooking, let the pork sit in the crock pot for 15-20 minutes before shredding—it reabsorbs the juices and stays moister.
Pro Cooking Tips for This Dish
Searing for Depth
While optional, searing the pork shoulder before slow cooking adds incredible depth. Heat 1 tbsp olive oil in a heavy skillet over medium-high heat and sear all sides until deep golden brown, about 3-4 minutes per side. This creates a flavorful crust that enhances the final dish. 🔥
Low and Slow Wins
Cooking on low heat for 8-10 hours is key for breaking down collagen into gelatin. This transforms tough pork shoulder into fall-apart tender meat. Resist opening the lid—each peek can add 20-30 minutes to the cooking time.
Fat-Side Up Placement
Always place the pork shoulder fat-side up in the crock pot. As it cooks, the rendered fat bastes the meat, keeping it moist and flavorful. If you seared the meat first, this step becomes even more important for even cooking.
Internal Temperature Check
The pork is done when it reaches an internal temperature of 195-200°F. Use a reliable meat thermometer—I recommend ThermoWorks—to check. At this temperature, the collagen has fully broken down, ensuring maximum tenderness.
Rest Before Shredding
After cooking, let the pork rest for 10-15 minutes before shredding. This allows juices to redistribute throughout the meat. Use two forks to pull it apart into your desired size pieces, discarding any large fat deposits if preferred.
Liquid Levels Matter
Add only 0.5 cup water to the crock pot—just enough to create steam. Too much liquid will dilute flavors and prevent proper browning. The pork will release its own juices during cooking, so less is more here.
Nutrition Facts
Frequently Asked Questions
Do I need to sear the pork first?
Searing is optional but adds depth. Heat 1 tbsp oil in a skillet over medium-high heat and brown all sides for 3-4 minutes each. This step creates a flavorful crust but can be skipped for true hands-off cooking.
Can I use a different cut of pork?
Pork shoulder is ideal for its fat and collagen. Pork butt works similarly, but avoid leaner cuts like tenderloin—they’ll dry out during the long cook. Stick with shoulder for the best results.
How do I know when it’s done?
The pork is ready when it shreds easily with a fork and reaches 195-200°F internally. Resist lifting the lid, as each opening adds 20-30 minutes to the cooking time.
Can I cook this on high heat?
technically yes, but low heat for 8-10 hours yields the most tender results. High heat may cook it faster but risks tough, dry meat. Patience pays off here.

- 6 Oz Chocolate Chip Cookie Recipe: Perfectly Balanced Crispy Edges and Chewy Hearts - September 25, 2026
- 6-Inch Coffee Cake Recipe: Vanilla Bean Swirls and Buttery Streusel Topping - September 25, 2026
- 1 Hour Soup Recipe: Velvety Richness Without the Wait - September 25, 2026