
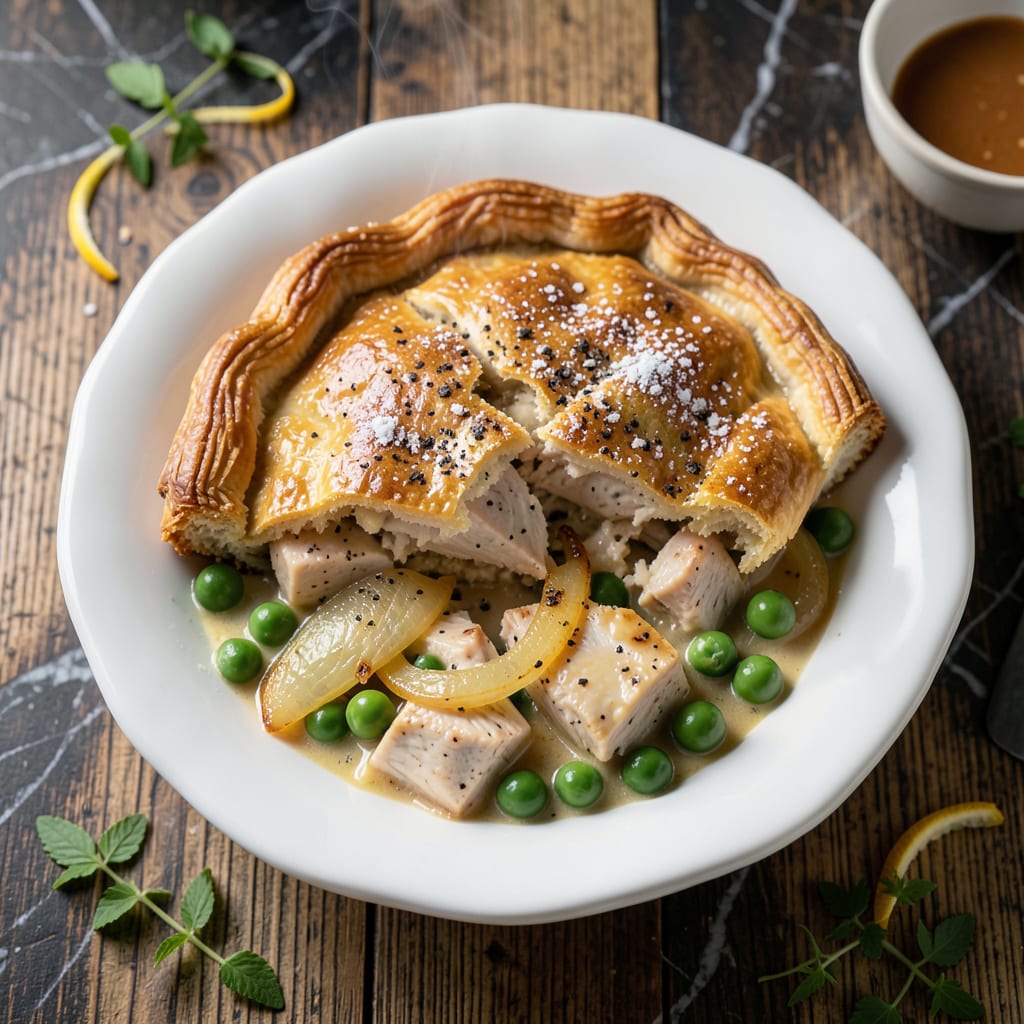
This classic chicken pot pie delivers a creamy filling and buttery crust that defines comfort food at its finest.
I’ve refined this method to ensure a golden, flaky top and a rich, velvety sauce that clings to every bite of tender chicken and vegetables.
Ingredients for Chicken Pot Pie Recipe Martha Stewart
Classic comfort in every bite with tender chicken and flaky crust ingredients.
| Ingredient | Amount | Notes |
|---|---|---|
| Boneless Skinless Chicken Breast 🍗 | 1 ½ lb | Cut into 1-inch cubes |
| Unsalted Butter 🧈 | ½ cup | Divided for filling and crust |
| All-Purpose Flour 🌾 | ⅓ cup | For roux in filling |
| Whole Milk 🥛 | 1 ½ cups | Full-fat for creaminess |
| Chicken Stock 🍲 | 1 ½ cups | Low-sodium preferred |
| Yellow Onion 🧅 | 1 whole | Medium, finely diced |
| Carrots 🥕 | 2 whole | Peeled, diced into 1/4-inch pieces |
| Celery Stalks 🌿 | 2 whole | Diced into 1/4-inch pieces |
| Frozen Peas 🟢 | 1 cup | No need to thaw |
| Garlic Cloves 🧄 | 2 cloves | Minced |
| Fresh Thyme 🌿 | 2 tsp | Chopped, or 1 tsp dried |
| Salt 🧂 | 1 tsp | Kosher or sea salt |
| Black Pepper 🌶️ | ½ tsp | Freshly ground |
| Refrigerated Pie Crust 🥧 | 2 sheets | Store-bought or homemade |
| Large Egg 🥚 | 1 whole | For egg wash |
The chicken should be fresh and firm—look for boneless, skinless breasts at your butcher or Whole Foods for the best texture. Organic chicken stock adds depth, but any low-sodium brand works. For the crust, Pillsbury refrigerated pie dough saves time without sacrificing quality. The thyme is key for that classic flavor, so grab fresh if you can (dried in a pinch, but cut the amount).
Short on time? Rotisserie chicken shreds beautifully into this filling. No fresh thyme? Dried at half the amount works. Milk can be swapped for half-and-half if you want it richer. The carrots and celery should be uniform in size so everything cooks evenly. Frozen mixed veggies can replace the peas and carrots—just keep the total volume the same.
The filling thickens as it cools, so let it rest 10 minutes before slicing. Leftovers keep 3-4 days in the fridge, but the crust softens over time. To freeze, assemble the pie unbaked and wrap tightly—it’ll keep 2 months.
Why You’ll Love This Recipe
- One Pot Magic: I love that everything—chicken, creamy sauce, flaky crust—comes together in a single dish with minimal cleanup.
- Rich Creamy Center: The butter, milk, and stock create this velvety filling that clings to every bite of chicken and veggies.
- Feeds the Whole Crew: Between us, this is my go-to for Sunday dinners, potlucks, or even just a cozy night in with leftovers for lunch the next day.
- Budget Stretcher: Boneless chicken breast and pantry staples make this feel fancy without breaking the bank, and it’s just as good reheated.
Step-by-Step Instructions for Chicken Pot Pie
This method ensures a rich, creamy filling with a perfectly flaky crust every time.
Step 1: Cook the Chicken and Vegetables
Cut the boneless skinless chicken breast into 1-inch cubes. Season with 1 tsp salt and 0.5 tsp black pepper. Heat 2 tablespoons unsalted butter in a large pot over medium heat.
Add the chicken and cook until just opaque, about 5-6 minutes. Remove with a slotted spoon and set aside. In the same pot, add the diced yellow onion, carrots, and celery stalks. Cook for 5 minutes until the vegetables begin to soften.
Add the minced garlic cloves and chopped fresh thyme, stirring for 30 seconds until fragrant. This builds a flavorful base for your filling.
Step 2: Create the Creamy Roux-Based Filling
Melt the remaining 0.5 cup unsalted butter (about 6 tablespoons) in the pot. Whisk in the 0.33 cup all-purpose flour to form a smooth paste. Cook for 1-2 minutes to eliminate the raw flour taste.
Gradually whisk in the 1.5 cups whole milk and 1.5 cups chicken stock, ensuring no lumps form. Bring to a simmer and cook for 3-4 minutes until the mixture thickens enough to coat the back of a spoon.
Return the chicken to the pot and add the frozen peas. Stir to combine and cook for another 2 minutes. The filling should be thick and creamy, with all vegetables tender.
Step 3: Assemble the Pot Pie
Preheat your oven to 375°F. Unroll one sheet of refrigerated pie crust and place it in a 9-inch pie dish, pressing it gently into the bottom and up the sides. Trim any excess dough hanging over the edge.
Pour the chicken and vegetable filling into the crust-lined dish. It should be slightly mounded in the center. Unroll the second sheet of refrigerated pie crust and place it over the filling.
Crimp the edges together to seal, then cut 4-5 slits in the top crust to allow steam to escape. This prevents the pie from becoming soggy.
Step 4: Bake to Golden Perfection
Whisk the large egg with 1 tablespoon water to create an egg wash. Brush the top crust evenly with the mixture. This gives the pie a beautiful, glossy finish.
Bake for 40-45 minutes until the crust is deep golden brown and the filling is bubbling. If the edges brown too quickly, cover them with aluminum foil or a pie shield.
Let the pot pie rest for 10-15 minutes before serving. This allows the filling to set, making it easier to slice and ensuring every serving has the perfect creamy texture.
Pro Tips For Making Chicken Pot Pie Recipe Martha Stewart
- Poach the Chicken: Simmer the boneless chicken breasts in the chicken stock for 12-15 minutes until just cooked—this keeps them moist and infuses the stock with extra flavor before making the filling.
- Chill the Dough: If making your own crust, let it rest in the fridge for at least 30 minutes before rolling; I learned this the hard way after my first few crusts shrank in the oven.
- Thicken Slowly: When adding the flour to the butter, cook the roux for a full 2-3 minutes on medium heat to remove the raw flour taste—rushing this step leaves a pasty aftertaste.
- Vent the Pie: Cut a few small slits in the top crust before baking; after burning one batch, I finally figured out that steam needs an escape route or it’ll make the crust soggy.
Health Benefits of This chicken pot pie recipe martha stewart
Protein Richness
The chicken in this dish provides 35 grams of protein per 4-oz serving, supporting muscle repair and keeping you full for hours. I always use boneless, skinless chicken breast for lean, high-quality protein that fuels my active days. 💪
Vitamin Boost
Carrots deliver beta-carotene, which your body converts to vitamin A—just ½ cup provides over 200% of your daily needs. Celery adds vitamin K, while peas contribute vitamin C and iron. This veggie trio packs a nutritional punch.
Comfort with Balance
Whole milk in the filling provides calcium and vitamin D for bone health. The butter adds energy-dense fats, but I balance it by using unsalted butter to control sodium intake. It’s comfort food with mindful benefits.
Energy from Carbs
The crust and flour in the roux offer complex carbohydrates for sustained energy. All-purpose flour provides 10% of your daily iron per serving, while the crust adds a satisfying texture that makes this dish so comforting.
Antioxidant Herbs
Fresh thyme contains antioxidants that support immune health. I always use 2 tsp fresh thyme for maximum flavor and benefits. Garlic adds allicin, a compound known for its immune-boosting properties. 🌿
Hydration Support
Chicken stock in the filling provides electrolytes like sodium and potassium. I prefer low-sodium chicken stock to keep the dish heart-healthy while still delivering rich flavor and hydration benefits.
Nutrition Facts
Frequently Asked Questions
Can I use rotisserie chicken instead of raw?
Shred 3 cups of cooked rotisserie chicken to replace the raw. It saves time and adds extra flavor. Just skip the initial cooking step and add it with the peas.
Why did my filling turn out runny?
This usually happens if the roux didn’t cook long enough. Ensure it simmers for 3-4 minutes until thick. Also, let the pie rest for 10-15 minutes after baking to set properly.
Can I make this ahead of time?
Yes! Assemble the pie, cover tightly, and refrigerate for up to 1 day before baking. Or freeze unbaked for 2 months. Add 5-10 minutes to baking time if frozen.
How do I prevent a soggy bottom crust?
Pre-bake the bottom crust for 8-10 minutes before adding the filling. Also, ensure your filling is thick and hot when poured in. This creates a barrier against moisture.

- 4C Bread Crumbs Meatballs Recipe: Crispy Crust and Juicy Centers - September 25, 2026
- 6 Oz Chocolate Chip Cookie Recipe: Perfectly Balanced Crispy Edges and Chewy Hearts - September 25, 2026
- 6-Inch Coffee Cake Recipe: Vanilla Bean Swirls and Buttery Streusel Topping - September 25, 2026