
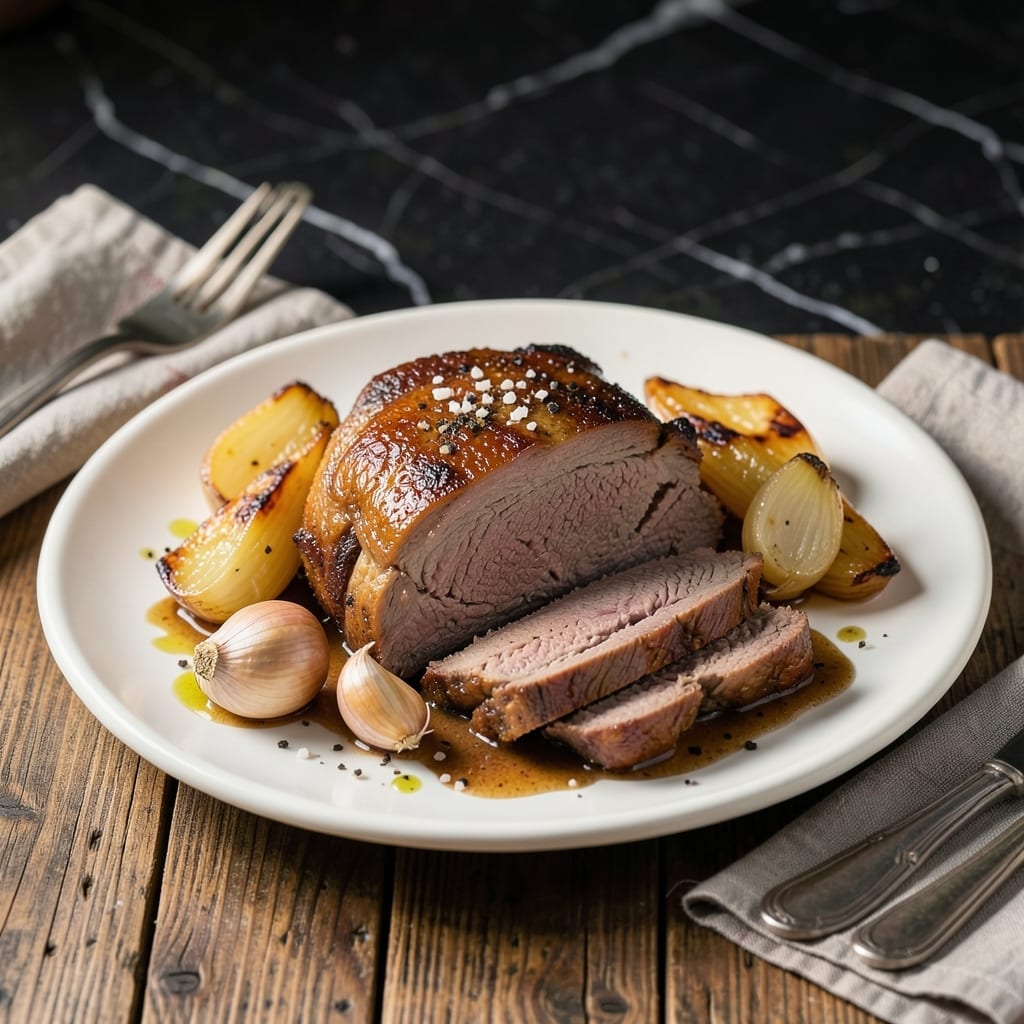
I’ve ruined more pot roasts than I care to admit, but this method finally cracked the code. The chuck blade roast, with its rich marbling, turns melt-in-your-mouth tender after hours in the crock pot.
Here’s the thing—searing the beef first makes all the difference. That browned crust adds layers of flavor you just can’t get otherwise. Then it’s hands-off cooking with simple seasonings and veggies.
After 8 hours on low, you’ll have beef so tender it falls apart with a touch. The broth reduces into a rich, savory gravy that soaks into every bite.
Serve it over mashed potatoes or with crusty bread. This is the kind of meal that makes your house smell incredible for hours.
Ingredients for Chuck Blade Roast Crock Pot
Chuck blade roast plus pantry staples and veggies. Simple ingredients, huge flavor.
| Ingredient | Amount | Notes |
|---|---|---|
| Chuck Blade Roast 🥩 | 3 lb | Well-marbled, boneless preferred |
| Olive Oil 🫒 | 2 tbsp | For searing beef |
| Kosher Salt 🧂 | 2 tsp | Diamond Crystal preferred |
| Black Pepper 🌶️ | 1 tsp | Freshly ground |
| Garlic Cloves 🧄 | 6 cloves | Minced, large cloves |
| Yellow Onions 🧅 | 2 whole | Medium size, quartered |
| Carrots 🥕 | 4 whole | Large, cut into chunks |
| Celery Stalks 🌿 | 3 whole | Cut into 2-inch pieces |
| Beef Broth 💧 | 2 cups | Low-sodium preferred |
| Tomato Paste 🍅 | 2 tbsp | For depth of flavor |
| Dried Thyme 🍃 | 1 tsp | Or 1 tbsp fresh |
| Dried Rosemary 🌿 | 1 tsp | Crushed between fingers |
| Bay Leaves 🍃 | 2 whole | Remove before serving |
| Worcestershire Sauce 💧 | 1 tbsp | For umami depth |
| Red Wine 🍷 | ½ cup | Dry variety preferred |
The beef is everything here. Chuck blade roast (sometimes labeled chuck underblade) has the perfect fat-to-meat ratio for slow cooking. Look for good marbling—Costco or Whole Foods usually have great options. Avoid pre-cut stew meat; you want a whole roast to sear properly. If your butcher offers a choice, go for the blade over the arm—it’s more tender after long cooking.
No red wine? Beef broth with a splash of balsamic vinegar mimics the acidity. Out of fresh garlic? Garlic powder at one-third the amount works in a pinch. The Worcestershire can be swapped for soy sauce, but go easy—it’s saltier. If you’re avoiding gluten, check your Worcestershire label (some contain wheat). The veggies are flexible—potatoes or parsnips add heartiness.
This tastes even better the next day. Store in the fridge for up to 4 days or freeze for 3 months. The gravy thickens as it cools—just reheat gently with a splash of broth. Pro tip: Shred the leftovers for sandwiches or tacos (worth the extra minute).
Why You’ll Love This Recipe
- Set It and Forget It: I toss the roast, salt, pepper, and garlic into the crock pot before work—dinner’s ready when I walk in.
- Garlic-Infused Richness: The garlic cloves melt into the meat, creating this deep, savory flavor that makes every bite ridiculous.
- Feeds the Whole Crew: I’ve served this at Sunday dinner and packed leftovers for lunch all week—no complaints either way.
- Budget-Friendly Winner: Chuck blade roast is cheap, and this recipe turns it into something that tastes like a fancy meal.
Step-by-Step Instructions for Chuck Blade Roast Crock Pot
This method guarantees tender beef with rich, deep flavors developing over time.
Step 1: Sear the Chuck Blade Roast
Heat the 2 tbsp olive oil in a large skillet over medium-high heat until it shimmers. Pat the 3 lb chuck blade roast dry with paper towels, then season generously on all sides with the 2 tsp kosher salt and 1 tsp black pepper.
Sear the roast for 4-5 minutes per side until deeply browned on all surfaces. This creates a flavorful crust that will translate into rich taste in the finished dish. Don’t rush this step—you want a good sear, not a quick brown.
Step 2: Sauté Aromatics and Deglaze
In the same skillet, add the 6 cloves garlic cloves, 2 whole yellow onions, 4 whole carrots, and 3 whole celery stalks. Sauté for 5 minutes until the onions begin to soften and brown slightly.
Add the 2 tbsp tomato paste and cook for 1-2 minutes until it darkens slightly. Pour in the 0.5 cup red wine and 1 tbsp Worcestershire sauce, scraping up all the browned bits from the bottom of the pan. This deglazing step captures all that concentrated flavor.
Step 3: Combine in Crock Pot and Slow Cook
Transfer the seared roast to your crock pot. Add the sautéed vegetables and all the pan juices. Pour in the 2 cups beef broth, then sprinkle the 1 tsp dried thyme, 1 tsp dried rosemary, and add the 2 whole bay leaves.
Cover and cook on low for 8-10 hours or high for 5-6 hours. The roast is done when it falls apart easily with a fork. I recommend low heat for the most tender result—the longer cook time allows the connective tissue to break down completely.
Step 4: Rest and Serve
Remove the 2 whole bay leaves and discard. Let the roast rest in the crock pot for 15 minutes before serving. This allows the juices to redistribute throughout the meat for maximum tenderness.
Serve the beef with the vegetables and gravy. The meat should be fork-tender with a rich, velvety sauce. Each bite will be packed with the deep, savory flavors developed during the slow cooking process.
Pro Tips For Making Chuck Blade Roast Crock Pot
- Sear the Roast First: I learned this the hard way—skipping the sear leaves the chuck blade roast bland. Use 2 tablespoons of olive oil in a hot pan to brown all sides before slow cooking.
- Crushed Garlic Works Best: Smash the garlic cloves instead of mincing them. It releases more flavor into the crock pot without burning, and they soften into the meat beautifully.
- Resist the Urge to Lift the Lid: Every time you peek, you lose heat and add 20 minutes to the cook time. Trust the process and keep that lid closed for at least 6 hours on low.
- Let It Rest: Pull the roast out and give it a solid 15 minutes under foil before slicing. It keeps all those juices inside where they belong—my grandmother swore by this, and she was right.
Essential Equipment for This Dish
Crock Pot Selection
I swear by my 6-quart programmable Crock Pot for this recipe—it’s the perfect size for a 3 lb roast with all the veggies. Look for one with a removable stoneware insert; it makes cleanup so much easier. The programmable feature lets me set it and forget it without worrying about overcooking.
Skillet for Searing
A heavy-bottomed 12-inch skillet is essential for getting that perfect sear on your roast. I use my Lodge cast iron—it retains heat beautifully and develops a non-stick surface over time. Avoid non-stick pans; you need high heat for searing, which can damage the coating.
Quality Knives
Invest in a good 8-inch chef’s knife for trimming the roast and chopping veggies. A sharp knife makes prep faster and safer. I keep mine razor-sharp with a honing steel before each use. Dull knives slip and cause more accidents than sharp ones ever do. 💡
Measuring Tools
A set of measuring spoons and a liquid measuring cup ensure your seasonings and liquids are precise. For the wine, I use my 1-cup Pyrex measuring cup—it’s heatproof and has clear markings. Eyeballing ingredients can lead to inconsistent results, especially with salt and spices.
Tongs and Spoons
Long-handled tongs are perfect for flipping the roast while searing, and a wooden spoon helps scrape up all those flavorful browned bits. I also keep a ladle nearby for serving the gravy. These simple tools make the process so much smoother.
Optional Upgrades
For serious home cooks, an instant-read thermometer ensures your roast reaches the ideal internal temp of 200°F for fall-apart tenderness. A fat separator is also handy for making a silky gravy from the cooking juices. These aren’t essential but elevate your results. 🔥
Nutrition Facts
Frequently Asked Questions
Do I need to sear the roast first?
Yes, searing adds deep flavor to your dish. Use medium-high heat for 4-5 minutes per side in a hot skillet. This creates a crust that enhances the final taste.
Can I cook this on high instead of low?
You can, but low heat for 8-10 hours yields the most tender result. High heat (5-6 hours) works in a pinch but may not break down the connective tissue as well.
How do I know when it’s done?
The roast is ready when it falls apart easily with a fork. For best results, use an instant-read thermometer—it should reach 200°F internally.
What can I use instead of red wine?
Substitute with beef broth plus 1 tbsp balsamic vinegar for similar acidity. This maintains the depth of flavor without alcohol.

- 6 Oz Chocolate Chip Cookie Recipe: Perfectly Balanced Crispy Edges and Chewy Hearts - September 25, 2026
- 6-Inch Coffee Cake Recipe: Vanilla Bean Swirls and Buttery Streusel Topping - September 25, 2026
- 1 Hour Soup Recipe: Velvety Richness Without the Wait - September 25, 2026