
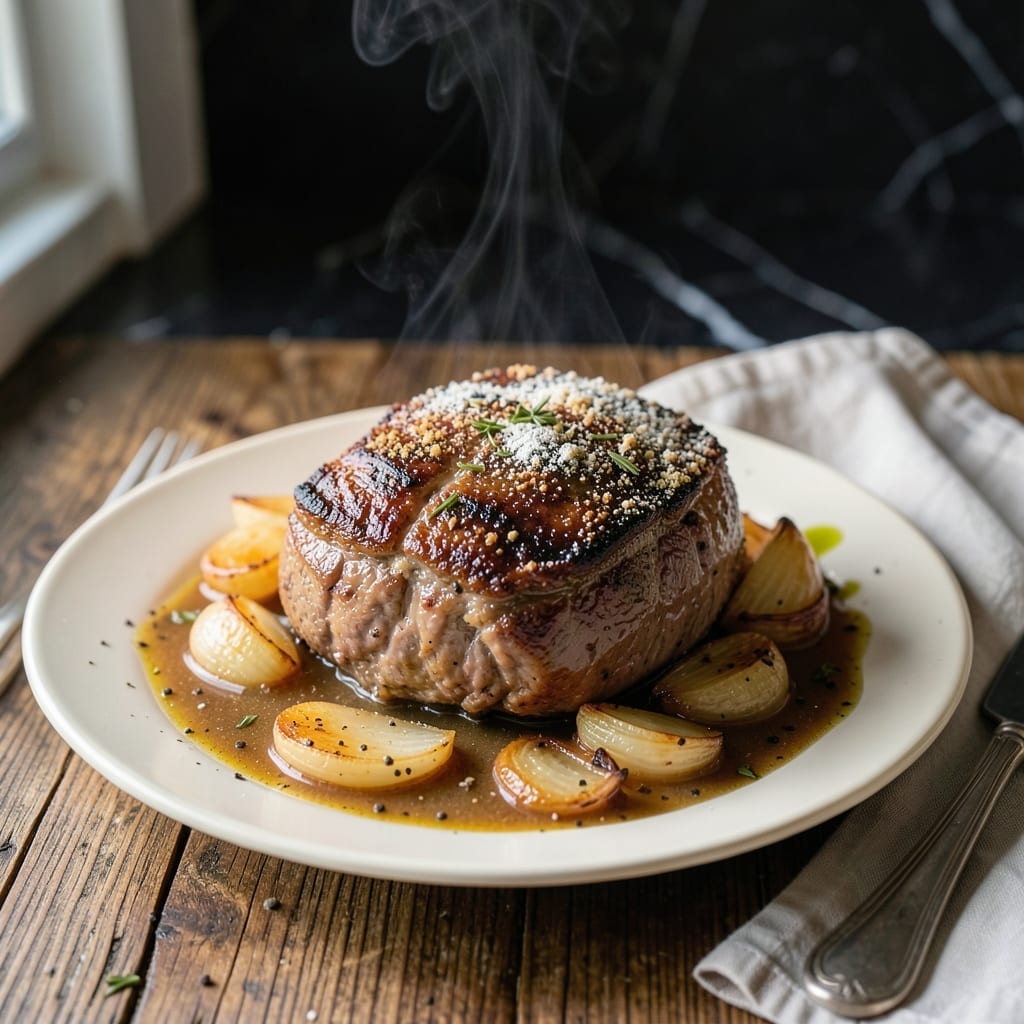
This Dutch oven pot roast delivers the tender, fall-apart beef and deeply flavored vegetables that made Cook’s Illustrated famous. The method is simple but precise: a long, slow braise transforms tough cuts into something extraordinary.
What sets this apart is the technique—searing the beef to build a flavorful fond, then deglazing with wine and broth. The root vegetables soak up every bit of that rich sauce as they cook alongside the meat.
The result is beef so fork-tender it nearly melts, with carrots and potatoes that have absorbed the braising liquid. The sauce reduces into a velvety gravy that begs to be sopped up with crusty bread.
Perfect for Sunday dinner or a special occasion. Here’s how to achieve it at home.
Ingredients for Cooks Illustrated Pot Roast
A well-stocked kitchen plus a trip to the butcher yields this Dutch oven masterpiece.
| Ingredient | Amount | Notes |
|---|---|---|
| Chuck Roast 🥩 | 3 lb | Well-marbled, trimmed of excess fat |
| Kosher Salt 🧂 | 1 ½ tsp | Diamond Crystal preferred for consistency |
| Black Pepper 🌶️ | 1 tsp | Freshly ground for optimal flavor |
| All-Purpose Flour 🌾 | ¼ cup | For dredging the beef |
| Vegetable Oil 🫒 | 2 tbsp | High smoke point for searing |
| Yellow Onion 🧅 | 1 whole | Large, finely chopped for even cooking |
| Carrots 🥕 | 3 whole | Peeled, cut into 2-inch chunks |
| Yukon Gold Potatoes 🥔 | 1 ½ lb | Peeled, cut into large chunks |
| Garlic Cloves 🧄 | 4 cloves | Minced for depth of flavor |
| Tomato Paste 🍅 | 2 tbsp | Concentrated for rich umami base |
| Dry Red Wine 🍷 | 1 cup | Bold variety like Cabernet Sauvignon |
| Low-Sodium Beef Broth 🥣 | 2 cups | Homemade or high-quality store-bought |
| Fresh Thyme Sprigs 🌿 | 3 whole | Tied with kitchen twine for easy removal |
| Bay Leaves 🍃 | 2 whole | Dried, for aromatic depth |
| Unsalted Butter 🧈 | 2 tbsp | For finishing the sauce |
The beef is non-negotiable here. Chuck roast with good marbling transforms into that signature fall-apart texture Cook’s Illustrated is known for. Source it from a reputable butcher or the meat counter at Whole Foods—they’ll often have pre-cut chunks. Look for bright red color with white fat streaks throughout. Avoid lean cuts like round; they’ll stay tough no matter how long you braise them.
No red wine? Substitute with additional beef broth plus 1 tbsp balsamic vinegar for acidity. Fresh thyme is ideal, but dried thyme at one-third the amount works in a pinch. If Yukon Golds aren’t available, russet potatoes hold up well too. The tomato paste can be measured from a can—just don’t use the pre-seasoned varieties. For the broth, Better Than Bouillon makes a concentrated base that’s restaurant-quality.
The roast improves overnight—24 hours in the fridge lets flavors meld deeply. Store leftovers in an airtight container for up to 4 days, or freeze the meat and sauce separately for 3 months. Reheat gently on the stovetop with a splash of water to loosen the gravy.
Why You’ll Love This Recipe
- Set and Forget: I love that after browning the chuck roast, it’s just a matter of letting the oven do the work—no constant stirring or checking.
- Crispy, Tender Magic: That flour crust on the roast turns into the most incredible, flavorful coating, and the meat just falls apart.
- Sunday Dinner, Anytime: Honestly, this feels fancy enough for company but I make it on random Wednesdays just because.
- Leftovers for Days: One roast feeds us twice—shredded beef tacos the next night are my family’s favorite bonus meal.
Step-by-Step Instructions for Dutch Oven Braised Beef with Root Vegetables
Master this technique for fall-apart tender beef and vegetables infused with deep, rich flavor.
Step 1: Sear and Dredge the Chuck Roast
Pat the 3 lb chuck roast dry with paper towels, then season all sides with the 1.5 tsp kosher salt and 1 tsp black pepper. This ensures a good sear and even seasoning throughout the meat.
Place the 0.25 cup all-purpose flour on a plate and dredge the roast on all sides, pressing gently to adhere. Shake off any excess flour—this will thicken the sauce later. Heat the 2 tbsp vegetable oil in a Dutch oven over medium-high heat until shimmering.
Sear the roast for 4-5 minutes per side until deeply browned. You’ll know it’s ready to flip when it releases easily from the pot. Transfer to a plate and set aside.
Step 2: Sauté Aromatics and Deglaze
Add the finely chopped 1 whole yellow onion to the Dutch oven and cook for 3-4 minutes until softened. Stir in the minced 4 cloves garlic cloves and cook for 30 seconds until fragrant.
Push the aromatics to one side and add the 2 tbsp tomato paste to the center of the pot. Cook for 1-2 minutes, stirring constantly, until the tomato paste darkens slightly. This builds a rich, concentrated base for the sauce.
Pour in the 1 cup dry red wine and scrape up any browned bits from the bottom of the pot with a wooden spoon. Simmer for 2-3 minutes until the wine reduces by half.
Step 3: Braise the Beef and Vegetables
Return the seared roast to the pot. Add the 2 cups low-sodium beef broth, 3 whole fresh thyme sprigs, and 2 whole bay leaves. Bring to a simmer, then reduce the heat to low.
Cover and braise for 2 hours, then add the 3 whole carrots and 1.5 lb Yukon Gold potatoes (cut into large chunks). Continue braising, covered, for another 1 to 1.5 hours until the beef is fork-tender and the vegetables are soft.
The meat should pull apart easily with a fork when done. If the liquid level drops too low, add a splash of water or broth to maintain moisture.
Step 4: Finish and Serve
Remove the 3 whole fresh thyme sprigs and 2 whole bay leaves from the pot. Transfer the roast and vegetables to a serving platter, tenting loosely with foil to keep warm.
Skim any excess fat from the surface of the braising liquid. Return the pot to medium heat and simmer for 5-7 minutes until the sauce thickens slightly. Stir in the 2 tbsp unsalted butter for a silky finish.
Pour the sauce over the beef and vegetables, or serve it on the side. The sauce should be rich, glossy, and cling to the back of a spoon. Let rest for 10 minutes before slicing the beef against the grain.
Pro Tips For Making Cooks Illustrated Pot Roast
- Sear the Roast Well: I learned this the hard way—use medium-high heat and don’t move the roast for at least 3-4 minutes per side to get that deep crust, which is crucial for flavor in this dish.
- Dry the Meat First: Pat the chuck roast dry with paper towels before seasoning and searing—it sounds simple, but it actually changes the outcome by preventing steaming and ensuring a proper brown.
- Skip the Overcrowding: When browning, resist the urge to add all the veggies at once; cook them in batches if needed to avoid dropping the pan temperature and ending up with soggy, steamed vegetables.
- Use Fresh Pepper: Sounds weird, but it works: freshly cracked black pepper makes a real difference here, especially since it’s one of the few seasonings in the recipe—pre-ground just doesn’t have the same punch.
Make-Ahead Tips for Leftovers
Prep Ahead Strategy
You can trim and season the 3 lb chuck roast up to 24 hours in advance. Pat it dry, apply the 1.5 tsp kosher salt and 1 tsp black pepper, then refrigerate uncovered on a wire rack. This dry-brining enhances flavor and tenderness. 💡
Vegetable Prep
Chop all vegetables the night before—1 whole yellow onion, 3 whole carrots, and 1.5 lb Yukon Gold potatoes. Store them in separate containers in the fridge. This saves 20 minutes on cooking day.
Braise Early
Complete the entire braise in the morning, then let it cool and refrigerate. The flavors deepen as it rests. Reheat gently on the stovetop with a splash of water, adding the 2 tbsp unsalted butter at the end.
Sauce Boost
If making ahead, the sauce may thicken in the fridge. Thin it with ½ cup beef broth when reheating. Skim any solidified fat before serving for the best texture.
Freezer Method
Portion cooked pot roast and sauce into freezer bags for up to 3 months. Thaw overnight in the fridge before reheating. The meat stays fork-tender if frozen properly. ❄️
Day-Of Tips
Bring refrigerated pot roast to room temperature for 30 minutes before reheating. This ensures even warming without drying out the beef.
Nutrition Facts
Frequently Asked Questions
Can I use a different cut of beef?
Stick with well-marbled cuts like brisket or short ribs. Avoid lean cuts such as round or sirloin as they won’t become fork-tender with braising. Chuck roast is ideal for its fat content and connective tissue.
What if I don’t have a Dutch oven?
A heavy-bottomed pot with a tight lid works too. Cast iron or enameled pots are best for even heat distribution. Just ensure it’s oven-safe if finishing in the oven.
Can I make this in a slow cooker?
Yes, but browse the meat first in a skillet for best flavor. Transfer everything to the slow cooker and cook on low for 8-10 hours. The texture will be similar but less concentrated.

- 4C Bread Crumbs Meatballs Recipe: Crispy Crust and Juicy Centers - September 25, 2026
- 6 Oz Chocolate Chip Cookie Recipe: Perfectly Balanced Crispy Edges and Chewy Hearts - September 25, 2026
- 6-Inch Coffee Cake Recipe: Vanilla Bean Swirls and Buttery Streusel Topping - September 25, 2026