
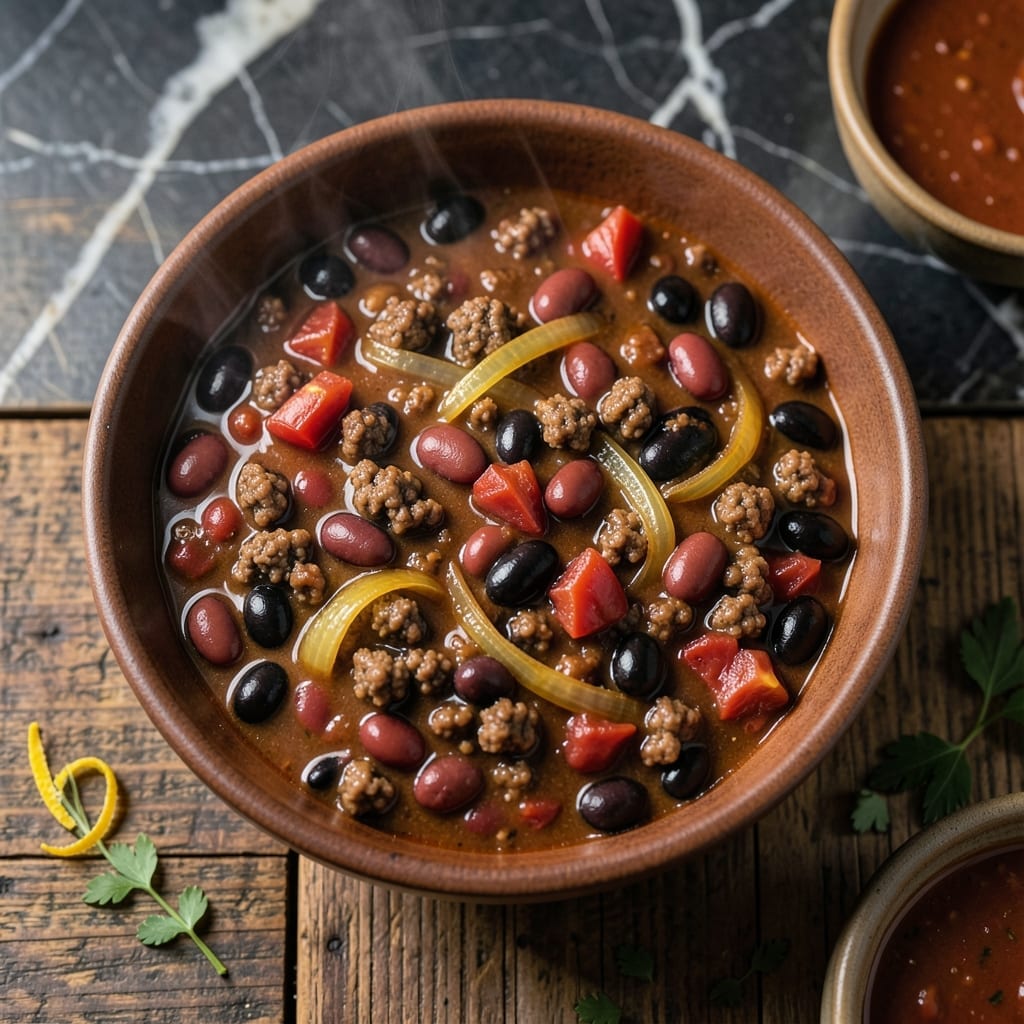
There’s something deeply satisfying about a chili that simmers all day, filling your home with smoky, spiced aromas. This hands-off method delivers rich, complex flavors without constant attention.
The slow cooker transforms simple ingredients into a hearty dish with tender beef, soft beans, and a thick, velvety sauce. Each bite carries layers of chili powder, cumin, and a hint of smokiness that develops over hours.
By the time it’s ready, you’ll have a pot of chili with perfectly balanced spices and textures that taste like it’s been cooking for hours. The best part? Minimal effort for maximum payoff.
Serve it with your favorite toppings for a meal that feels like home. Here’s how to make it.
Ingredients for Croc Pot Chili
Pantry staples and fresh veggies come together for this hearty slow cooker meal.
| Ingredient | Amount | Notes |
|---|---|---|
| Ground Beef 🥩 | 1 ½ lb | 80/20 blend preferred |
| Kidney Beans 🫘 | 2 cans | 15 oz each, drained and rinsed |
| Black Beans 🫘 | 1 can | 15 oz, drained and rinsed |
| Diced Tomatoes 🍅 | 2 cans | 14.5 oz each, undrained |
| Tomato Paste 🍅 | 2 tbsp | For depth of flavor |
| Yellow Onion 🧅 | 1 whole | Medium, finely diced |
| Green Bell Pepper 🌶️ | 1 whole | Medium, diced |
| Garlic Cloves 🧄 | 4 cloves | Minced for full flavor |
| Chili Powder 🌶️ | 2 tbsp | Mild or hot variety |
| Ground Cumin 🌿 | 1 tbsp | Toasted for warmth |
| Smoked Paprika 🌶️ | 1 tsp | For that signature smokiness |
| Dried Oregano 🍃 | 1 tsp | Crushed between fingers |
| Beef Broth 🥣 | 1 cup | Low-sodium preferred |
| Salt 🧂 | 1 tsp | Adjust to taste later |
| Black Pepper 🌶️ | ½ tsp | Freshly ground preferred |
The beef is the foundation—80/20 ground chuck gives you the best flavor and texture. Most supermarkets carry it pre-packaged. I grab mine from Costco when I’m doing a big batch, but any grocery store works. Look for bright red color with good marbling. The beans? Canned is totally fine (drained and rinsed, of course). Dried works too, but you’ll need to soak them overnight first.
No ground beef? Ground turkey or even crumbled tempeh work great—just adjust the cooking time slightly. Out of kidney beans? Swap in pinto beans or extra black beans. The smoked paprika is non-negotiable for that slow-cooked depth, but if you’ve only got regular, add a dash of liquid smoke. Short on fresh peppers? Frozen diced bell peppers (thawed first) save the day.
This tastes even better the next day. Keeps 4-5 days in the fridge, freezes for 3 months. Portion leftovers into airtight containers for quick lunches. The spices will mellow overnight, so don’t be shy with the salt if it needs a boost when reheating.
Why You’ll Love This Recipe
- Set and Forget: I toss everything in before work and come home to a hot, ready-to-serve meal.
- Rich and Hearty: The beef and beans soak up the tomato paste for a deep, satisfying flavor in every bite.
- Feeds the Crew: Between us, it’s my go-to for game days—one batch serves a hungry crowd.
- Budget Stretcher: Honestly, it’s filling, cheap, and tastes even better the next day for lunch.
Step-by-Step Instructions for Crock Pot Chili
Here’s how I build layers of smoky flavor with minimal effort and maximum payoff.
Step 1: Brown the Ground Beef
Heat a large skillet over medium-high heat. Add the 1.5 lb Ground Beef and cook, breaking it into small pieces with a wooden spoon, until no longer pink and lightly browned. This step takes about 6-8 minutes and is worth the extra pan—it adds depth and removes excess grease.
Drain off all but 1 tablespoon of fat, then transfer the beef to your slow cooker. I’ve found that starting with browned beef gives the chili a richer base compared to adding it raw. The fond left in the skillet isn’t needed here since we’re building flavor in the crock pot instead.
Step 2: Sauté Aromatics for the Flavor Base
In the same skillet (no need to clean it), add the diced Yellow Onion and Green Bell Pepper. Sauté over medium heat for 5 minutes until the vegetables soften and the onion becomes translucent. This softens their bite and sweetens their flavor before the long cook.
Add the minced 4 cloves Garlic Cloves and cook for 30 seconds until fragrant—don’t let it brown or it’ll turn bitter. Scrape this mixture into the slow cooker with the beef. These aromatics form the flavor foundation that makes the chili taste complex, not one-note.
Step 3: Add Remaining Ingredients and Spices
To the slow cooker, add the 2 cans Kidney Beans, 1 can Black Beans, 2 cans Diced Tomatoes (with their juices), 2 tbsp Tomato Paste, 1 cup Beef Broth, 2 tbsp Chili Powder, 1 tbsp Ground Cumin, 1 tsp Smoked Paprika, 1 tsp Dried Oregano, 1 tsp Salt, and 0.5 tsp Black Pepper.
Stir everything together until the tomato paste is fully incorporated. I always crush the dried oregano between my fingers as I add it—this releases more of its aromatic oils. The liquid should just cover the solid ingredients; if it seems low, the beans and tomatoes will release moisture as they cook.
Step 4: Slow Cook to Perfection
Cover and cook on low for 6-7 hours or on high for 3-4 hours. The chili is ready when the flavors have melded and the beans are tender. I prefer the low setting—it gives the spices time to bloom and the beef to become incredibly tender without drying out.
About 30 minutes before serving, taste and adjust the seasoning if needed. The acidity from the tomatoes often mellows during cooking, so you might want to add a pinch more salt or a dash of chili powder. The surface should have a slight sheen and the sauce should coat the back of a spoon.
Step 5: Rest and Serve
Turn off the slow cooker and let the chili sit for 10-15 minutes before serving. This resting period allows the flavors to settle and the liquid to thicken slightly. The chili should be hearty but not soupy, with beans that hold their shape and a sauce that clings to them.
Ladle into bowls and serve with your favorite toppings. The beans should be creamy inside with intact skins, the beef should be tender and well-distributed, and every spoonful should deliver that signature smoky warmth from the paprika and cumin.
Pro Tips For Making Croc Pot Chili
- Brown the Beef: I learned this the hard way—dumping raw ground beef straight into the croc pot gives chili a gray, bland look. Sear it first in a pan with a little oil until deeply browned, about 5-7 minutes, to lock in rich, meaty flavor.
- Drain the Beans: Sounds weird, but it works: rinse and drain the kidney and black beans before adding them. It cuts down on the starchy, metallic taste from the canning liquid and keeps the chili from turning mushy.
- Skip the Pre-Soaking: After burning a few batches, I finally figured out that dried beans aren’t worth the hassle here—just use canned. They’re pre-cooked, save hours, and still hold up fine during the slow cook.
- Bloom the Paste: Cook the tomato paste in the same pan as the beef for 1-2 minutes until it darkens slightly. My grandmother swore by this, and she was right: it deepens the flavor and removes the raw, tinny taste.
Troubleshooting This Dish
Too Thin or Watery
If your chili seems watery after cooking, remove the lid and switch to high heat for the last 30-45 minutes. The excess liquid will evaporate, thickening the sauce naturally. I also mash about ¼ cup of beans against the side of the pot to release their starches, which helps bind the chili. 💡
Bland or Under-seasoned
Taste before serving and adjust with 1 tsp salt or ½ tsp chili powder at a time. If it lacks depth, stir in 1 tbsp tomato paste or a splash of apple cider vinegar to brighten the flavors. Remember, slow cooking mellows spices, so it’s normal to need a final tweak.
Beans Still Hard
If your beans aren’t tender after the recommended time, they may have been old or under-soaked. Extend cooking on high for 1-2 hours, adding ½ cup hot water if needed. For future batches, ensure canned beans are fully drained and rinsed to avoid starchy residue.
Greasy Surface
A greasy layer on top usually means excess fat from the beef. Skim it off with a spoon or absorb it with a paper towel laid on the surface. To prevent this, drain more fat after browning the beef—leave only 1 tbsp for flavor. This keeps the chili rich but not oily.
Overly Thick
If the chili is too thick, stir in ½ cup beef broth or water and cook for an additional 30 minutes on low. This helps redistribute the flavors while loosening the texture. Avoid adding cold liquid, as it can cool the pot and extend cooking time.
Burnt or Stuck
If you notice burning on the bottom, immediately transfer the chili to a new pot to prevent bitter flavors. Next time, use a non-stick slow cooker liner or ensure the heat setting matches your cooker’s size. Always stir occasionally if possible. 🔥
Nutrition Facts
Frequently Asked Questions
Can I skip browning the beef?
It’s better not to. Browning adds depth and removes excess fat. Without it, your chili may taste flat and greasier.
How do I make it spicier?
Add ½ tsp cayenne pepper or diced jalapeños with the other spices. For heat lovers, a pinch of chipotle powder works too.
Can I use dried beans instead of canned?
Yes, but soak them overnight first. Use 1 cup dried for every 2 cans called for, and add 1 extra hour of cook time.
How long does it keep in the fridge?
Store in an airtight container for 4-5 days. It often tastes even better the next day as flavors meld.

- 6 Oz Chocolate Chip Cookie Recipe: Perfectly Balanced Crispy Edges and Chewy Hearts - September 25, 2026
- 6-Inch Coffee Cake Recipe: Vanilla Bean Swirls and Buttery Streusel Topping - September 25, 2026
- 1 Hour Soup Recipe: Velvety Richness Without the Wait - September 25, 2026