
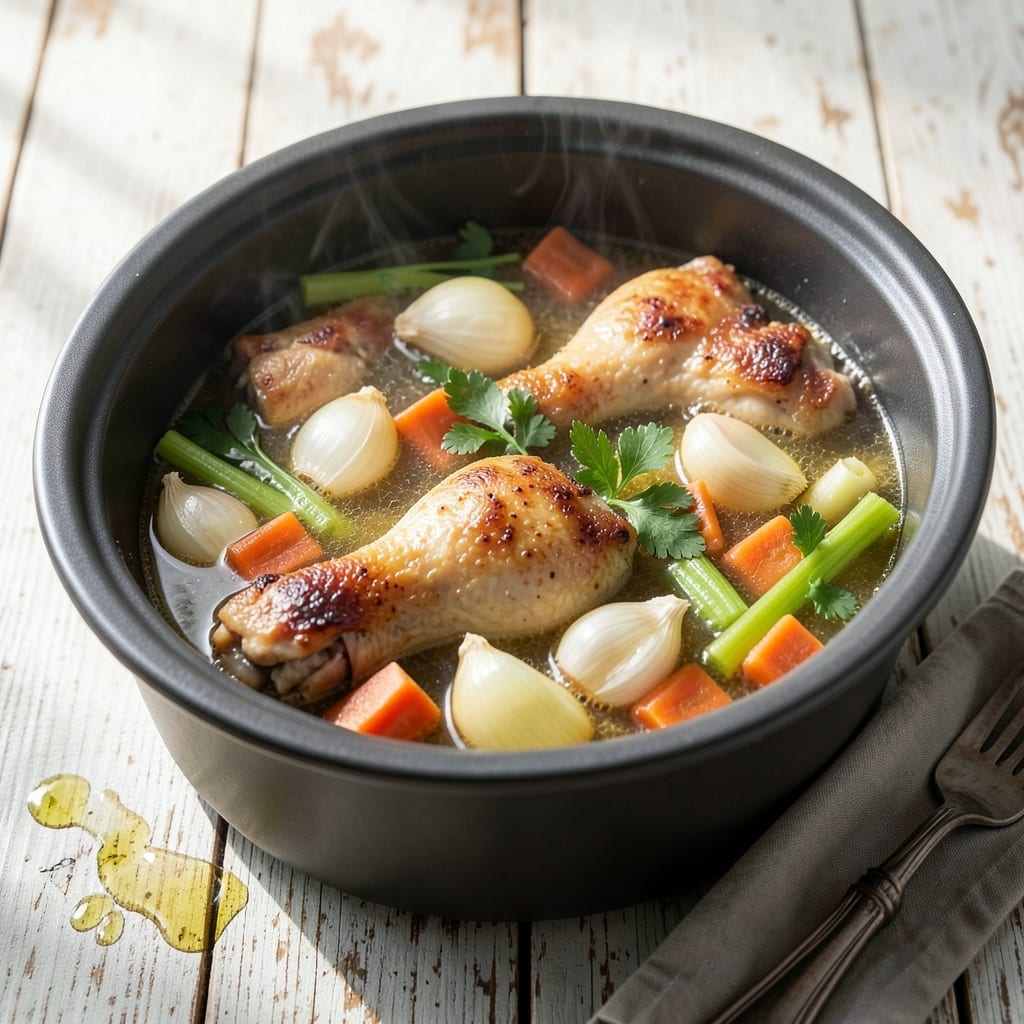
There’s an art to making broth that builds flavor layer by layer in the slow cooker. This method transforms humble ingredients into a rich, aromatic base that elevates any dish it touches.
I’ve refined this technique over years of cooking, focusing on the perfect balance of vegetables, herbs, and time. The crock pot does most of the work, gently extracting every bit of flavor from the ingredients.
What emerges after hours of simmering is a clear, golden liquid with deep, complex notes that store-bought versions simply can’t match. The aroma alone signals you’re doing something right.
Use this as a foundation for soups, risottos, or simply sip it as a comforting, nourishing drink. The possibilities are as endless as the flavor.
Ingredients for Crock Pot Broth
Simple ingredients, slow simmered, deliver rich, aromatic depth to this foundational broth.
| Ingredient | Amount | Notes |
|---|---|---|
| Chicken Bones 🍗 | 2 lb | Backs, necks, or carcasses |
| Yellow Onions 🧅 | 2 whole | Quartered, skin on for color |
| Carrots 🥕 | 3 whole | Roughly chopped, unpeeled |
| Celery Stalks 🌿 | 3 whole | Including leafy tops |
| Garlic Cloves 🧄 | 6 cloves | Smashed, unpeeled |
| Fresh Parsley Stems 🌿 | 1 bunch | Reserve leaves for garnish |
| Bay Leaves 🍃 | 2 pieces | Dried, whole |
| Black Peppercorns 🌶️ | 1 tbsp | Lightly crushed |
| Kosher Salt 🧂 | 1 tsp | Adjust to taste after straining |
| Cold Water 💧 | 12 cups | Or enough to cover all ingredients |
| Apple Cider Vinegar 🍏 | 1 tbsp | Brightens flavor |
| Whole Cloves 🌿 | 4 pieces | Optional for warmth |
| Dried Thyme 🍃 | 1 tsp | Or 3 fresh sprigs |
The bones are critical—chicken backs and necks yield the most gelatin for a velvety mouthfeel. Source from a trusted butcher or save carcasses from roasted chickens (freeze until you have 2 pounds). For vegetables, organic produce isn’t mandatory, but avoid pre-cut mixes (they often lack flavor). I prefer Whole Foods for consistent quality in herbs and spices.
No chicken bones? Beef bones or turkey carcasses work equally well, though cooking time may extend slightly. Skip the vinegar if you prefer a milder broth. Fresh herbs can replace dried at a 3:1 ratio, but dried are fine here. For a vegetarian version, swap bones for mushroom stems and kombu—the umami depth is surprising.
Broth improves with time. Refrigerate up to 5 days or freeze for 6 months. Strain and cool completely before storing. For clearest results, avoid pressing the solids when straining. Portion into quart-sized containers for easy use in future recipes.
Why You’ll Love This Recipe
- I’ll be real: it turns scraps and bones into quarts of nourishment that cost less than a single can of store-bought.
- Set It and Forget: I toss in the chicken bones, veggies, and garlic in the morning and come home to golden liquid perfection.
- Deep umami richness: Honestly, the slow simmer pulls every bit of flavor from the onions, carrots, and celery into the most comforting broth I’ve ever sipped.
- Soup to risotto: Between us, I use this base for everything—ramen nights, gravy, even cooking rice. One batch, endless possibilities.
Step-by-Step Instructions for Crock Pot Broth
This method ensures maximum flavor extraction with minimal effort and attention.
Step 1: Prepare and Add the Bones and Vegetables
Place the 2 lb chicken bones in the bottom of your crock pot. I use a combination of backs and necks for the richest gelatin content. Add the 2 whole yellow onions (quartered with skins on), 3 whole carrots (roughly chopped), and 3 whole celery stalks (including leafy tops).
The onion skins contribute beautiful color to your broth, so don’t peel them. The rough chop on vegetables ensures proper surface area for flavor extraction without making straining difficult later. Arrange these ingredients around and on top of the chicken bones to create even contact with the liquid.
Step 2: Add Aromatics and Seasonings
Scatter the 6 cloves garlic cloves (smashed but unpeeled), 1 bunch fresh parsley stems, 2 pieces bay leaves, 1 tbsp black peppercorns (lightly crushed), 4 pieces whole cloves, and 1 tsp dried thyme over the bones and vegetables. These aromatics form the backbone of your broth’s complex flavor profile.
The parsley stems (not leaves) add a clean, fresh note that complements the richness of the bones. Lightly crushing the peppercorns releases their essential oils, while keeping them whole prevents bitterness. The whole cloves add subtle warmth without overpowering the other flavors.
Step 3: Add Liquid and Begin Simmering
Pour in the 12 cups cold water and 1 tbsp apple cider vinegar. The cold water helps draw impurities out of the bones during the initial heating phase. The vinegar helps extract minerals from the bones, creating a more nutrient-dense broth with better depth of flavor.
Add the 1 tsp kosher salt now, but remember you can adjust the seasoning after straining. Set your crock pot to the low heat setting. This gentle, consistent heat is ideal for slowly breaking down collagen into gelatin, which gives your broth that luxurious body and mouthfeel.
Step 4: Simmer and Skim
Cover and let cook for 8 to 12 hours. The longer cooking time extracts more gelatin and flavor, but even 6 hours will produce a serviceable broth. Check after the first hour and skim off any foam or impurities that rise to the surface with a fine-mesh skimmer or large spoon.
This skimming step is crucial for a clear, clean broth. As the broth simmers, you’ll notice it becomes increasingly aromatic. The surface should have a gentle shimmer, not a rolling boil. If your crock pot runs too hot, prop the lid slightly with a wooden spoon to allow some steam to escape.
Step 5: Strain and Finish
After cooking, carefully strain the broth through a fine-mesh sieve into a large bowl or another pot. Discard all solids. Let the broth cool slightly, then refrigerate. As it cools, the fat will solidify on the surface, making it easy to remove.
Taste and adjust seasoning with additional kosher salt if needed. The broth should have a rich, golden color and a deep, complex flavor. Use within 4 days or freeze for up to 3 months. The gelatin content means it will solidify when cold, which is completely normal and a sign of a well-made broth.
Pro Tips For Making Crock Pot Broth
- Roast the Bones First: I learned this the hard way—raw bones make a weak, cloudy broth. Toss them in a 400°F oven for 20-30 minutes until golden for a deeper, richer flavor.
- Skip the Peeling: Sounds weird, but it works: leave the skins on your onions, garlic, and carrots. They add color and nutrients, and you’ll strain them out anyway.
- Fill to the Brim: Resist the urge to overfill your crock pot—stick to the max fill line. Too much liquid slows cooking and dilutes the flavor.
- Add Vinegar Last: My grandmother swore by this, and she was right: stir in 1-2 tablespoons of apple cider vinegar in the last hour to pull out more minerals from the bones.
Essential Equipment for This Recipe
Crock Pot Selection
I swear by my 6-quart programmable slow cooker for broth—it’s the perfect size for 12 cups of liquid with room for ingredients. Look for one with a removable ceramic insert for easy transport and cleaning. Brands like Crock-Pot or Hamilton Beach offer reliable models under $50. 🔥
Fine-Mesh Sieve
A sturdy fine-mesh sieve is non-negotiable for straining out all the solids while keeping every drop of golden liquid. I use a 12-inch diameter sieve that fits over my largest bowl. OXO makes a great one with comfortable handles.
Ladle and Skimmer
For skimming impurities, a wide, shallow ladle or a fine-mesh skimmer works best. I keep both on hand—the ladle for portioning finished broth, the skimmer for removing foam during cooking. Stainless steel holds up best over time.
Fat Separator
Once cooled, a fat separator makes removing the solidified fat effortless. Pour chilled broth into the separator, and the fat floats to the top. My Norpro 4-cup model handles a full batch perfectly. This step ensures a cleaner, more refined final product.
Storage Containers
For refrigeration or freezing, I prefer glass mason jars or BPA-free plastic containers with tight-sealing lids. Leave 1-inch headspace for freezing expansion. Ball jars are my go-to for their durability and reuse value.
Optional Extras
For the clearest broth, cheesecloth or coffee filters can line your sieve for ultra-fine straining. I also keep tongs nearby for handling hot bones and vegetables safely. These small investments make the process smoother. ✨
Nutrition Facts
Frequently Asked Questions
Can I use beef bones instead of chicken?
Yes! Beef bones work well and create a deeper, richer flavor. Use 2 lb beef bones and extend cooking time to 12-24 hours for maximum gelatin extraction. The process remains the same.
Why include apple cider vinegar?
The vinegar helps extract minerals from bones, creating a more nutrient-dense result. Use 1 tbsp per 12 cups water. It doesn’t make the broth sour—just more flavorful.
How do I store leftover broth?
Cool completely, then refrigerate for up to 5 days or freeze for 6 months. Use airtight containers and leave 1-inch headspace for freezing.
Can I skip skimming the foam?
Skimming is recommended for a clear, clean broth. If you skip it, the result may be cloudier but still tasty. Use a fine-mesh skimmer for best results.

- 4C Bread Crumbs Meatballs Recipe: Crispy Crust and Juicy Centers - September 25, 2026
- 6 Oz Chocolate Chip Cookie Recipe: Perfectly Balanced Crispy Edges and Chewy Hearts - September 25, 2026
- 6-Inch Coffee Cake Recipe: Vanilla Bean Swirls and Buttery Streusel Topping - September 25, 2026