
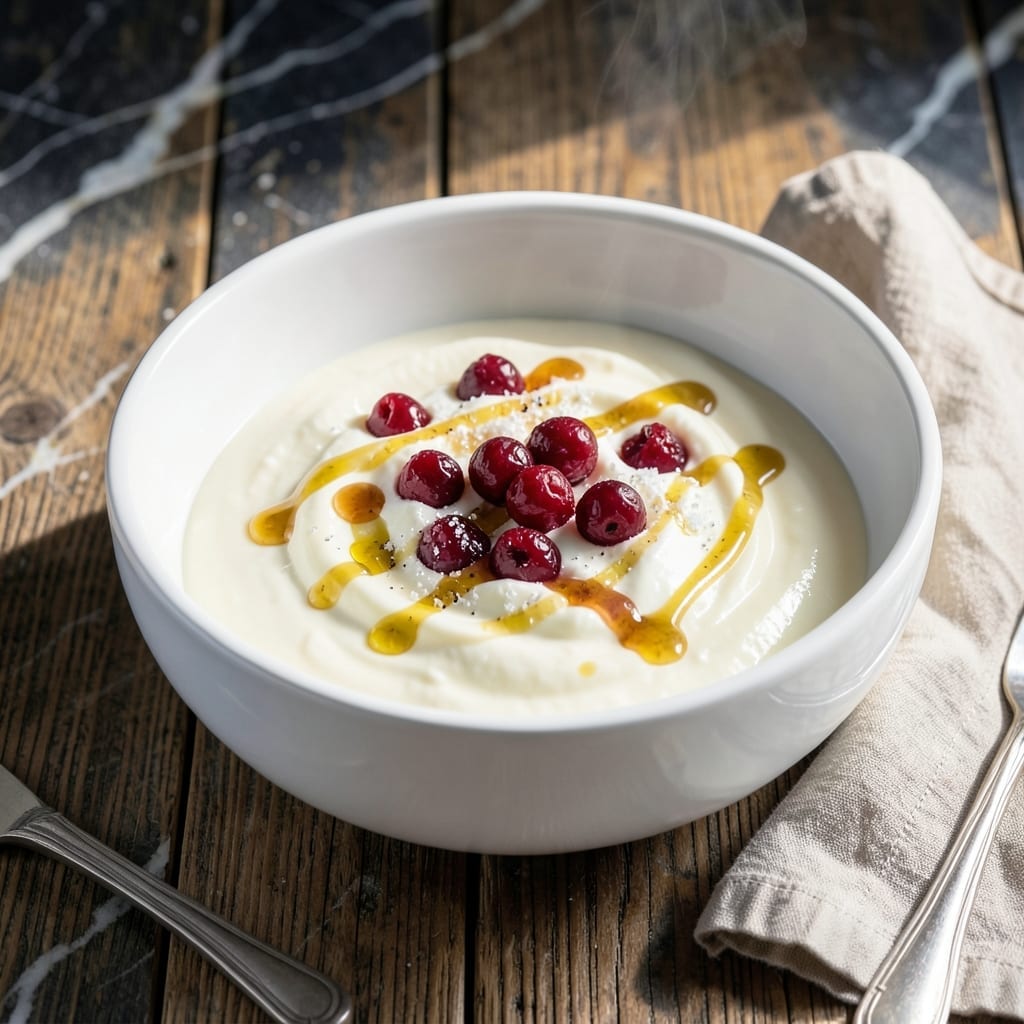
Making yogurt at home might seem intimidating, but this crock pot method delivers thick, tangy results with minimal effort.
The slow cooker maintains precise temperatures for safe fermentation, allowing beneficial bacteria to transform milk into creamy yogurt. No special equipment or constant monitoring required.
You’ll achieve a texture and flavor that rivals commercial brands, with the satisfaction of controlling ingredients and freshness. The process is straightforward yet rewarding.
Perfect for breakfast, snacks, or cooking applications. This method makes homemade yogurt accessible to anyone.
Ingredients for Crock Pot Yoghurt
Simple ingredients transform into creamy, tangy homemade yogurt with minimal effort required.
| Ingredient | Amount | Notes |
|---|---|---|
| Whole Milk 🥛 | 8 cups | Ultra-pasteurized not recommended |
| Plain Yogurt Starter 🥣 | ½ cup | With live active cultures |
| Granulated Sugar 🍚 | 2 tbsp | Optional for sweeter yogurt |
| Vanilla Extract 🌿 | 1 tsp | Pure extract preferred |
| Honey 🍯 | 2 tbsp | Optional for natural sweetness |
| Gelatin 🧂 | 1 tsp | Unflavored, for thickening |
| Water 💧 | ¼ cup | For dissolving gelatin |
| Milk Powder 🥛 | ½ cup | Optional for creamier texture |
The milk quality directly impacts your results. Whole milk from a trusted dairy yields the creamiest texture. Avoid ultra-pasteurized as it often fails to set properly. For the starter, plain yogurt with live cultures is essential—check the label carefully. I prefer Nancy’s or Fage brands for consistent active cultures. The slow cooker method requires no special equipment beyond what most kitchens already have.
No plain yogurt on hand? Two tablespoons of buttermilk can work as a starter substitute. Want it thicker? Add powdered milk at the beginning for extra creaminess. The vanilla and honey are optional—add after fermentation for flavored varieties. Skip the gelatin if you prefer a naturally thinner consistency (it will still thicken when chilled).
Finished yogurt keeps for 7-10 days in the fridge. The longer it sits, the tangier it becomes. Strain through cheesecloth for Greek-style thickness (takes 2-4 hours). Use the leftover whey in smoothies or baking—it’s packed with protein.
Why You’ll Love This Recipe
- Set and Forget: The crock pot does all the work—I just pour in the whole milk, mix in the starter, and walk away for hours.
- Velvety Vanilla Sweetness: The vanilla extract and honey swirl into a smooth, lightly sweet tang that’s way richer than store-bought.
- Breakfast on Autopilot: I make a big batch Sunday night and grab it all week for parfaits, smoothies, or just a spoonful.
- Pennywise Luxury: Whole milk and a tiny bit of starter turn into quarts of creamy yogurt for the cost of one fancy cup.
Step-by-Step Instructions for Crock Pot Yoghurt
This method delivers consistently thick, tangy yogurt with minimal active preparation time.
Step 1: Heat and Prepare the Milk Base
Pour all 8 cups Whole Milk into your slow cooker and set it to low heat. I cover it with the lid slightly ajar to allow steam to escape while heating. Monitor the temperature until it reaches 180°F—this step pasteurizes the milk and denatures proteins for better texture.
This heating process typically takes 2-3 hours depending on your slow cooker model. Stir occasionally during the first hour to prevent a skin from forming on the surface. You’ll notice the milk develops a slightly foamy appearance as it nears temperature.
Step 2: Cool and Add Thickening Agents
Once the milk hits 180°F, turn off the slow cooker and let it cool to 110°F. This cooling period usually takes 1-2 hours, but monitor it closely with a kitchen thermometer. Meanwhile, sprinkle 1 tsp Gelatin over 0.25 cup Water in a small bowl to bloom.
When the milk reaches the target temperature, stir in the bloomed gelatin mixture, 0.5 cup Milk Powder, 2 tbsp Granulated Sugar, 2 tbsp Honey, and 1 tsp Vanilla Extract. These additions create the creamy texture and subtle sweetness characteristic of quality homemade yogurt.
Step 3: Introduce the Starter Culture
Allow the mixture to cool slightly to 105-110°F if it’s still too warm from the previous additions. Then whisk in the 0.5 cup Plain Yogurt Starter thoroughly until completely dissolved. The live cultures in this starter are what transform your warm milk into tangy yogurt.
I always use a starter with live active cultures and verify it’s fresh for best results. The mixture should appear smooth and slightly thickened at this stage. Distribute it evenly in the slow cooker insert for consistent fermentation.
Step 4: Ferment for Optimal Tang and Texture
Cover the slow cooker with the lid and wrap the entire appliance in a thick towel to maintain consistent warmth. Set it in a draft-free location and let it ferment undisturbed for 8-12 hours. The longer fermentation time yields a tangier, thicker yogurt.
You’ll know it’s ready when the mixture has set into a firm, jiggly consistency similar to commercial yogurt. The surface may develop a thin layer of whey, which is normal. Resist the temptation to check or stir during this crucial fermentation period.
Step 5: Chill and Finish the Yogurt
Once fermentation is complete, transfer the yogurt to clean glass jars or containers. Refrigerate for at least 4 hours (preferably overnight) to halt the fermentation process and allow the yogurt to fully set.
The chilling step thickens the yogurt further and enhances its tangy flavor. After chilling, you may notice some separation of whey on the surface—simply stir it back in before serving. Your homemade yogurt will keep in the refrigerator for up to 2 weeks.
Pro Tips For Making Crock Pot Yoghurt
- Heat Milk Slowly: I learned this the hard way—cranking the crock pot to high right away can scald the milk, giving your yogurt a burnt taste. Warm it on low for 2-3 hours until it hits 180°F.
- Use Fresh Starter: Sounds weird, but it works: always use plain yogurt with live cultures that’s less than a week old. Older starter loses potency and can make your batch weak or runny.
- Skip the Boiling: Resist the urge to boil the milk—it’s not necessary and can actually kill off the good bacteria before you even add the starter. Gentle heating is all you need.
- Sweeten After Fermenting: Add the honey, sugar, or vanilla only after the yogurt has set, about 6-8 hours in. Mixing them in earlier can interfere with the cultures doing their job.
Make-Ahead Tips for crock pot yoghurt
Prep the Night Before
Start the milk heating process in the evening so it reaches 180°F before bed. Most slow cookers take 2-3 hours on low. I set mine at 9 PM and let it heat while I relax, checking occasionally with my Taylor digital thermometer. 💡
Morning Fermentation
After cooling to 110°F overnight (about 6-8 hours in my kitchen), stir in starter and thickeners first thing in the morning. The slow cooker maintains perfect warmth wrapped in a towel on my counter. I aim for 8 hours fermentation for ideal tang.
Batch Production
Double the recipe to 16 cups milk in a 6-quart slow cooker for efficiency. The process works the same—just ensure even heat distribution. I make two batches weekly to keep my family supplied. Store in 16-oz mason jars for easy portioning.
Flavor Infusion
Add vanilla or honey to individual jars after chilling for custom flavors. I love stirring 1 tbsp maple syrup and ½ tsp cinnamon into my morning portion. This prevents over-sweetening the entire batch.
Starter for Next Time
Always reserve ½ cup of your fresh yogurt as starter for the next batch. It works for 3-4 generations before needing fresh store-bought starter. I label my starter jar with the date to track freshness. ✨
Equipment Prep
Clean and sanitize all tools the night before. I keep my Cuisinart slow cooker dedicated to yogurt making. Having glass jars and thermometer ready prevents morning scrambling. This small prep makes the process truly hands-off.
Nutrition Facts
Frequently Asked Questions
Do I need a special thermometer?
A kitchen thermometer is essential for accurate temperature control. Look for one that reads between 100-200°F. Digital models provide the most precise readings for this process.
Why did my yogurt turn out runny?
This usually happens if the milk didn’t reach 180°F or cooled too much before adding starter. Ensure proper heating and maintain 110°F when adding cultures. Straining through cheesecloth can thicken the final product.
Can I use a different type of milk?
Whole milk works best, but you can use 2% for a lighter version. Avoid skim milk as it produces thinner results. For dairy-free, try coconut milk with added thickeners, though texture may vary.

- 6 Oz Chocolate Chip Cookie Recipe: Perfectly Balanced Crispy Edges and Chewy Hearts - September 25, 2026
- 6-Inch Coffee Cake Recipe: Vanilla Bean Swirls and Buttery Streusel Topping - September 25, 2026
- 1 Hour Soup Recipe: Velvety Richness Without the Wait - September 25, 2026