
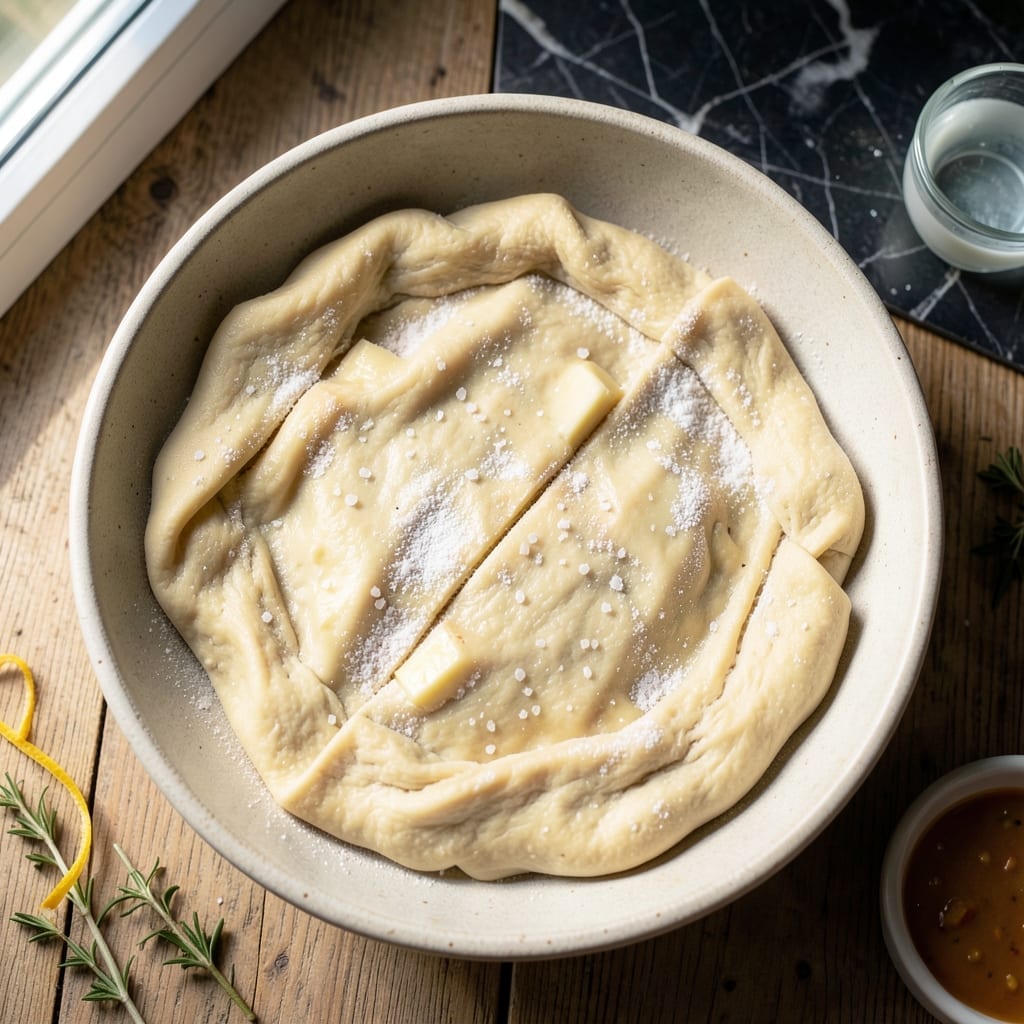
This Dutch pot pie dough delivers flaky layers that elevate any savory filling to restaurant-quality status. The secret lies in cold butter and minimal handling, creating distinct layers that puff beautifully during baking.
With just a few basic ingredients and 10 minutes of active prep, you can achieve a golden crust that’s tender yet sturdy enough to hold hearty fillings. The dough comes together quickly but requires 30 minutes of resting time for optimal texture.
The result is a buttery, flaky pastry that forms the perfect base and top for your pot pie. Its neutral flavor complements any filling, from classic chicken to vegetable medleys, while the layers create that coveted bakery-style appearance.
This recipe makes enough for one double-crust pot pie. The dough freezes well for future use, maintaining its quality for up to three months.
Ingredients for Dutch Pot Pie Dough
Six ingredients transform into flaky, golden layers for your pot pie.
| Ingredient | Amount | Notes |
|---|---|---|
| All-Purpose Flour 🌾 | 2 ½ cups | Plus extra for dusting |
| Unsalted Butter 🧈 | 1 cup | Cold, cubed into 1/2-inch pieces |
| Ice Water 💧 | ½ cup | Plus 1 tbsp as needed |
| Salt 🧂 | 1 tsp | Fine sea salt preferred |
| Granulated Sugar 🍚 | 1 tsp | Optional, for color |
| White Vinegar 💧 | 1 tbsp | Or apple cider vinegar |
The butter is everything here. Use European-style unsalted butter (like Plugra or Kerrygold) for higher fat content and better flakiness. It must be ice-cold—freeze your cubes for 10 minutes if they soften while prepping. The flour should be all-purpose, nothing fancy. King Arthur is my go-to, but any supermarket brand works if it’s fresh (old flour loses lift).
No vinegar? Lemon juice works at the same amount. For a richer flavor, swap 1 tbsp of the ice water for cold buttermilk. Sugar is optional but gives a nicer crust color—skip if you prefer savory-only. If your kitchen is warm, chill your mixing bowl and pastry cutter too (dough temp is critical here).
Dough keeps 2 days wrapped tightly in the fridge. Freezes beautifully for 3 months—just thaw overnight in the fridge before rolling. Always rest the dough 30 minutes before using, even if frozen and thawed.
Why You’ll Love This Recipe
- I’ll be real: I double the batch, freeze half, and thank my past self when company shows up unannounced.
- 5-Minute Mix: Honestly, I just dump flour, cold butter, and a pinch of sugar in the bowl—no fancy steps, no stress.
- Buttery Crisp: That flaky crust from the unsalted butter? It’s the reason I make this every time the weather turns chilly.
- Freezer Friendly: I’ll be real: I double the batch, freeze half, and thank my past self when company shows up unannounced.
Step-by-Step Instructions for Dutch Pot Pie Dough
This method ensures tender, flaky layers that will elevate any savory filling to perfection.
Step 1: Combine Dry Ingredients
In a large mixing bowl, whisk together the 2.5 cups all-purpose flour, 1 tsp salt, and 1 tsp granulated sugar. I always use fine sea salt for even distribution throughout the dough. The sugar is optional but adds a subtle golden color to the finished crust.
Whisking aerates the flour mixture, which helps create a lighter texture in the final dough. Make sure there are no visible clumps of salt or sugar—this ensures every bite of your crust is perfectly seasoned.
Step 2: Cut in the Cold Butter
Add the 1 cup unsalted butter, cubed into ½-inch pieces, to the flour mixture. Using a pastry cutter or your fingers, work the butter into the flour until the mixture resembles coarse crumbs with pea-sized butter pieces visible throughout.
This is the key to flaky layers—those butter pieces will create steam as the dough bakes, separating the layers. Work quickly to prevent the butter from melting. If the butter starts to soften, chill the mixture for 10 minutes before continuing.
Step 3: Add Liquid Ingredients
Create a well in the center of the flour-butter mixture. Add the ½ cup ice water and 1 tbsp white vinegar to the well. Using a fork, gently mix the liquid into the dry ingredients until the dough just begins to come together.
The vinegar tenderizes the gluten, creating a more delicate crust. Don’t overmix—you want the dough to be shaggy with visible streaks of butter. If the dough seems too dry, add up to 1 tbsp additional ice water, but err on the side of less rather than more.
Step 4: Form and Chill the Dough
Turn the dough out onto a lightly floured surface and gently knead it just until it comes together into a cohesive ball—this should take no more than 3-4 folds. Overworking the dough will develop too much gluten, resulting in a tough crust.
Divide the dough into two equal portions, flatten each into a disc about 1-inch thick, and wrap them tightly in plastic wrap. Refrigerate for at least 1 hour or up to 2 days. This chilling step allows the gluten to relax and the butter to firm up, making the dough easier to roll out and ensuring those coveted flaky layers.
Pro Tips For Making Dutch Pot Pie Dough
- Chill the Butter: Cut your unsalted butter into small cubes and freeze for 15 minutes before mixing—I learned this the hard way after my first few doughs turned out tough rather than flaky.
- Measure Water Carefully: Use exactly 6-8 tablespoons of ice water, adding one at a time, because too much makes the dough sticky and hard to roll out.
- Don’t Overmix: Stop mixing as soon as the dough comes together, even if it looks a little shaggy, since overworking develops gluten and makes the crust chewy instead of tender.
- Rest the Dough: Give it a solid 30-minute chill in the fridge—this relaxes the gluten and makes rolling out so much easier, plus it prevents shrinking during baking.
Troubleshooting dutch pot pie dough
Dough Too Sticky
If your dough feels tacky during rolling, don’t panic. Lightly dust your surface and rolling pin with all-purpose flour, but use a light hand—too much flour can make the crust tough. Chill the dough for an additional 15 minutes if it’s particularly stubborn. 🌡️
Butter Melting Issues
Seeing butter smear instead of staying in pea-sized pieces? Your kitchen might be too warm. Pop the bowl of dough into the fridge for 10-15 minutes to firm up. I keep a bowl of ice nearby to quickly chill my hands if they get warm while working.
Dry and Crumbly
If the mixture won’t come together, you likely need more liquid. Add 1 tbsp ice water at a time until it just holds when pressed. Remember, the dough should look shaggy—don’t overwork it trying to make it smooth.
Tough Crust
Overworked dough is the usual culprit. Limit kneading to 3-4 folds maximum. If you’ve already overworked it, let the dough rest for 30 minutes in the fridge—this gives the gluten a chance to relax before rolling.
Shrinking When Baked
This happens when gluten hasn’t relaxed enough. Always rest your dough for at least 1 hour before rolling. If it still shrinks, try rolling it slightly larger than your pie dish to account for contraction. 💡
Uneven Browning
Brush the top crust with 1 tbsp beaten egg or 2 tbsp milk before baking for even browning. If one area browns too quickly, loosely tent it with aluminum foil until the rest catches up.
Nutrition Facts
Frequently Asked Questions
Why does the butter need to stay cold?
Cold butter creates steam pockets during baking, making those flaky layers. If it melts prematurely, the dough becomes dense. Keep everything chilled, including your bowl and hands.
Can I use a food processor for mixing?
Yes, pulse the flour and butter until pea-sized crumbs form. Then transfer to a bowl to add liquids. Avoid over-processing to prevent tough dough.
How do I prevent the bottom crust from getting soggy?
Pre-bake the bottom crust for 8 minutes before adding filling. Also, brush it with a thin layer of beaten egg to create a moisture barrier.
What’s the best way to roll out the dough?
Roll from the center outward, turning the dough 90° every few rolls. Use minimal flour and maintain even ⅛-inch thickness for consistent baking.

- 4C Bread Crumbs Meatballs Recipe: Crispy Crust and Juicy Centers - September 25, 2026
- 6 Oz Chocolate Chip Cookie Recipe: Perfectly Balanced Crispy Edges and Chewy Hearts - September 25, 2026
- 6-Inch Coffee Cake Recipe: Vanilla Bean Swirls and Buttery Streusel Topping - September 25, 2026