
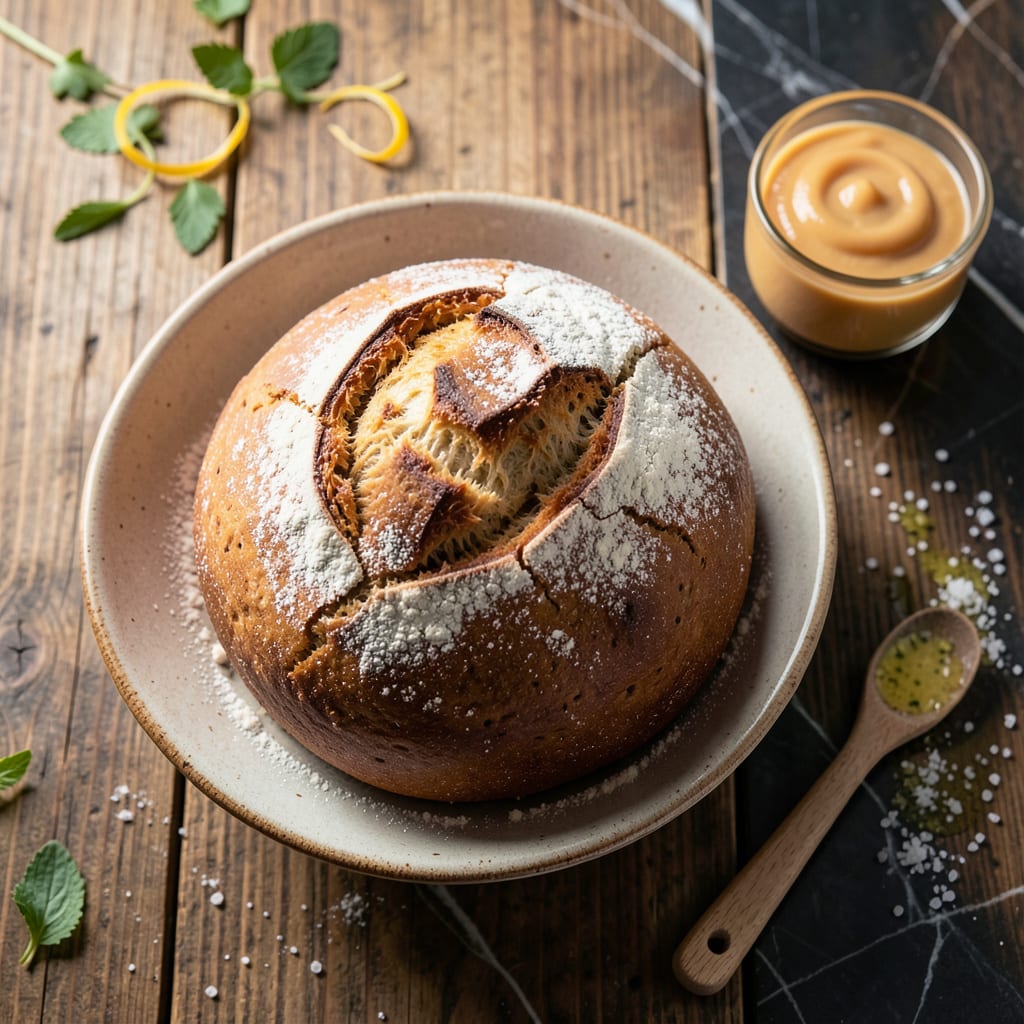
This recipe proves you can achieve fluffy, tender bread without any added fat. By using smart substitutions like applesauce or mashed banana, we maintain moisture and texture while eliminating butter or oil entirely.
The result is a light, airy loaf that rises beautifully and satisfies every bread craving. Perfect for sandwiches, toast, or enjoying fresh from the oven with zero guilt.
Ingredients for Fat Free Bread
No butter, no oil, just fluffy bread waiting to happen.
| Ingredient | Amount | Notes |
|---|---|---|
| All-Purpose Flour 🌾 | 4 cups | Sifted for lighter texture |
| Unsweetened Applesauce 🍏 | 1 cup | Room temperature for best results |
| Warm Water 💧 | 1 ¼ cups | About 110°F for yeast activation |
| Active Dry Yeast 🍞 | 2 ¼ tsp | One standard packet plus extra |
| Granulated Sugar 🧂 | 2 tbsp | Feeds the yeast for rise |
| Salt 🧂 | 1 ½ tsp | Fine sea salt preferred |
| Non-Fat Milk 🥛 | ½ cup | Warmed slightly for yeast |
| Large Egg 🥚 | 1 whole | Room temperature for binding |
| Mashed Banana 🍌 | ½ cup | Ripe, for moisture and sweetness |
| Vital Wheat Gluten 🌾 | 2 tbsp | Optional, for extra chew |
| Olive Oil Spray 🫒 | 1 spray | For greasing pan only |
The applesauce and banana are doing the heavy lifting here—use unsweetened applesauce (Mott’s is reliable) and overripe bananas for the best texture. King Arthur Flour is my go-to for all-purpose, but any unbleached brand works. The yeast needs to be fresh—check the expiration date and store it in the freezer if you won’t use it quickly. Warm the water and milk to about 110°F (warm but not hot to the touch).
No applesauce? Pumpkin puree works as a 1:1 swap. Out of bananas? Try unsweetened Greek yogurt for similar moisture. If you’re avoiding eggs entirely, 1/4 cup extra applesauce will bind everything just fine. The vital wheat gluten is optional but adds a nice chew—find it in the baking aisle at Whole Foods or any well-stocked grocery store.
This loaf stays fresh for 3-4 days in an airtight container. Slice and freeze for up to 3 months—toast straight from frozen. The pan only needs a light spray (counts as zero fat in the final product).
Why You’ll Love This Recipe
- Minimal Effort: I mix the applesauce, yeast, and warm water in one bowl—no fancy steps, just stir and wait for the dough to rise.
- Soft & Slightly Sweet: The applesauce keeps it moist while the sugar adds just enough sweetness to make it irresistible fresh from the oven.
- Meal Prep Hero: I bake a loaf Sunday and it’s still great for toast or sandwiches by Wednesday.
Step-by-Step Instructions for Fat Free Bread
Here’s your foolproof method for achieving bakery-style results with zero added fat.
Step 1: Activate the Yeast and Mix Wet Ingredients
In a large mixing bowl, combine the 1.25 cups Warm Water, 2.25 tsp Active Dry Yeast, and 2 tbsp Granulated Sugar. Let this sit for 5-7 minutes until the mixture becomes frothy and you see bubbles forming on the surface—this confirms the yeast is active and ready to work.
Once activated, whisk in the 1 cup Unsweetened Applesauce, 0.5 cup Non-Fat Milk, 1 whole Large Egg, and 0.5 cup Mashed Banana. The applesauce and banana will give your bread natural sweetness and moisture without any added fat. Make sure all wet ingredients are at room temperature for even mixing.
Step 2: Incorporate Dry Ingredients and Knead
In a separate bowl, whisk together the 4 cups All-Purpose Flour, 1.5 tsp Salt, and 2 tbsp Vital Wheat Gluten. The vital wheat gluten strengthens the dough structure, compensating for the lack of fat that would normally provide tenderness.
Gradually add the dry ingredients to the wet mixture, stirring with a wooden spoon until a shaggy dough forms. Turn the dough out onto a lightly floured surface and knead for 8-10 minutes by hand, or 6-7 minutes in a stand mixer with the dough hook. You’re aiming for a smooth, elastic dough that springs back slowly when poked.
Step 3: First Rise Until Doubled
Lightly coat a clean bowl with the Olive Oil Spray—this is the only fat used in the entire recipe, and it’s just enough to prevent sticking. Place the dough in the bowl, cover it with a damp kitchen towel, and let it rise in a warm, draft-free place for 1 to 1.5 hours, or until doubled in size.
Pro tip: For a consistent environment, I preheat my oven to the lowest setting, turn it off, and place the bowl inside with the door slightly ajar. The dough should look puffy and when you gently press two fingers into it, the indentations should remain visible.
Step 4: Shape, Second Rise, and Bake
Punch down the risen dough to release air, then shape it into a loaf and place it in a greased 9×5-inch loaf pan. Cover again and let it rise for 30-45 minutes until the dough domes about 1 inch above the pan rim.
Preheat your oven to 375°F. Bake for 30-35 minutes until the top is deep golden brown and the loaf sounds hollow when tapped on the bottom. If the top browns too quickly, tent loosely with aluminum foil after 15 minutes of baking.
Step 5: Cool Completely Before Slicing
Remove the bread from the pan immediately and transfer it to a wire rack. Let it cool completely for at least 1 hour before slicing. I know it’s tempting to dig in right away, but slicing too soon will result in a gummy texture.
This cooling period allows the internal structure to set properly. Once cooled, you’ll have a beautifully domed loaf with a soft, fluffy crumb and just the right amount of chew from the vital wheat gluten. Store leftovers in an airtight container at room temperature for up to 3 days.
Pro Tips For Making Fat Free Bread
- Test Yeast First: Always bloom your yeast in warm water with a pinch of sugar—if it doesn’t foam within 5 minutes, your bread won’t rise. I learned this the hard way after wasting a whole batch of flour.
- Warm the Applesauce: Take the chill off your unsweetened applesauce before mixing—cold ingredients can shock the yeast and slow fermentation. Just 10 seconds in the microwave does the trick.
- Skip Over-Kneading: Fat-free dough is stickier and toughens easily, so knead just until smooth, about 5-7 minutes. Resist the urge to keep going—it makes the bread dense.
- Use Less Flour: The applesauce adds moisture, so hold back on extra flour when shaping. Sound weird, but it works—too much flour dries out the loaf.
Essential Equipment for Great fat free bread
Mixing Bowls
A large stainless steel mixing bowl is essential for activating yeast and combining wet ingredients. I prefer Cuisinox bowls—they’re durable, won’t retain odors, and the wide rim makes whisking easy. For the dry ingredients, any medium bowl works, but I keep a separate one to prevent cross-contamination. 💛
Stand Mixer
While you can knead by hand, a stand mixer with dough hook saves time and ensures even development. I use my KitchenAid Artisan for 6-7 minutes on speed 2. Look for a model with at least 325-watt motor to handle bread dough.
Loaf Pan
A standard 9×5-inch loaf pan gives the classic sandwich bread shape. I recommend USA Pan with its nonstick coating and reinforced steel. For easy release, line with parchment paper or use a light olive oil spray as the only fat in this recipe.
Digital Scale
Precision matters in fat-free baking. A digital kitchen scale ensures accurate measurements—I use the OXO Good Grips 11lb scale for gram-level precision. This is especially helpful for the flour, where too much can make bread dense.
Dough Scraper
A simple plastic dough scraper helps divide and shape dough without adding fat. I keep one from Ateco in my tool drawer—it’s also perfect for cleaning bowls of every last bit of dough. The flat edge gives clean cuts when portioning.
Cooling Rack
Never skip the cooling step! A wire cooling rack allows air circulation to prevent soggy bottoms. I use a stainless steel rack from Wilton that fits over my sink. The bread needs that 1 hour to set properly before slicing. 🔥
Nutrition Facts
Frequently Asked Questions
Can I use a bread machine for this?
Yes! Use the dough setting, then shape and bake as directed. The machine handles kneading in 10-15 minutes.
Why is my bread dense?
Over-kneading or old yeast are common culprits. Knead just until smooth and check yeast freshness. Also, ensure dough rises fully—doubled in size before baking.
Can I make this gluten-free?
Swap the all-purpose flour for a 1:1 gluten-free blend and add 1 tsp xanthan gum for structure. Texture will differ slightly.
How do I store leftovers?
Keep in an airtight container at room temperature for 3-4 days. For longer storage, freeze slices for up to 3 months.

- 8 Bean Soup Recipe Crock Pot: Hearty Vegetable Medley in One Pot - September 25, 2026
- 4C Bread Crumbs Meatballs Recipe: Crispy Crust and Juicy Centers - September 25, 2026
- 6 Oz Chocolate Chip Cookie Recipe: Perfectly Balanced Crispy Edges and Chewy Hearts - September 25, 2026