
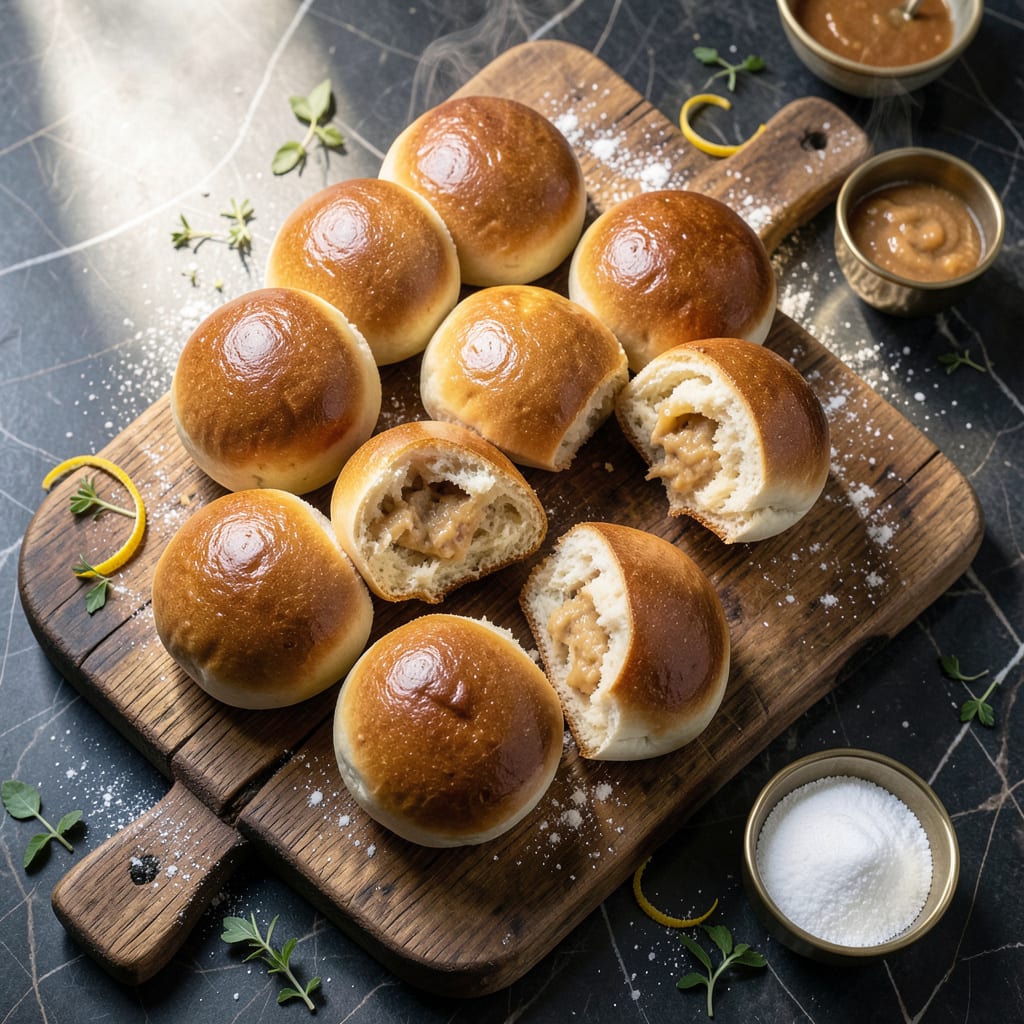
I’ve spent years perfecting a bun recipe that delivers light and fluffy results without any added fat. This version proves you can enjoy soft, tender buns while keeping them guilt-free.
The secret lies in the right balance of ingredients and precise baking. With simple pantry staples and careful technique, you’ll achieve bakery-quality buns that rise beautifully and stay fresh for days.
Ingredients for Fat Free Buns
Simple pantry staples for bakery-quality fluffy buns with zero guilt or fat.
| Ingredient | Amount | Notes |
|---|---|---|
| All-Purpose Flour 🌾 | 4 cups | Sifted for lighter texture |
| Instant Yeast 🍞 | 2 ¼ tsp | Active dry works too |
| Granulated Sugar 🍚 | ¼ cup | Feeds the yeast for rise |
| Salt 🧂 | 1 tsp | Fine sea salt preferred |
| Warm Water 💧 | 1 ¼ cups | 110-115°F for yeast activation |
| Unsweetened Applesauce 🍎 | ½ cup | Fat substitute for moisture |
| Vital Wheat Gluten 🌾 | 2 tbsp | Improves structure and rise |
| Plant-Based Milk 🥛 | ¼ cup | Almond or soy works best |
| Apple Cider Vinegar 🍏 | 1 tbsp | Enhances gluten development |
| Cornstarch 🌽 | 2 tbsp | For extra softness |
The flour is the foundation here—King Arthur or Gold Medal all-purpose give consistent results. Vital wheat gluten isn’t optional (it replaces the structure fat usually provides). Bob’s Red Mill is my go-to brand. Unsweetened applesauce does double duty: adds moisture and a touch of sweetness without any fat. Make sure it’s plain, not the flavored kind with added sugars.
No applesauce? Mashed banana or pumpkin puree work in a pinch (but may add color). Plant-based milk can be swapped for water if needed, but the milk adds richness. Skip the vital wheat gluten? Add 1 extra tbsp cornstarch for structure. Apple cider vinegar isn’t just for tang—it helps the dough rise higher. Any vinegar works, but don’t skip it.
Dough rises best in a warm spot (I use my turned-off oven with the light on). Baked buns stay fresh wrapped in a towel for 2-3 days, or freeze for 1 month. Reheat frozen buns wrapped in foil at 350°F for 10 minutes.
Why You’ll Love This Recipe
- No Fuss Dough: Honestly, mixing flour, yeast, sugar and warm water takes less effort than my morning coffee routine.
- Soft and Fluffy: The instant yeast gives these buns that light, airy texture I crave without any oil weighing them down.
- Meal Prep Hero: I bake a batch on Sunday and they’re ready for sandwiches, sliders or even burger night all week.
- Penny Wise: Flour, yeast and basics from my pantry mean I’m not spending extra on specialty ingredients.
Step-by-Step Instructions for Fat Free Buns
This method delivers soft, pillowy results without any added fat—trust the process.
Step 1: Activate the Yeast and Mix Wet Ingredients
In a large bowl, whisk together the 1.25 cups Warm Water, 0.25 cup Granulated Sugar, and 2.25 tsp Instant Yeast. Let it sit for 5-7 minutes until the mixture becomes frothy and slightly domed—this confirms the yeast is active.
Stir in the 0.5 cup Unsweetened Applesauce, 0.25 cup Plant-Based Milk, 1 tbsp Apple Cider Vinegar, and 1 tsp Salt. The applesauce replaces fat while keeping the buns moist, and the vinegar enhances gluten development for better structure.
Step 2: Combine Dry Ingredients and Form the Dough
In a separate bowl, whisk together the 4 cups All-Purpose Flour, 2 tbsp Vital Wheat Gluten, and 2 tbsp Cornstarch. The vital wheat gluten compensates for the lack of fat by strengthening the dough’s elasticity, while the cornstarch adds tenderness.
Gradually add the dry mixture to the wet ingredients, stirring with a wooden spoon until a shaggy dough forms. It will look rough at first, but resist the urge to add more flour—this hydration level is intentional for soft buns.
Step 3: Knead Until Smooth and Elastic
Turn the dough onto a lightly floured surface and knead for 8-10 minutes by hand, or 5-6 minutes in a stand mixer with a dough hook. The dough should become smooth, slightly tacky but not sticky, and spring back slowly when poked.
If the dough feels too wet, add flour 1 tablespoon at a time, but be sparing. Over-flouring will make the buns dense. The applesauce and plant-based milk will keep it soft, so don’t be alarmed by the initial stickiness.
Step 4: First Rise Until Doubled in Size
Place the dough in a lightly greased bowl, cover with a damp towel, and let it rise in a warm, draft-free spot for 1 to 1.5 hours, or until doubled in volume. I like to preheat my oven to 200°F, turn it off, and place the bowl inside for a consistent environment.
Press your finger gently into the dough—if the indentation remains, it’s ready. If it springs back, give it more time. This rise develops flavor and ensures a light, airy texture.
Step 5: Shape, Second Rise, and Bake
Punch down the dough to release air, then divide it into 12 equal portions. Roll each into a smooth ball and place them in a greased 9×13-inch baking dish, spacing them slightly apart. Cover and let rise for another 30-45 minutes until puffy and nearly touching.
Preheat the oven to 375°F. Bake for 18-22 minutes until the buns are golden brown on top and sound hollow when tapped. Brush with a little plant-based milk for extra shine if desired, then let cool on a wire rack before serving.
Pro Tips For Making Fat Free Buns
- Warm the Water Right: Use water between 105–110°F—hotter kills the yeast, cooler slows the rise. I learned this the hard way after my first few batches refused to puff.
- Knead Long Enough: Work the dough for at least 8–10 minutes until smooth and elastic. Skimping here gives dense buns, and nobody wants a hockey puck for dinner.
- Skip the Over-Flouring: Dust lightly when shaping—too much flour toughens the dough. My grandmother swore by this, and her buns were always tender.
- Double the Rise Time: Let the dough rise until truly doubled, even if it takes longer than expected. Rushing this step leaves you with flat, sad buns—I know, I know, but trust the process.
Storing and Reheating This fat free buns
Room Temperature Storage
Let your buns cool completely before storing to prevent condensation. Place them in an airtight container lined with a paper towel to absorb moisture. They’ll stay soft for 2-3 days at room temperature. I like using a glass container with a snap-tight lid. 🥖
Refrigerator Storage
For longer freshness, store cooled buns in the fridge in a resealable plastic bag with as much air pressed out as possible. They’ll keep for up to 1 week. Refrigeration dries them slightly, but they’ll revive beautifully when reheated.
Freezer Storage
Wrap individual buns tightly in plastic wrap, then place them in a freezer-safe bag. They’ll stay fresh for up to 1 month. Freezing works best when done right after cooling to lock in moisture.
Oven Reheating
Preheat your oven to 350°F and wrap buns in aluminum foil. Heat for 10-12 minutes until warm. For frozen buns, add 5-7 minutes. This method restores their soft, pillowy texture perfectly.
Microwave Reheating
Place a bun on a microwave-safe plate and cover with a damp paper towel. Heat on high power for 20-30 seconds. For multiple buns, reheat in 10-second intervals to avoid drying them out. ✨
Toaster Method
Split buns in half and toast in a toaster on medium-low setting for 1-2 cycles. This works great for reviving slightly stale buns, giving them a fresh-baked feel without drying them out.
Nutrition Facts
Frequently Asked Questions
Can I replace applesauce with another ingredient?
Yes, mashed banana or pumpkin puree work as fat substitutes. They add moisture but may slightly alter the flavor or color. Stick to 0.5 cup to maintain the right texture.
Why is vital wheat gluten necessary?
It strengthens the dough’s structure, replacing the elasticity fat would normally provide. Without it, the buns may not rise properly or could turn dense. 2 tbsp is the perfect amount for this recipe.
How do I know when the buns are done baking?
They should be golden brown on top and sound hollow when tapped. Bake for 18-22 minutes at 375°F for the best results.
Can I make these ahead of time?
Shape the dough and refrigerate overnight for the first rise. Or bake, cool completely, and freeze for up to 1 month. Reheat in the oven for best texture.

- 8 Bean Soup Recipe Crock Pot: Hearty Vegetable Medley in One Pot - September 25, 2026
- 4C Bread Crumbs Meatballs Recipe: Crispy Crust and Juicy Centers - September 25, 2026
- 6 Oz Chocolate Chip Cookie Recipe: Perfectly Balanced Crispy Edges and Chewy Hearts - September 25, 2026