
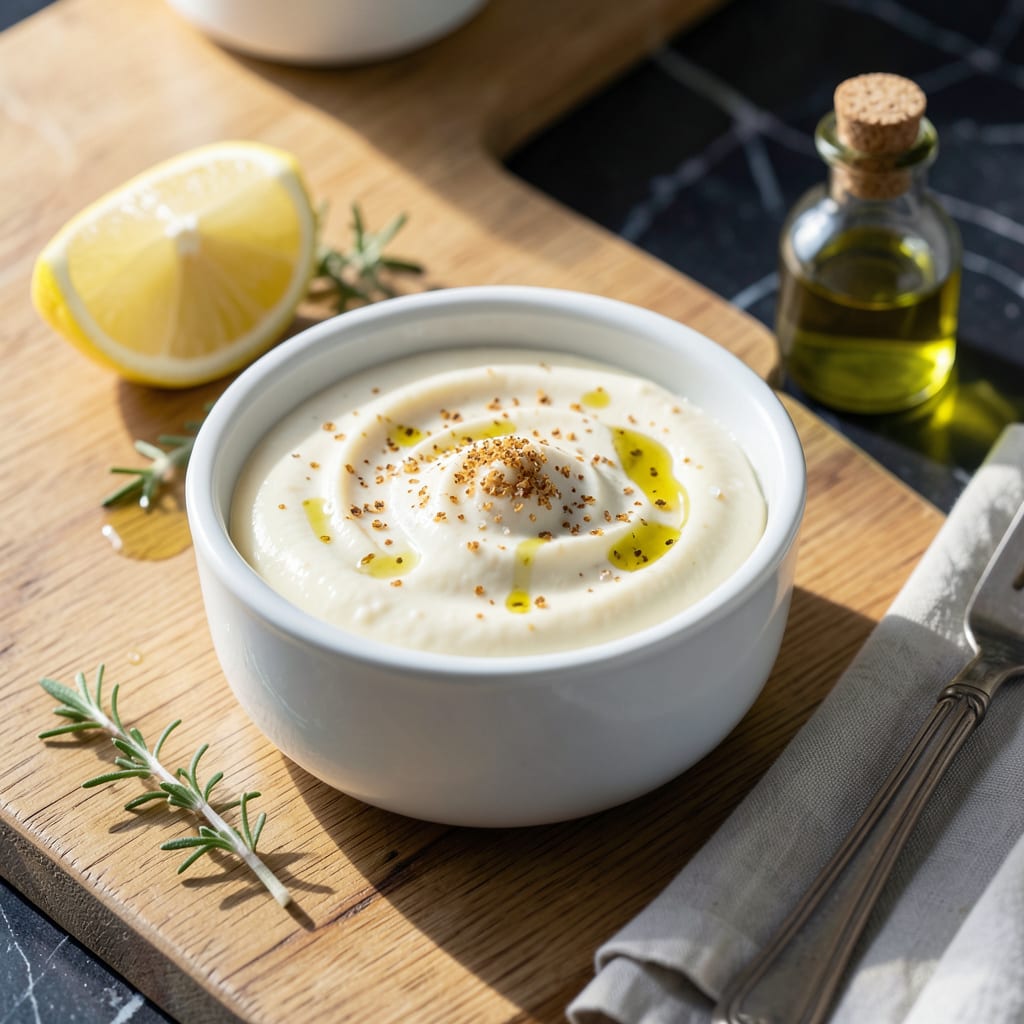
I’ve perfected a fat-free spread that delivers the richness of butter without dairy or excess calories. This plant-based alternative uses simple ingredients to create a smooth, flavorful paste ideal for baking, cooking, or topping toast.
With no animal products and zero fat, this recipe proves you don’t need traditional butter to achieve satisfying taste and texture. It’s versatile, easy to make, and ready in minutes with pantry staples.
Ingredients for Fat Free Butter
Nine pantry staples transform into a rich, dairy-free alternative with zero fat.
| Ingredient | Amount | Notes |
|---|---|---|
| Unsweetened Applesauce 🍏 | 1 cup | Smooth, no added sugar |
| Nutritional Yeast 🌿 | 3 tbsp | For cheesy, umami depth |
| Extra-Virgin Olive Oil 🫒 | 1 tbsp | High-quality, fruity notes |
| Lemon Juice 🍋 | 1 tbsp | Freshly squeezed preferred |
| White Vinegar 💧 | 1 tsp | Or apple cider vinegar |
| Sea Salt 🧂 | ½ tsp | Fine grain for even distribution |
| Garlic Powder 🧄 | ½ tsp | Not garlic salt |
| Turmeric Powder 🌶️ | ¼ tsp | For golden color |
| Xanthan Gum 🧪 | 0.125 tsp | Thickening agent, optional |
The applesauce is critical here—Mott’s or Santa Cruz Organic brands offer the right consistency without added sugars. Nutritional yeast (I recommend Bragg or Bob’s Red Mill) provides the buttery depth, so don’t skip it. For olive oil, California Olive Ranch or Cobram Estate deliver the fruity notes needed to balance the spread’s flavor profile.
No nutritional yeast? Vegan butter-flavored coconut oil can work in a pinch, but texture suffers. Swap white vinegar for rice vinegar at the same amount. Out of turmeric? A pinch of saffron threads (steeped in warm water) adds color but alters flavor. Xanthan gum is optional—cornstarch at double the amount works too, though it may separate slightly.
Store in an airtight container in the fridge for up to 2 weeks. For longer storage, freeze in ice cube trays for 3 months. Bring to room temperature before using for best spreadability.
Why You’ll Love This Recipe
- 5-Minute Mix: I just dump everything in a bowl, whisk, and it’s done—no cooking, no waiting.
- Buttery Richness: Honestly, the nutritional yeast and olive oil trick my taste buds into thinking it’s the real deal.
- Spreads Everywhere: I slather it on toast, stir it into mashed potatoes, even bake with it—so versatile.
- Pantry Staples Only: Between us, I always have applesauce and olive oil on hand, so this saves me a store trip.
Step-by-Step Instructions for Fat Free Butter
This method ensures a smooth, spreadable texture with rich, buttery flavor using simple blending techniques.
Step 1: Blend the Base Ingredients
In a high-speed blender or food processor, combine the 1 cup Unsweetened Applesauce with the 1 tbsp Extra-Virgin Olive Oil. Blend on high for 30-45 seconds until the mixture is completely smooth and creamy. The olive oil should be fully emulsified into the applesauce—no visible separation.
Scrape down the sides of the blender with a silicone spatula to ensure all the applesauce is incorporated. This base provides the creamy texture and subtle fruit sweetness that mimics the mouthfeel of traditional butter.
Step 2: Incorporate Acidic and Flavor Elements
Add the 1 tbsp Lemon Juice, 1 tsp White Vinegar, 0.5 tsp Sea Salt, and 0.5 tsp Garlic Powder to the blender. Pulse the mixture 5-6 times to combine, then blend on medium speed for 20-30 seconds until uniform.
The lemon juice and vinegar add the necessary tang that balances the richness, while the sea salt and garlic powder build depth of flavor. The mixture should now have a slightly yellow tint from the olive oil and a pleasant, savory aroma.
Step 3: Add Color and Umami Depth
Sprinkle in the 3 tbsp Nutritional Yeast and 0.25 tsp Turmeric Powder. Secure the blender lid and process on high for 1 minute, stopping once to scrape the sides. The nutritional yeast contributes a cheesy, umami note, while the turmeric provides a warm, golden hue reminiscent of dairy butter.
Check the texture at this point—it should be thick and creamy, similar to softened butter. If it appears too thin, the mixture will thicken further in the next step.
Step 4: Thicken and Stabilize
With the blender running on low, slowly add the 0.125 tsp Xanthan Gum through the feed tube. Increase the speed to high and blend for an additional 30 seconds until the mixture thickens noticeably. Xanthan gum acts as a stabilizer, preventing separation and ensuring a smooth, spreadable consistency.
Watch for the texture to become glossy and slightly elastic—this indicates the xanthan gum is fully activated. Avoid over-blending, as this can introduce too much air and make the spread overly light.
Step 5: Chill and Set
Transfer the mixture to a clean, airtight container. Refrigerate for at least 2 hours to allow the flavors to meld and the texture to firm up. The spread should be cool to the touch and hold its shape when scooped.
Once chilled, give it a final stir to redistribute any settled ingredients. The finished product should have a vibrant golden color, a rich aroma, and a smooth, spreadable consistency that holds well at room temperature for short periods.
Pro Tips For Making Fat Free Butter
- Chill the Mixture: After blending, refrigerate the mixture for at least 2 hours—this helps it firm up and mimic the texture of real butter.
- Use Thick Applesauce: Drain excess liquid from the applesauce first or use a thick, unsweetened variety to prevent a runny, oily spread.
- Skip the Overmixing: I learned this the hard way—blend just until combined, or the olive oil will separate and leave a greasy mess.
- Add Yeast Last: Fold in the nutritional yeast after blending the wet ingredients to keep its cheesy flavor bright and prevent clumping.
Common Mistakes When Making This Dish
Skipping the Xanthan Gum
This thickener is crucial for a stable, spreadable texture. Without it, your mixture may separate or turn watery. If you must skip it, use cornstarch at double the amount, but expect slightly less smooth results. I learned this the hard way! 💡
Over-Blending the Mixture
Blending too long can whip in too much air, making your spread light and frothy. Stick to the recommended 30-45 seconds for the base and 1 minute after adding dry ingredients. Stop once you see a smooth, creamy consistency.
Using the Wrong Applesauce
Sweetened or chunky applesauce will throw off the flavor and texture. Always use unsweetened, smooth applesauce. Brands like Mott’s or Santa Cruz Organic work perfectly. I’ve found other brands can be too thin or grainy.
Skipping the Chill Time
Rushing this step results in a runny, uneven texture. Refrigerate for at least 2 hours to let the flavors meld and the spread firm up. For best results, chill overnight. This patience pays off with a richer, more buttery taste. ❄️
Incorrect Measurements
Precision matters here, especially with the nutritional yeast and turmeric. Too much yeast can taste bitter, while too much turmeric turns the spread orange. Stick to 3 tbsp and ¼ tsp respectively for that perfect golden hue and cheesy depth.
Using Low-Quality Olive Oil
A high-quality extra-virgin olive oil adds the fruity notes needed to mimic butter’s richness. Avoid light or refined oils—they lack the depth. I recommend California Olive Ranch or Cobram Estate for the best flavor.
Nutrition Facts
Frequently Asked Questions
How long does this spread stay fresh in the fridge?
Store it in an airtight container for up to 2 weeks. For longer storage, freeze in ice cube trays for up to 3 months.
Can I use this for baking?
Yes, but note it has less fat than butter, so textures may differ slightly. Works best in muffins, quick breads, or mashed potatoes.
What if I don’t have nutritional yeast?
Substitute with vegan butter-flavored coconut oil, but the texture will be less smooth. 1 tbsp of white miso paste can add umami in a pinch.
Why does my spread look grainy?
This usually happens with chunky applesauce or under-blending. Use smooth, unsweetened applesauce and blend for the full 1 minute after adding dry ingredients.

- 8 Bean Soup Recipe Crock Pot: Hearty Vegetable Medley in One Pot - September 25, 2026
- 4C Bread Crumbs Meatballs Recipe: Crispy Crust and Juicy Centers - September 25, 2026
- 6 Oz Chocolate Chip Cookie Recipe: Perfectly Balanced Crispy Edges and Chewy Hearts - September 25, 2026