
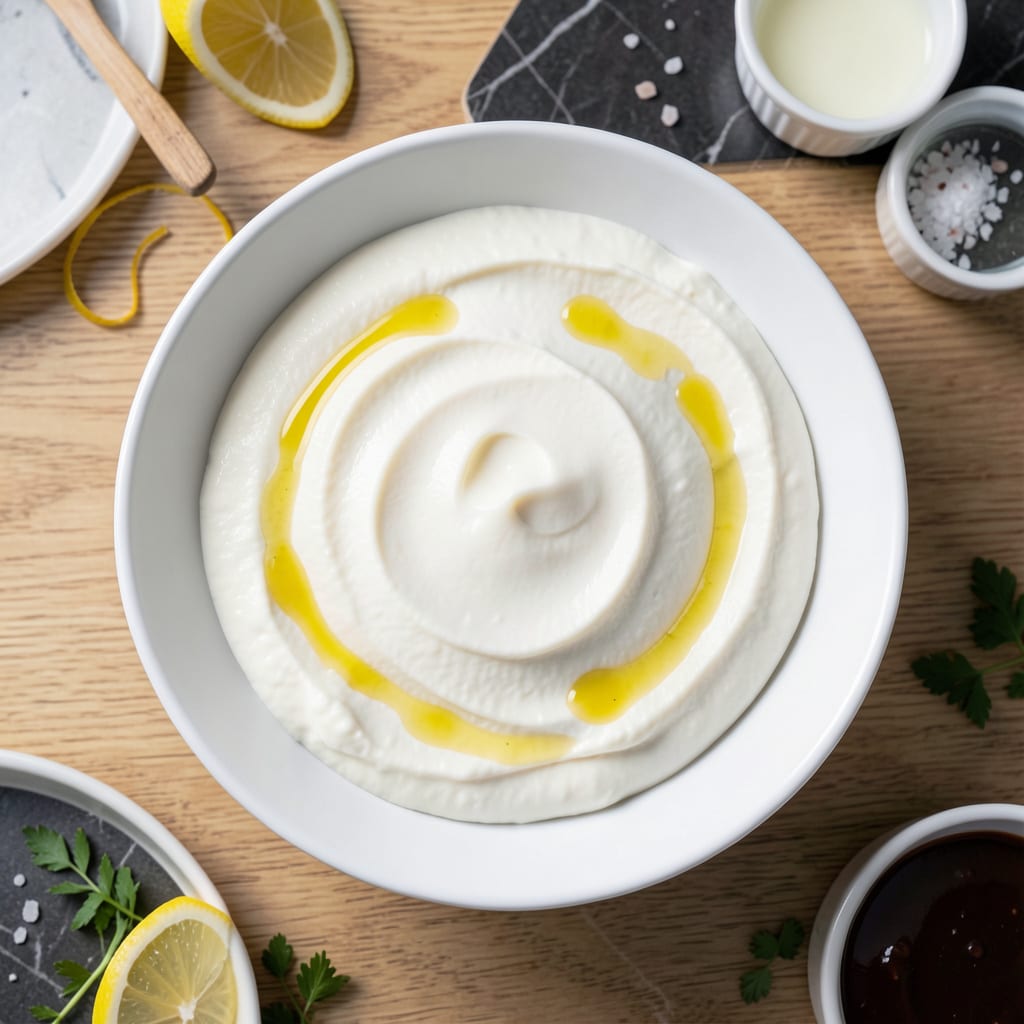
Making cream cheese without any fat might sound impossible, but this method delivers a silky, spreadable result that works perfectly in both sweet and savory dishes.
With just a few simple ingredients and 10 minutes of active time, you can create a lighter alternative that doesn’t sacrifice texture or flavor. It’s especially great for vegetarian recipes where you want creaminess without the dairy fat.
Ingredients for Fat Free Cream Cheese
A handful of simple ingredients transform into a silky, spreadable cream cheese alternative without dairy fat.
| Ingredient | Amount | Notes |
|---|---|---|
| Non-Fat Milk 🥛 | 2 cups | Whole or skim, room temperature |
| Non-Fat Greek Yogurt 🥣 | 1 cup | Plain, unsweetened, full thickness |
| Lemon Juice 🍋 | 2 tbsp | Freshly squeezed for tang |
| White Vinegar 💧 | 1 tbsp | Distilled, for acidity balance |
| Salt 🧂 | ½ tsp | Fine sea salt preferred |
| Xanthan Gum 🧪 | ¼ tsp | Stabilizer for creaminess |
| Agar-Agar Powder 🌿 | 1 tsp | Vegan gelatin alternative |
| Sugar 🍚 | 1 tsp | Optional, for sweet applications |
| Vanilla Extract 🌿 | ½ tsp | Pure, for sweet variations |
| Cornstarch 🌾 | 1 tbsp | Thickening agent for body |
The Greek yogurt is non-negotiable—Fage 0% or Chobani Non-Fat deliver the best texture. Milk should be fresh; don’t use expired as it can curdle during processing. Xanthan gum can be tricky to find, but Whole Foods or Vitacost carry it in the baking aisle. For agar-agar, Asian markets often stock it at better prices than specialty health stores. Room temperature ingredients blend smoother, so pull them out 30 minutes before starting.
No xanthan gum? Guar gum at the same amount works as a substitute. Out of agar-agar? Gelatin can be used if vegetarian restrictions aren’t a concern, but it won’t be vegan. For a sweeter spread, increase sugar to 2 tsp or add honey (though this version remains vegetarian). The lemon juice and vinegar balance the tang—don’t skip either, as they mimic the acidity of traditional cream cheese.
Store in an airtight container in the fridge for up to 1 week. For longer storage, freeze in ice cube trays for up to 3 months. Thaw overnight in the fridge before using. The texture may separate slightly after freezing, but a quick whisk restores its creaminess.
Why You’ll Love This Recipe
- 5-Minute Mix: I just dump everything in a pot—milk, yogurt, a splash of lemon and vinegar—and let it work its magic.
- Tangy Perfection: The lemon and vinegar give it that classic cream cheese bite, no weird aftertaste.
- Bagel Ready: Honestly, I slather this on everything from toast to veggie wraps and it never disappoints.
- Pennywise Spread: One batch costs less than store-bought and keeps for a week in the fridge.
Step-by-Step Instructions for Fat Free Cream Cheese
This method ensures a smooth, spreadable texture with balanced tang and richness.
Step 1: Curdle the Milk with Acidic Components
In a medium saucepan, combine the 2 cups Non-Fat Milk with 2 tbsp Lemon Juice and 1 tbsp White Vinegar. Heat over medium-low heat, stirring gently, until the mixture reaches 180°F and begins to curdle.
You’ll notice the milk separating into solids and whey—this is the acid working to coagulate the proteins. Remove from heat immediately once curdling is complete. Let it sit undisturbed for 5 minutes to allow the curds to fully form.
Step 2:Strain and Drain the Curds
Line a fine-mesh strainer with cheesecloth and place it over a bowl. Pour the curdled mixture into the strainer and let it drain for 10 minutes. Gently press the curds with a spoon to remove excess liquid, but avoid squeezing too hard—you want to retain some moisture for creaminess.
At this stage, the curds should resemble a thick, cottage cheese-like texture. Discard the whey or save it for other uses. Transfer the drained curds to a food processor for the next step.
Step 3: Blend with Stabilizers and Flavorings
Add the drained curds, 1 cup Non-Fat Greek Yogurt, 0.5 tsp Salt, 0.25 tsp Xanthan Gum, 1 tsp Agar-Agar Powder, 1 tsp Sugar, 0.5 tsp Vanilla Extract, and 1 tbsp Cornstarch to the food processor. Pulse until the mixture is completely smooth and free of lumps.
The xanthan gum and agar-agar act as stabilizers, ensuring a velvety texture, while the cornstarch helps thicken the mixture. Scrape down the sides as needed to incorporate all ingredients evenly.
Step 4: Cook and Thicken to Perfection
Transfer the blended mixture to a clean saucepan and cook over medium-low heat, stirring constantly with a silicone spatula. The mixture will begin to thicken after 5-7 minutes as the agar-agar and cornstarch activate.
Continue stirring until it reaches a pudding-like consistency and holds its shape when the spatula is lifted. This process ensures the cream cheese sets properly once cooled. Be patient—rushing this step can lead to a grainy texture.
Step 5: Cool and Set for Final Texture
Pour the thickened mixture into a clean, airtight container and smooth the top with a spatula. Cover and refrigerate for at least 4 hours, or preferably overnight, to allow it to fully set and develop its signature creaminess.
Once chilled, the spread should be firm yet smooth, with a slight tang from the yogurt and lemon juice. For best results, let it sit at room temperature for 10-15 minutes before serving to achieve the ideal spreadable consistency.
Pro Tips For Making Fat Free Cream Cheese
- Use warm milk: Heat the non-fat milk to about 110°F before mixing—cold milk slows down the curdling process and can leave you with a grainy texture.
- Drain longer: After straining, let it sit in the cheesecloth for at least 6 hours; I learned this the hard way when my first batch was too runny to spread.
- Balance the acids: Stick to a 1:1 ratio of lemon juice to white vinegar—too much of either can make the cream cheese taste sharp instead of tangy.
- Skip the salt rush: Add salt only after draining, or it can draw out too much liquid and leave your cream cheese dry and crumbly.
Perfect Pairings for fat free cream cheese
Sweet Applications
Spread this cream cheese on whole wheat toast and top with fresh berries and a drizzle of honey for a light breakfast. I love mixing in 1 tbsp of jam for a quick fruit-filled spread that kids adore. 💛
Savory Pairings
Use it as a base for veggie dips—mix with 1 tsp garlic powder and 1 tbsp chopped chives for a herbed version. It also works beautifully in stuffed bell peppers or as a topping for baked potatoes instead of sour cream.
Baking Substitute
Replace full-fat cream cheese in cheesecake recipes with this version for a lighter dessert. For best results, add 1 extra egg to help with structure. The texture stays creamy without the guilt.
Sandwich Spreads
Make a delicious turkey and cucumber sandwich by spreading a thin layer on whole grain bread. It adds moisture without the fat. I also love it with smoked salmon and capers for a lighter take on a bagel spread.
Pasta Sauce Base
Blend with ¼ cup low-fat milk and 1 tbsp Parmesan for a creamy pasta sauce. Toss with whole wheat noodles and steamed veggies for a comforting yet light meal.
Dessert Dips
Whip with 2 tbsp powdered sugar and ½ tsp cinnamon for a fruit dip. Serve with apple slices or graham crackers. The slight tang balances the sweetness perfectly. 🍎
Nutrition Facts
Frequently Asked Questions
Can I use regular yogurt instead of Greek?
No, regular yogurt lacks the thickness needed for proper texture. Non-fat Greek yogurt is essential for that creamy consistency. Straining regular yogurt first may work but adds extra steps.
Why does my mixture turn grainy?
Graininess often happens from overheating or insufficient blending. Stir constantly over medium-low heat and blend until completely smooth. Patience prevents lumps.
How long will it keep in the fridge?
Stored in an airtight container, it stays fresh for up to 1 week. For longer storage, freeze in portions for up to 3 months.
Can I make this without xanthan gum?
Yes, substitute guar gum at the same amount. Without either, the texture may be less stable, but it will still work for immediate use.

- 8 Bean Soup Recipe Crock Pot: Hearty Vegetable Medley in One Pot - September 25, 2026
- 4C Bread Crumbs Meatballs Recipe: Crispy Crust and Juicy Centers - September 25, 2026
- 6 Oz Chocolate Chip Cookie Recipe: Perfectly Balanced Crispy Edges and Chewy Hearts - September 25, 2026