
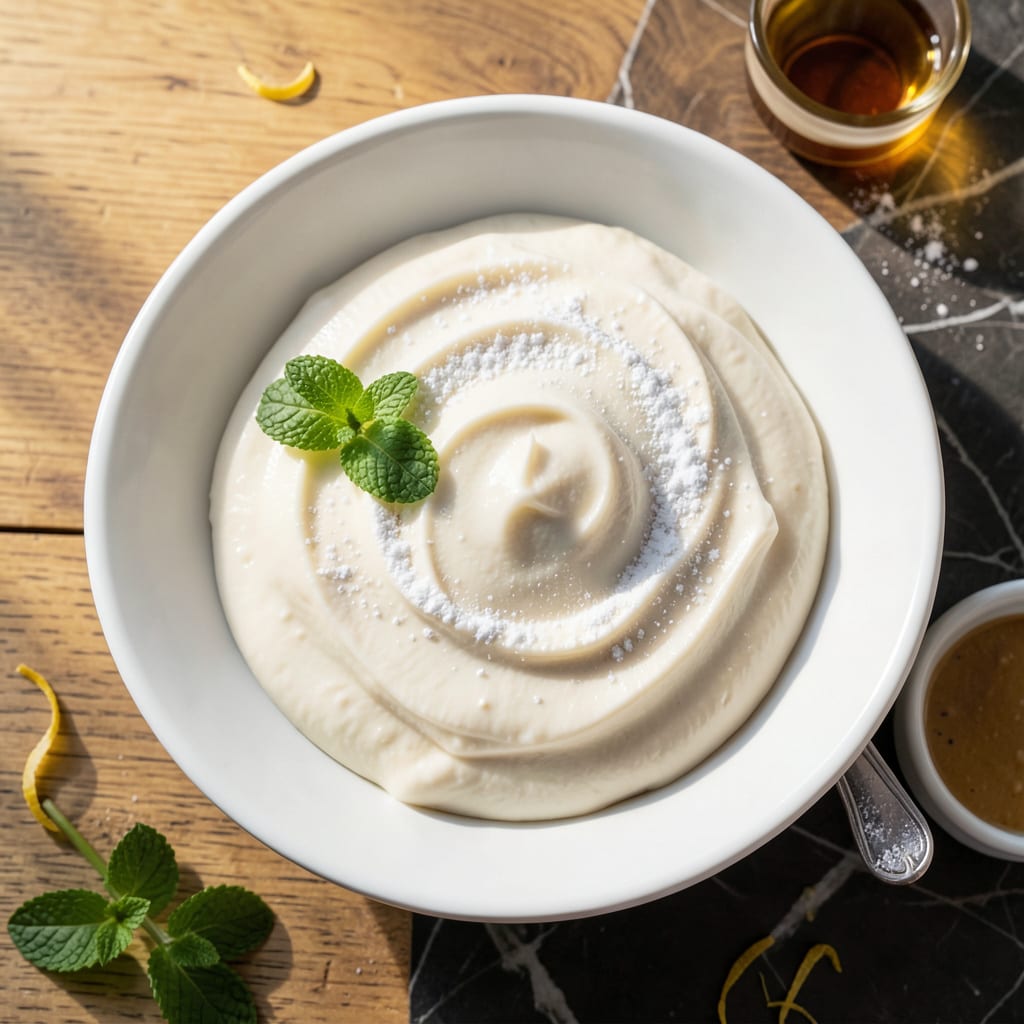
This vanilla frosting delivers silky sweetness without a trace of fat, proving that healthier options can taste just as indulgent. The secret lies in carefully balanced ingredients that create a smooth, spreadable texture perfect for cakes and cupcakes.
Light yet satisfying, it whips up quickly and holds its shape beautifully. Whether you’re watching calories or simply prefer a lighter option, this frosting provides the vanilla flavor you love with none of the guilt.
Ingredients for Fat Free Frosting Recipe Vanilla
Eight simple ingredients whip into that silky vanilla frosting you crave. No butter, no guilt.
| Ingredient | Amount | Notes |
|---|---|---|
| Powdered Sugar 🧂 | 4 cups | Sifted for smooth texture |
| Unsweetened Almond Milk 🥛 | ¼ cup | Room temperature preferred |
| Vanilla Extract 🌿 | 2 tsp | Pure extract for best flavor |
| Cornstarch 🌾 | 1 tbsp | Thickening agent for stability |
| Salt 🧂 | ¼ tsp | Fine grain for even distribution |
| Lemon Juice 🍋 | 1 tsp | Freshly squeezed for brightness |
| Agar-Agar Powder 🌿 | ½ tsp | Vegan gelatin substitute |
| Xanthan Gum 🧪 | ¼ tsp | For extra stability |
[recipeingredientscaler]
The powdered sugar is doing most of the work here, so sift it first—lumps are the enemy of silky. I grab Domino or C&H at the regular grocery store. For the almond milk, unsweetened is key (sweetened throws off the flavor balance). Silk or Califia Farms are my go-tos. Vanilla extract? Always pure, never imitation. McCormick or Nielsen-Massey if you’re feeling fancy.
No almond milk? Any unsweetened plant milk works—soy, oat, cashew. Out of cornstarch? Arrowroot powder at one-to-one ratio. No agar-agar? Skip it, but your frosting might be slightly less stable. The xanthan gum is optional but helps with spreading. If you’re sensitive to it, just leave it out. The lemon juice brightens everything up—don’t skip it, even if it seems odd in frosting.
This keeps beautifully in an airtight container for 5 days at room temperature. For longer storage, freeze for up to 3 months. Let it come to room temp and rewhip before using (it separates a bit, but that’s normal).
Why You’ll Love This Recipe
- 5-Minute Whip: I just dump the powdered sugar, almond milk, and vanilla in a bowl and beat it—no butter, no waiting for it to soften.
- Pure Vanilla Bliss: The real vanilla extract shines through without any greasy aftertaste, and the pinch of salt balances the sweetness perfectly.
- Cake or Cookie: I’ve slathered this on cupcakes, filled whoopie pies, and even used it as a dip for strawberries—works every time.
- Pantry Staples Only: Between us, I always have these ingredients on hand, so I can make this frosting without a last-minute grocery run.
Step-by-Step Instructions for Fat Free Vanilla Frosting
This method delivers a luscious, spreadable frosting with professional results every time.
Step 1: Sift and Combine Dry Ingredients
Begin by sifting the 4 cups Powdered Sugar into a large mixing bowl. Sifting is crucial here—it aerates the sugar and prevents lumps in your finished frosting. I always use a fine-mesh sieve for this step to ensure that silky texture we’re after.
Add the 1 tbsp Cornstarch, 0.25 tsp Salt, 0.5 tsp Agar-Agar Powder, and 0.25 tsp Xanthan Gum to the sifted sugar. Whisk these dry ingredients together thoroughly until fully combined. The cornstarch and agar-agar work together to create stability, while the xanthan gum ensures a smooth, spreadable consistency.
Step 2: Add Wet Ingredients Gradually
In a separate small bowl, combine the 0.25 cup Unsweetened Almond Milk (make sure it’s at room temperature), 2 tsp Vanilla Extract, and 1 tsp Lemon Juice. The lemon juice adds a subtle brightness that balances the sweetness beautifully.
Create a well in the center of your dry ingredients and pour in about half of the wet mixture. Using a silicone spatula, begin folding the ingredients together gently. I’ve found that starting with half the liquid prevents the sugar from clumping and makes the mixture easier to control.
Step 3: Achieve the Perfect Consistency
Add the remaining wet mixture a little at a time, continuing to fold gently after each addition. You’re looking for a smooth, glossy frosting that holds its shape when you lift the spatula. If it seems too thick, add a teaspoon more of almond milk—though you likely won’t need it with these precise measurements.
The agar-agar will begin to thicken the mixture as it sits, so work efficiently but don’t rush. After about 2-3 minutes of gentle folding, the frosting should become more stable. The xanthan gum will give it that professional sheen and help it hold peaks beautifully.
Step 4: Whip to Silky Perfection
Once all ingredients are incorporated, switch to a hand mixer or stand mixer with the paddle attachment. Beat on medium-high speed for 3-4 minutes until the frosting becomes light, fluffy, and noticeably increased in volume. This aeration step is what gives it that cloud-like texture.
Watch for the frosting to develop a glossy finish and hold stiff peaks when you lift the beaters. The color should be a pure, snowy white. If it appears grainy at all, you likely need to beat it longer—the sugar needs time to fully dissolve in the liquid.
Step 5: Rest and Use Immediately
Let the frosting rest for 5 minutes to allow the agar-agar to fully activate. You’ll notice it becomes even more stable during this time. Give it one final brief whip with your spatula to restore any lost volume from resting.
This frosting is best used immediately after making, as the agar-agar will continue to set over time. If you need to store it, press plastic wrap directly against the surface to prevent a crust from forming and refrigerate for up to 3 days. Before using, let it come to room temperature and rewhip briefly to restore its fluffy texture.
Pro Tips For Making Fat Free Frosting Recipe Vanilla
- Sift the Sugar: Always sift your powdered sugar first—lumps are the fastest way to ruin smooth frosting, and I learned this the hard way after my first few grainy batches.
- Chill the Bowl: Pop your mixing bowl and beaters in the freezer for 10 minutes before starting. It helps the frosting set faster and prevents a runny mess.
- Add Milk Slowly: Pour the almond milk a teaspoon at a time. After overthinning three batches, I finally figured out it’s easier to add more than fix too much.
- Use Real Vanilla: Skip the imitation stuff—real vanilla extract gives a depth of flavor that makes the whole frosting taste less like straight sugar. I was skeptical until I tried it.
Essential Equipment for Perfect Results
Mixing Bowls
I always start with a large stainless steel mixing bowl—at least 4-quart capacity—to give the frosting room to expand as it whips. Cuisinox makes excellent ones that won’t retain odors. A wide base helps with even mixing, and the smooth surface makes cleanup a breeze. 💡
Electric Mixer
A stand mixer with paddle attachment is ideal for achieving that perfect fluffy texture. I use my KitchenAid 5-Quart and beat on medium-high speed for 3-4 minutes. If you don’t have a stand mixer, a hand mixer works too—just be prepared to hold it steady.
Fine-Mesh Sieve
This is non-negotiable for sifting the 4 cups powdered sugar. I love my OXO Good Grips sieve—it fits perfectly over my mixing bowl and the handle makes it easy to shake. Sifting prevents lumps and ensures that silky texture we’re after.
Measuring Tools
Precision matters here, so I use a dry measuring cup set for the sugar and cornstarch, and a liquid measuring cup for the almond milk. For the small quantities like vanilla and agar-agar, a 1-tsp measuring spoon set from RSVP gives me confidence in my measurements.
Silicone Spatula
A high-quality silicone spatula is essential for folding the wet and dry ingredients together. I prefer the one-piece design from GIR—it’s heat-resistant, flexible, and won’t scratch your bowls. The flat edge helps scrape every last bit of frosting from the sides.
Plastic Wrap
If you need to store the frosting, press plastic wrap directly against the surface to prevent a crust from forming. I like Glad Press’n Seal because it clings tightly. Just
Nutrition Facts
Frequently Asked Questions
Can I use regular milk instead of almond?
Yes, any unsweetened milk works. The flavor stays clean, and the texture remains smooth. Just ensure it’s at room temperature for best results.
Why does my frosting look grainy?
It needs more beating. The sugar must fully dissolve, which takes 3-4 minutes on medium-high speed. Don’t rush this step.
How long can I store this frosting?
It keeps in an airtight container for 5 days at room temperature. For longer storage, freeze up to 3 months and rewhip after thawing.
What if I don’t have agar-agar?
You can skip it, but the frosting may be less stable. For best results, use 1 tsp cornstarch as a substitute.

- 8 Bean Soup Recipe Crock Pot: Hearty Vegetable Medley in One Pot - September 25, 2026
- 4C Bread Crumbs Meatballs Recipe: Crispy Crust and Juicy Centers - September 25, 2026
- 6 Oz Chocolate Chip Cookie Recipe: Perfectly Balanced Crispy Edges and Chewy Hearts - September 25, 2026