
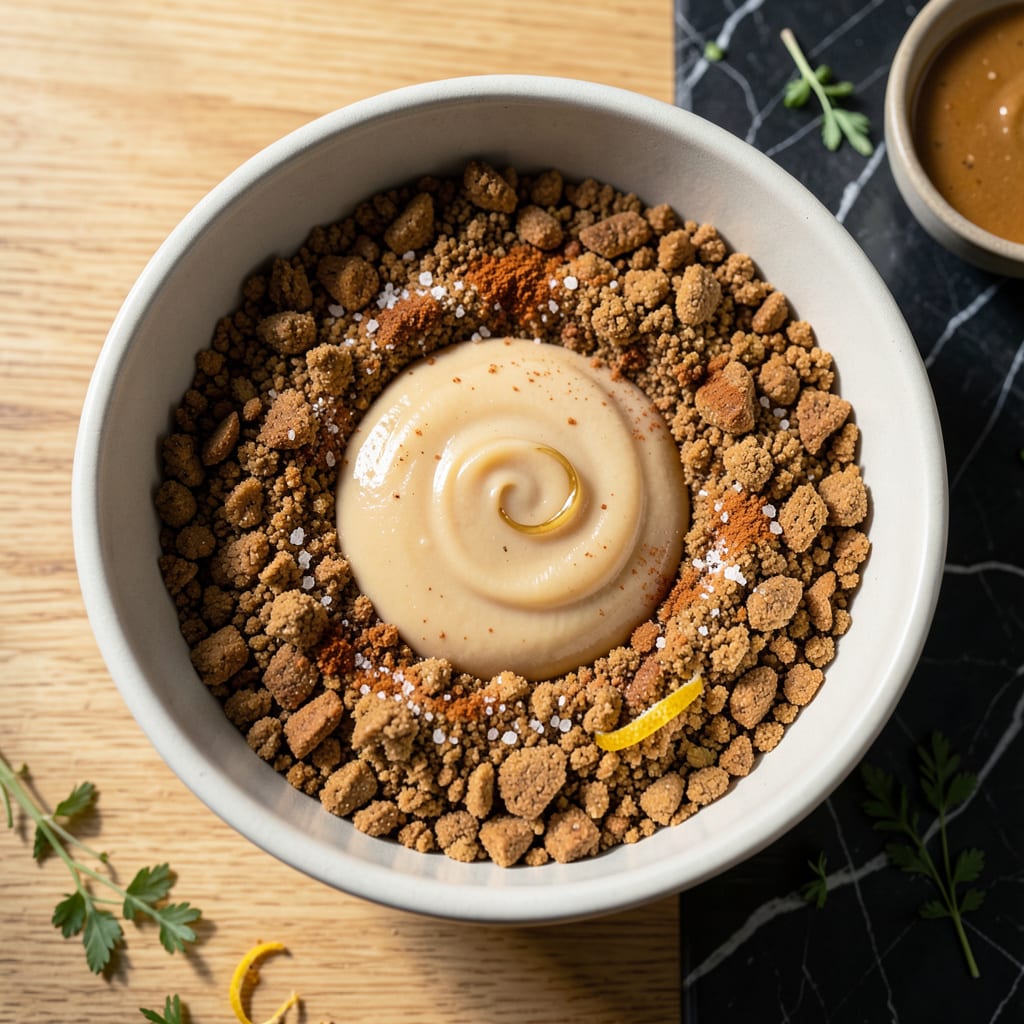
This fat-free graham cracker crust delivers the same crisp, golden base as traditional versions—without compromising texture or flavor. No butter required.
The secret lies in using applesauce as a binder, creating a sturdy crust that holds its shape when baked. It’s the perfect foundation for pies, cheesecakes, or any dessert needing a crumbly, sweet base.
Ingredients for Fat Free Graham Cracker Crust
Seven simple ingredients create this crisp, golden base without a trace of butter.
| Ingredient | Amount | Notes |
|---|---|---|
| Graham Cracker Crumbs 🍪 | 2 cups | Finely crushed, about 14 full sheets |
| Unsweetened Applesauce 🍏 | ½ cup | Room temperature for best binding |
| Granulated Sugar 🍚 | 2 tbsp | Adjust to taste preference |
| Ground Cinnamon 🌿 | ½ tsp | Freshly ground preferred |
| Salt 🧂 | ¼ tsp | Fine grain for even distribution |
| Vanilla Extract 🌿 | ½ tsp | Pure extract for best flavor |
| All-Purpose Flour 🌾 | 1 tbsp | Optional for extra stability |
The graham crackers are key—Honey Maid or generic store brand both crush evenly. Use a food processor for ultra-fine crumbs (or a rolling pin and some elbow grease). Applesauce is the magic binder here; Mott’s unsweetened is my go-to. Look for crumbs that feel like damp sand when pressed—if too dry, add applesauce a teaspoon at a time.
No applesauce? Mashed banana or pumpkin puree works in a pinch (though banana adds its own flavor). Skip the cinnamon if you prefer a neutral base. For extra crunch, toast the crumbs at 350°F for 5 minutes before mixing. The vanilla is optional but adds depth—use McCormick pure extract if you can find it.
The crust keeps 3-4 days at room temperature in an airtight container, or 1 week refrigerated. Freeze for up to 3 months—press plastic wrap directly on the surface to prevent freezer burn. Perfect for making ahead of holiday baking.
Why You’ll Love This Recipe
- 5-Minute Mix: I just dump the graham crumbs, applesauce, sugar, and cinnamon in a bowl and press—no rolling, no chilling, done before the oven even heats up.
- Warm Spiced Bite: That hint of cinnamon with the applesauce makes it taste like a cozy dessert hug, not some sad fat-free stand-in.
- Pie or Parfait: Honestly, I’ve used it under cheesecake, topped with fruit, even crushed over yogurt—it’s basically edible LEGO for desserts.
- Pantry Stash: Between us, I always have graham crumbs and applesauce on hand, so this crust saves me a store run every single time.
Step-by-Step Instructions for Fat Free Graham Cracker Crust
This method ensures a firm, flavorful foundation without any added fat or butter.
Step 1: Combine Dry Ingredients for Base Structure
In a medium mixing bowl, combine the 2 cups Graham Cracker Crumbs with the 2 tbsp Granulated Sugar, 0.5 tsp Ground Cinnamon, and 0.25 tsp Salt. Use a whisk to distribute the spices and sugar evenly throughout the crumbs.
The cinnamon adds warmth while the sugar balances the graham crackers’ natural sweetness. I always sift the cinnamon directly into the bowl to prevent clumping. The fine grain salt ensures uniform seasoning without any gritty texture in the finished crust.
Step 2: Incorporate the Binding Agent
Create a well in the center of the dry mixture and add the 0.5 cup Unsweetened Applesauce and 0.5 tsp Vanilla Extract. The applesauce serves as the fat-free binder, while the vanilla enhances the overall flavor profile.
Use a silicone spatula to fold the wet ingredients into the dry until the mixture resembles wet sand. It should hold together when pressed between your fingers but not be sticky. If the mixture feels too dry, add 1 tsp of water at a time until it reaches the right consistency.
Step 3: Add Optional Stabilizer
Sprinkle the 1 tbsp All-Purpose Flour over the mixture and fold gently to incorporate. This optional addition helps absorb excess moisture from the applesauce, creating a more stable crust that holds its shape when sliced.
The flour also prevents the crust from becoming soggy when filled with moist ingredients. I recommend this step for pies with fruit fillings or custards. For no-bake cheesecakes, you can omit it if you prefer a slightly softer base.
Step 4: Press and Pre-Bake the Crust
Transfer the mixture to a 9-inch pie dish or springform pan. Use the bottom of a measuring cup to press the crumbs firmly and evenly into the bottom and up the sides of the pan. The pressure is crucial—don’t be gentle here.
For a pre-baked crust, place the pan in a 350°F oven for 8-10 minutes until the edges just begin to darken. This creates a firmer base that resists crumbling when sliced. For no-bake applications, simply refrigerate the pressed crust for 1 hour to set before adding fillings.
Step 5: Cool and Prepare for Filling
Remove the crust from the oven and let it cool completely on a wire rack. This cooling period allows the structure to set fully. You’ll notice the edges pull slightly away from the pan as it cools—a sign the crust is properly baked.
Once cooled, the crust is ready for any filling. It should have a uniform texture with a slightly crisp edge and a tender center. The color will be a warm golden brown from the graham crackers and cinnamon, with a subtle sheen from the applesauce binder.
Pro Tips For Making Fat Free Graham Cracker Crust
- Chill Before Baking: Press the crust into the pan and refrigerate for at least 30 minutes—this helps the applesauce bind the crumbs so it holds together when sliced.
- Use Fine Crumbs: Pulse the graham crackers into a fine, even consistency; coarse crumbs won’t stick as well and leave a gritty texture.
- Drain the Applesauce: Strain the unsweetened applesauce in a fine-mesh sieve for 10 minutes to remove excess liquid, otherwise the crust turns soggy.
- Press Evenly: Use the bottom of a glass to compact the crust firmly and uniformly—this prevents crumbly edges and ensures every bite has the same texture.
Serving Suggestions for This Dish
Dessert Pairings
This crust pairs beautifully with light, creamy fillings like fat-free cheesecake or lemon curd. The subtle sweetness complements tart flavors without overpowering them. I love using it for my strawberry cream pie—the contrast is perfect.
Fruit Toppings
Top with fresh berries, sliced kiwi, or a compote of peaches for a vibrant finish. The applesauce binder adds a natural fruitiness that harmonizes with toppings. A drizzle of honey or agave syrup enhances the graham flavor.
Chocolate Options
For chocolate lovers, fill with sugar-free pudding or a layer of melted dark chocolate. The cinnamon in the crust adds depth to chocolate desserts. I often sprinkle cocoa powder over the crumbs before pressing for extra richness. 💛
No-Bake Ideas
Use this as a base for no-bake cheesecake or icebox cake. The crust holds up well to moist fillings when chilled. I recommend pressing it into a springform pan for easy removal and clean slices.
Seasonal Variations
In fall, pair with pumpkin mousse or apple pie filling for cozy flavors. The warm spices in the crust complement autumnal desserts beautifully. A dusting of powdered sugar adds a festive touch.
Serving Tips
Always let the crust cool completely before adding fillings to prevent sogginess. For pies, slice with a hot knife for clean edges. This crust tastes best served at room temperature for maximum crispness. 💫
Nutrition Facts
Frequently Asked Questions
What can I use instead of applesauce?
Mashed banana or pumpkin puree work well as substitutes. Banana adds sweetness, while pumpkin keeps the flavor neutral. Use the same 0.5 cup measurement for either option.
Do I need to bake the crust before adding filling?
For pies, pre-bake at 350°F for 8-10 minutes to firm it up. For no-bake desserts like cheesecake, simply refrigerate the pressed crust for 1 hour to set.
How do I prevent a soggy bottom?
Press the crust firmly into the pan and let it cool completely before adding fillings. The flour in the recipe also helps absorb excess moisture from wet ingredients.
Can I make this gluten-free?
Yes! Use gluten-free graham crackers and ensure all ingredients are certified gluten-free. The texture will be slightly different but still delicious.

- 8 Bean Soup Recipe Crock Pot: Hearty Vegetable Medley in One Pot - September 25, 2026
- 4C Bread Crumbs Meatballs Recipe: Crispy Crust and Juicy Centers - September 25, 2026
- 6 Oz Chocolate Chip Cookie Recipe: Perfectly Balanced Crispy Edges and Chewy Hearts - September 25, 2026