
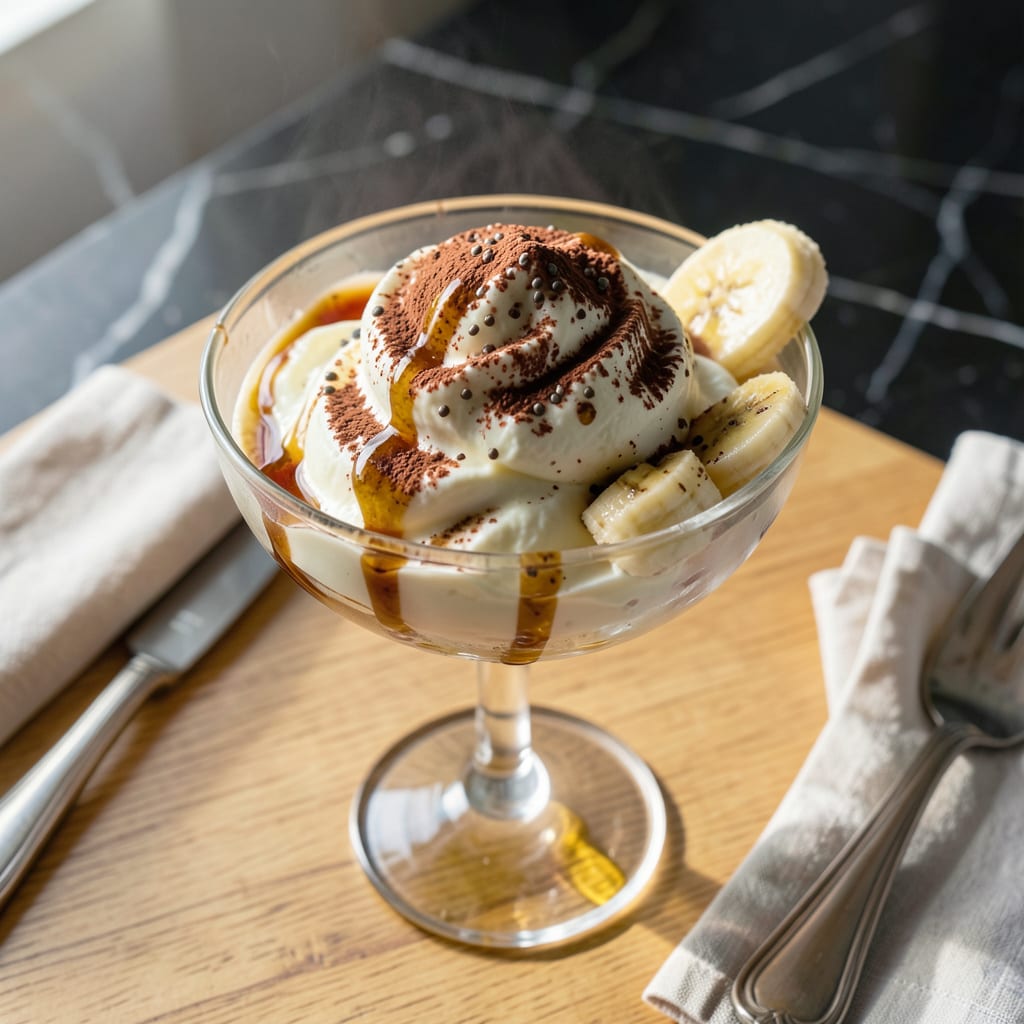
Creamy, dreamy ice cream without the guilt—this churn-free method delivers homemade frozen treats using simple, wholesome ingredients. No dairy, no eggs, just pure, light indulgence in every spoonful.
By blending frozen bananas with plant-based milk and a touch of vanilla, you create a velvety texture that rivals traditional ice cream. It’s the perfect way to satisfy sweet cravings while staying true to a healthier lifestyle.
Ingredients for Fat Free Homemade Ice Cream
Wholesome plant-based ingredients create this light yet indulgent frozen treat without dairy or eggs.
| Ingredient | Amount | Notes |
|---|---|---|
| Ripe Bananas 🍌 | 4 whole | Frozen, sliced before freezing |
| Unsweetened Almond Milk 🥛 | ½ cup | Or any plant-based milk |
| Pure Vanilla Extract 🌿 | 1 tsp | Alcohol-free if preferred |
| Maple Syrup 🍁 | 2 tbsp | Adjust to taste preference |
| Cocoa Powder 🍫 | 1 tbsp | Unsweetened, for chocolate variation |
| Chia Seeds 🌱 | ½ tsp | Optional, for thickness |
| Pinch of Salt 🧂 | 1 pinch | Enhances all flavors |
| Peanut Butter 🥜 | 2 tbsp | Natural, no added sugar |
| Fresh Berries 🍓 | ½ cup | For mixing in or topping |
| Lemon Juice 🍋 | ½ tsp | Freshly squeezed, brightens flavor |
The bananas are the foundation—use very ripe ones (heavily speckled peels) for maximum sweetness and creaminess. Freeze them sliced on a tray first to prevent clumping. Whole Foods and Trader Joe’s carry excellent organic options. For the plant milk, any unsweetened variety works, but almond and oat have the most neutral flavors that won’t overpower.
Out of maple syrup? Agave nectar or date syrup at a 1:1 ratio works perfectly. Need more protein? Add vanilla plant-based protein powder (start with 2 tbsp). The cocoa powder is optional but Dutch-processed gives a richer chocolate taste. If using peanut butter, natural, no-sugar-added keeps it lighter. Frozen mango or pineapple can swap for berries.
Blend immediately before serving for best texture. Stores in an airtight container for 1 week in the freezer, though it’s best enjoyed fresh. Let sit at room temperature for 5-10 minutes before scooping if frozen solid. Portion into popsicle molds for a fun alternative presentation.
Why You’ll Love This Recipe
- No Churn Needed: I just blend the bananas with almond milk and freeze—no ice cream maker, no fuss.
- Rich Without Guilt: The cocoa and vanilla make it taste indulgent, but it’s just sweetened with maple syrup.
- Kid Approved Snack: My little ones think it’s dessert, but I know they’re getting fruit and no added fat.
- Budget Friendly: Bananas and cocoa powder are pantry staples, so it’s cheap to make again and again.
Step-by-Step Instructions for Fat Free Homemade Ice Cream
This churn-free method transforms simple ingredients into creamy, dreamy frozen dessert with minimal effort.
Step 1: Prepare and Freeze the Banana Base
Peel the 4 whole ripe bananas and slice them into ½-inch thick coins. Arrange the slices in a single layer on a parchment-lined baking sheet. Freeze for at least 2 hours or until completely solid—this is crucial for achieving the right texture.
The bananas should be rock-hard and icy when you touch them. I recommend freezing them overnight for convenience. This step removes all moisture, allowing the bananas to blend into a smooth, creamy consistency rather than a watery puree.
Step 2: Blend the Core Ingredients
In a high-powered blender, combine the frozen banana slices with the 0.5 cup unsweetened almond milk, 1 tsp pure vanilla extract, and 2 tbsp maple syrup. Add the 1 pinch pinch of salt to enhance all the flavors.
Blend on high for 30-45 seconds, using a tamper to push the ingredients toward the blades as needed. Stop and scrape down the sides if necessary. The mixture should be completely smooth and thick, like soft-serve ice cream. If it’s too thick to blend, add additional almond milk 1 tbsp at a time.
Step 3: Incorporate Flavor Variations
For a chocolate version, add the 1 tbsp cocoa powder and blend for another 15-20 seconds until fully integrated. The mixture should turn a rich, uniform brown color with no streaks. Taste and adjust sweetness with more maple syrup if desired.
For added thickness, sprinkle in the 0.5 tsp chia seeds and let the mixture sit for 5 minutes to hydrate before blending again briefly. This step ensures a creamier, more scoopable texture.
Step 4: Add Mix-Ins and Finalize
Transfer the mixture to a large bowl. Stir in the 2 tbsp peanut butter by spoonfuls, creating ribbons of peanut butter throughout for a marbled effect. Alternatively, blend it in completely for a uniform peanut butter flavor.
Gently fold in the 0.5 cup fresh berries if using, reserving a few for topping. Drizzle in the 0.5 tsp lemon juice to brighten the berry flavor. The berries should remain intact for bursts of fruity texture in every bite.
Step 5: Freeze to Perfection
Pour the mixture into a loaf pan or airtight container. Smooth the top with a spatula and cover with parchment paper, pressing it directly onto the surface to prevent ice crystals from forming.
Freeze for at least 4 hours or until firm. For best results, let it sit at room temperature for 5-10 minutes before scooping. The final texture should be creamy and smooth, with no icy patches. Serve immediately with reserved berries or additional toppings of choice.
Pro Tips For Making Fat Free Homemade Ice Cream
- Freeze Bananas First: Slice and freeze the bananas for at least 4 hours—they need to be rock solid before blending, otherwise you’ll end up with a sad, milky smoothie instead of ice cream.
- Use Overripe Bananas: The riper the bananas, the sweeter and creamier the texture; I learned this the hard way after using firm ones and getting icy, bland results.
- Blend in Stages: Start with just the bananas and almond milk, then add the cocoa powder and maple syrup last—this prevents clumping and guarantees a silky finish.
- Chill the Mixture: After blending, let the mixture sit in the freezer for 10-15 minutes before serving; it firms up just enough to feel like real ice cream.
Pro Cooking Tips for This Recipe
Banana Ripeness Matters
Use bananas with heavily speckled peels—the riper, the sweeter and creamier your ice cream will be. I once tried it with slightly green bananas and ended up with a starchy texture. Freeze them sliced in a single layer first to prevent clumping.
Blender Power
A high-powered blender like Vitamix or Ninja is essential for smooth results. I start on low, then ramp up to high, using the tamper to push ingredients down. If your blender struggles, add 1 tbsp almond milk at a time until it processes smoothly. 💡
Texture Control
For extra creaminess, let the blended mixture sit for 5 minutes before freezing. This allows the chia seeds to hydrate fully. If it’s too thick after blending, don’t add too much liquid—just 1 tbsp at a time to avoid iciness.
Flavor Layering
Add cocoa powder or peanut butter in stages, tasting as you go. I blend cocoa in first, then fold in peanut butter by hand to create swirls. A pinch of salt enhances all flavors, even the sweetness.
Freezing Technique
Press parchment paper directly onto the surface before freezing to prevent ice crystals. I use a loaf pan for even freezing. Let it sit at room temperature for 5-10 minutes before scooping for the creamiest texture. ❄️
Mix-In Tips
Fold in berries or other add-ins gently to keep them intact. For a marbled effect, drizzle peanut butter on top and swirl with a knife. Fresh lemon juice brightens berry flavors beautifully.
Nutrition Facts
Frequently Asked Questions
Why use ripe bananas for the base?
Very ripe bananas with speckled peels are sweeter and creamier. The natural sugars caramelize when frozen, creating a smooth texture without added fats. Less ripe bananas taste starchy and grainy.
Can I make this without a high-powered blender?
A regular blender works if you add liquid slowly. Start with 1 tbsp almond milk at a time until smooth. For best results, blend in small batches and scrape the sides often.
How do I prevent icy texture?
Press parchment paper directly on the surface before freezing. Let it sit at room temperature for 5-10 minutes before scooping. Avoid adding too much liquid during blending.
Can I substitute other fruits?
Frozen mango, pineapple, or strawberries work well. Replace bananas 1:1 by volume. For best texture, freeze fruit solid first and blend with the same liquid ratio.

- 8 Bean Soup Recipe Crock Pot: Hearty Vegetable Medley in One Pot - September 25, 2026
- 4C Bread Crumbs Meatballs Recipe: Crispy Crust and Juicy Centers - September 25, 2026
- 6 Oz Chocolate Chip Cookie Recipe: Perfectly Balanced Crispy Edges and Chewy Hearts - September 25, 2026