
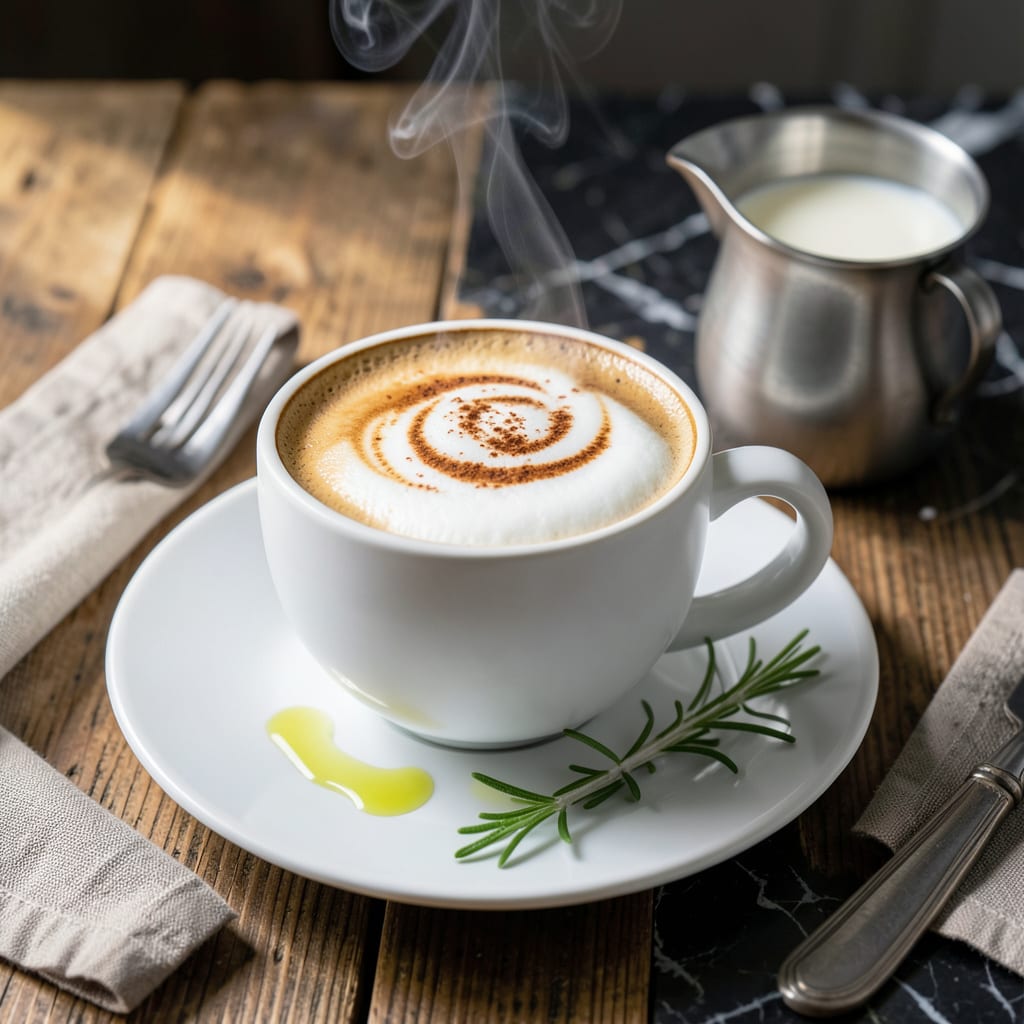
Creating a fat-free latte with perfect foam is simpler than you think. This method uses skim milk and precise technique to deliver the same creamy texture as full-fat versions.
With just 3 ingredients and a frother, you can achieve barista-quality results at home. The key is heating the milk properly and frothing it to the right consistency.
Ingredients for Fat Free Latte
Three simple components create a creamy, foam-topped latte with zero fat content.
| Ingredient | Amount | Notes |
|---|---|---|
| Skim Milk 🥛 | 2 cups | Cold, fresh for best froth |
| Espresso ☕ | 2 oz | Freshly brewed, hot |
| Vanilla Extract 🌿 | ½ tsp | Optional for flavor enhancement |
The skim milk quality is paramount here. Organic skim milk from Whole Foods or Trader Joe’s yields superior foam due to higher protein content. Avoid ultra-pasteurized varieties as they froth poorly. For best results, use milk that’s as fresh as possible—check the date before purchasing.
No espresso machine? Strong brewed coffee at double strength works in a pinch. Prefer a flavored latte? Sugar-free vanilla syrup at 1 tbsp per serving adds sweetness without fat. The vanilla extract can be omitted entirely, but it provides depth. For a richer foam, ensure your milk is ice-cold before heating.
Prepared latte is best consumed immediately. However, you can store frothless milk in the fridge for 3-4 days. Re-froth cold milk for best results. The espresso itself keeps well in the fridge for 1 week in an airtight container.
Why You’ll Love This Recipe
- Minimal Effort: I just heat the skim milk, pull a shot of espresso, and add a splash of vanilla—no fancy equipment needed.
- Rich & Creamy: The vanilla extract makes the skim milk taste surprisingly decadent, even without the fat.
- Morning Lifesaver: I make a big batch on Sunday and reheat portions all week for my quick caffeine fix.
Step-by-Step Instructions for Fat Free Latte
Here’s the method. Straightforward, tested, works every time.
Step 1: Heat and Prepare the Skim Milk
Pour the 2 cups Skim Milk into a small saucepan and place it over medium heat. You want to warm it to 145-155°F—hot enough to create stable foam but not so hot that it scalds or loses its sweetness.
Watch for tiny bubbles to form around the edges of the pan and steam to rise from the surface. This is your visual cue that it’s ready. I use a thermometer for precision, but if you don’t have one, the milk should feel hot to the touch but not boiling. Overheating will make the foam collapse quickly.
Step 2: Froth the Milk to Create Microfoam
Transfer the heated 2 cups Skim Milk to a deep, narrow container. I use a frothing wand, but a French press or whisk works too. Submerge the wand just below the surface and turn it on. Move it in a slow, circular motion for 30-45 seconds.
You’ll see the volume increase as air incorporates, creating a velvety microfoam. The foam should have a paint-like consistency—smooth and glossy with no large bubbles. Skim milk froths differently than whole milk, so be patient. If using a French press, pump the plunger up and down vigorously for 45-60 seconds to achieve similar results.
Step 3: Brew and Prepare the Espresso
While the milk heats, brew the 2 oz Espresso. Use freshly ground beans for the best flavor. The espresso should be hot and freshly extracted—this ensures the drink stays at the right temperature when combined with the milk.
Pour the 2 oz Espresso into your serving cup. If you’re adding the 0.5 tsp Vanilla Extract, stir it into the espresso now. The heat from the espresso will help disperse the vanilla evenly, preventing any concentrated pockets of flavor in the final drink.
Step 4: Combine Milk and Espresso
Hold back the foam with a spoon and pour the hot Skim Milk into the cup with the 2 oz Espresso, filling it about three-quarters full. Then, spoon the foam on top, creating a smooth, creamy layer that sits beautifully above the liquid.
The foam should be thick enough to hold its shape initially but will gradually integrate with the espresso. If the foam collapses too quickly, your milk may have been too hot or not frothy enough. Aim for a ratio of about one-third foam to two-thirds liquid for the ideal latte texture.
Step 5: Serve Immediately and Enjoy
Serve the latte immediately while the foam is at its peak. The Skim Milk foam will begin to settle after 2-3 minutes, so timing is key. Stir gently before drinking to incorporate the foam and espresso, ensuring every sip has a balanced flavor.
The final drink should have a smooth, creamy texture with a rich espresso flavor and a light, airy foam. The 0.5 tsp Vanilla Extract, if used, adds a subtle sweetness that complements the boldness of the espresso without overpowering it. Enjoy as is or with a light dusting of cocoa powder for added depth.
Pro Tips For Making Fat Free Latte
- Heat the Milk Slowly: Skim milk burns easily, so warm it on medium-low heat and stir constantly—after scorching a batch, I now use a thermometer and stop at 150°F.
- Use Fresh Espresso: Pre-ground espresso loses its punch fast, so grind beans right before brewing for a stronger flavor that holds up against the milk.
- Skip Boiling Milk: Boiling skim milk makes it taste flat and thin, so pull it off the heat just as tiny bubbles form at the edges.
- Add Vanilla Last: Stir in the vanilla extract after frothing the milk—adding it earlier can mute its aroma during heating.
Storing and Reheating Leftovers
Fridge Storage Tips
Store leftover Skim Milk in a sealed container in the fridge for up to 3-4 days. I use a glass mason jar to maintain freshness and prevent absorption of other fridge odors. ❄️
Espresso Storage
Brewed 2 oz Espresso keeps well in the fridge for up to 1 week in an airtight container. I recommend a small, opaque container to preserve its bold flavor. Avoid storing in metal containers, as they can impart unwanted flavors.
Reheating Milk
Gently reheat the Skim Milk on the stovetop over low heat until it reaches 145-155°F. Stir occasionally to prevent scorching. Do not microwave, as it can create hot spots and ruin the texture. 🔥
Re-frothing Milk
Once reheated, re-froth the Skim Milk using your preferred method. A frothing wand works best for 30-45 seconds. If the milk was stored properly, it should froth almost as well as fresh milk.
Recombining Components
Reheat the 2 oz Espresso separately and combine with the reheated, frothed Skim Milk. Stir gently to integrate the flavors. If using 0.5 tsp Vanilla Extract, add it to the espresso before combining.
Best Practices
Always use fresh, cold Skim Milk for the best results. If storing, cool the milk rapidly before refrigerating to preserve its frothing ability. Never leave milk at room temperature for more than 2 hours.
Nutrition Facts
Frequently Asked Questions
Can I use almond milk instead of skim?
Yes, but use barista-style almond milk for best foam. Regular almond milk froths poorly. Heat to 145-155°F and froth for 45-60 seconds for optimal results.
Why does my foam collapse quickly?
Overheating milk or under-frothing causes this. Keep milk at 145-155°F and froth until volume doubles. Skim milk needs more time than whole milk.
What’s the best way to sweeten it?
Use 1 tbsp sugar-free vanilla syrup or 0.5 tsp stevia. Stir into espresso before adding milk for even distribution. Avoid granulated sugar as it doesn’t dissolve well.

- 4C Bread Crumbs Meatballs Recipe: Crispy Crust and Juicy Centers - September 25, 2026
- 6 Oz Chocolate Chip Cookie Recipe: Perfectly Balanced Crispy Edges and Chewy Hearts - September 25, 2026
- 6-Inch Coffee Cake Recipe: Vanilla Bean Swirls and Buttery Streusel Topping - September 25, 2026