
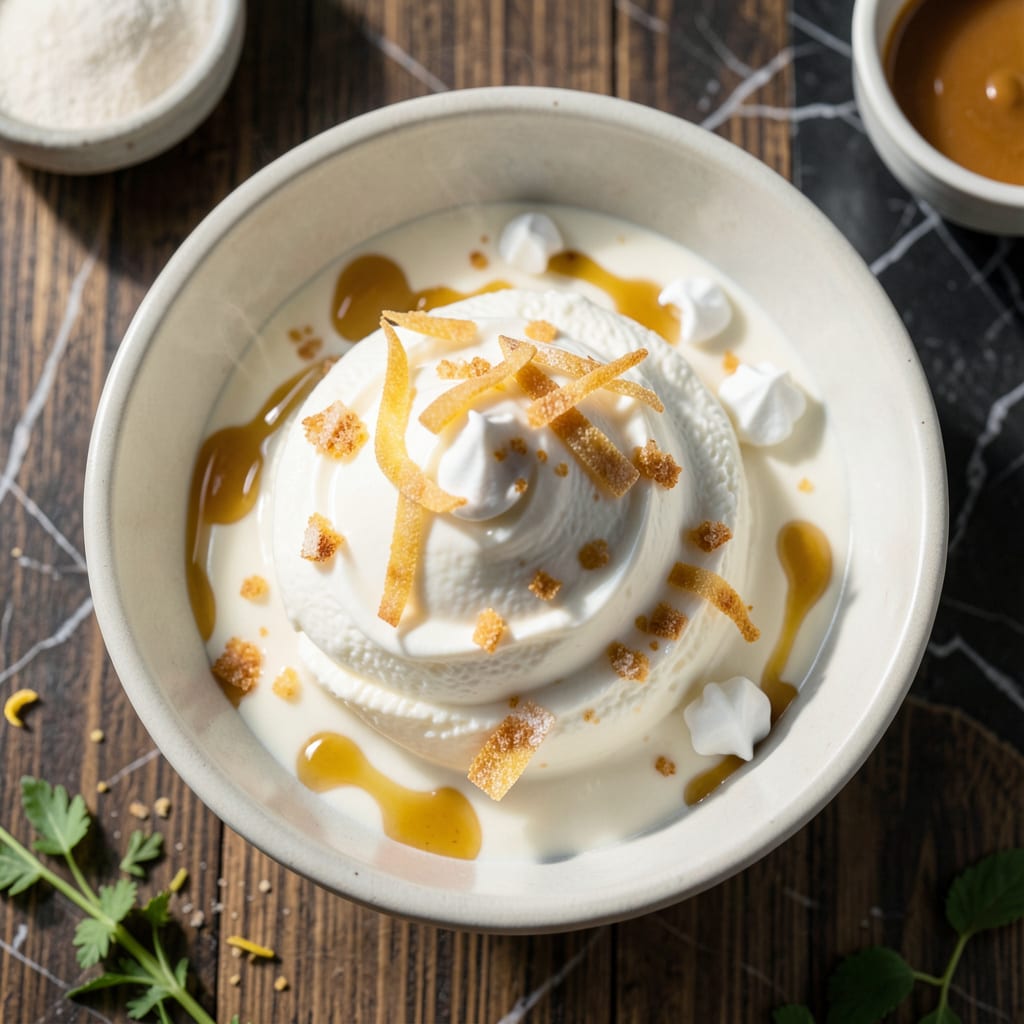
Achieving creamy ice cream without heavy cream is possible with this proven method. The secret lies in using fat-free milk and a precise churning technique.
This recipe delivers smooth texture and rich flavor while keeping it light. The process ensures a satisfying dessert that’s both delicious and guilt-free.
Ingredients for Fat Free Milk Ice Cream
Fat-free milk and a few pantry staples create this surprisingly luscious dessert base.
| Ingredient | Amount | Notes |
|---|---|---|
| Fat-Free Milk 🥛 | 4 cups | Whole or 2% will not work |
| Granulated Sugar 🍚 | 1 ½ cups | Fine grain for smooth texture |
| Egg Whites 🥚 | 4 whole | Large, room temperature preferred |
| Vanilla Extract 🌿 | 2 tsp | Pure extract for best flavor |
| Nonfat Dry Milk Powder 🥛 | ½ cup | Adds body without fat |
| Cornstarch 🌾 | 2 tbsp | Thickens and stabilizes |
| Salt 🧂 | ¼ tsp | Fine sea salt preferred |
| Lemon Juice 🍋 | 1 tbsp | Freshly squeezed, balances sweetness |
| Pure Vanilla Bean 🌿 | 1 whole | Seeds scraped, optional boost |
| Light Corn Syrup 🍯 | ¼ cup | Prevents iciness, optional |
The milk must be true fat-free—even 1% will throw off the texture. Organic Valley or store-brand works fine, but avoid anything labeled ‘low-fat’ or ‘reduced-fat’. The dry milk powder is non-negotiable for body; Carnation NESTLÉ is widely available and reliable. Egg whites add structure without fat, so fresh is best, but pasteurized cartons work in a pinch.
No dry milk powder? Skip the cornstarch and use an extra 1/4 cup sugar—texture won’t be as smooth but it’s passable. Out of vanilla extract? One vanilla bean split and scraped gives better flavor. For a richer taste without cream, a splash of coconut milk (just 2-3 tbsp) won’t hurt, though it’s no longer strictly fat-free.
The base keeps 24 hours in the fridge before churning—any longer and it may separate. Once churned, store in an airtight container with parchment pressed to the surface to prevent ice crystals. Best consumed within 1 week for optimal texture.
Why You’ll Love This Recipe
- No Fuss Mixing: I just whisk the egg whites, milk, and sugar—no ice cream maker needed, promise.
- Velvety Vanilla: The dry milk powder adds this rich, creamy texture that makes it taste indulgent, not fat-free.
- Diet-Friendly Treat: Honestly, it’s my go-to for satisfying sweet cravings without the guilt, and the kids never notice the difference.
- Pennywise Pleasure: Between us, it costs less than a pint of store-bought and makes twice as much with ingredients I already have.
Step-by-Step Instructions for Fat Free Milk Ice Cream
This method ensures a smooth, creamy texture without relying on heavy cream or full-fat dairy.
Step 1: Prepare the Base Mixture
In a medium saucepan, whisk together the 4 cups Fat-Free Milk, 1.5 cups Granulated Sugar, 0.5 cup Nonfat Dry Milk Powder, 2 tbsp Cornstarch, and 0.25 tsp Salt until fully dissolved. This combination creates the foundation for a rich, velvety base despite the absence of fat.
Place the saucepan over medium heat and stir constantly to prevent scorching. You’ll notice the mixture begin to thicken as it reaches 160°F. At this point, remove it from heat immediately—this gentle thickening ensures a smooth custard without curdling.
Step 2: Temper and Cook the Egg Whites
In a separate bowl, lightly whisk the 4 whole Egg Whites until just frothy. Slowly ladle about 1 cup of the hot milk mixture into the egg whites while whisking continuously. This tempering process gradually raises the temperature of the eggs, preventing them from scrambling when introduced to the hot liquid.
Pour the tempered egg mixture back into the saucepan with the remaining milk base. Return to low heat and cook, stirring constantly, until the mixture reaches 170°F and coats the back of a spoon. This step stabilizes the custard, giving it body without the need for heavy cream.
Step 3: Add Flavorings and Chill
Remove the saucepan from heat and stir in the 2 tsp Vanilla Extract, 1 tbsp Lemon Juice, and the scraped seeds from the 1 whole Pure Vanilla Bean (if using). The lemon juice brightens the sweetness, while the vanilla deepens the flavor profile.
For an extra layer of smoothness, stir in the 0.25 cup Light Corn Syrup (if using) to help prevent iciness in the final product. Transfer the mixture to a clean bowl, cover with plastic wrap pressed directly against the surface to prevent a skin from forming, and refrigerate for at least 4 hours or until completely chilled.
Step 4: Churn to Creamy Perfection
Pour the chilled mixture into your ice cream maker and churn according to the manufacturer’s instructions, typically for 20-25 minutes. The mixture will transform into a soft, creamy consistency, resembling soft-serve ice cream.
Transfer the churned ice cream to a lidded freezer-safe container. For the best texture, freeze for at least 4 hours or until firm. This final freeze sets the structure, ensuring each scoop holds its shape while remaining light and airy.
Pro Tips For Making Fat Free Milk Ice Cream
- Chill the Base: Pop the mixture in the fridge for at least 4 hours before churning—I learned this the hard way after ending up with soupy ice cream that never quite set.
- Whip Egg Whites Stiff: Beat the egg whites to stiff peaks before folding them in, or you’ll lose that light, airy texture that makes this fat-free version feel indulgent.
- Skip the Boil: Heat the milk just until steaming, not boiling, or the proteins in the nonfat dry milk powder will curdle and give you a grainy mess.
- Add Powder Last: Stir the nonfat dry milk powder into the warm milk after removing it from heat—this prevents clumping and guarantees a smooth base every time.
Troubleshooting This Recipe
Grainy Texture
If your ice cream turns out grainy, the base likely wasn’t chilled enough before churning. I always let mine sit in the fridge for the full 4 hours—rushing this step causes ice crystals to form. Also, ensure your 4 cups Fat-Free Milk is cold when starting. 🔥
Icy Result
An icy texture often means the mixture lacked stabilizers. The 2 tbsp Cornstarch and 0.5 cup Nonfat Dry Milk Powder are crucial here. If you skipped them, try again with these ingredients included.
Mixture Won’t Thicken
If your base stays thin, it might not have reached 160°F during cooking. Use a thermometer and cook over medium heat while stirring constantly. Also, ensure your cornstarch is fresh—old starch loses thickening power.
Egg Whites Scrambling
Scrambled egg whites usually mean they weren’t tempered properly. Slowly add the hot milk mixture to the 4 whole Egg Whites while whisking continuously. I add about 1 cup of hot liquid over 2-3 minutes to avoid shocking the eggs.
Too Sweet
If the final product is overly sweet, reduce the 1.5 cups Granulated Sugar by ¼ cup next time. The 1 tbsp Lemon Juice helps balance sweetness, so don’t skip it. For a tangier twist, add an extra ½ tsp of lemon juice. 💡
Won’t Churn Properly
If your ice cream maker struggles, the mixture might be too cold or too warm. It should be 40°F before churning. Also, ensure your machine’s bowl is fully frozen for at least 12 hours beforehand.
Nutrition Facts
Frequently Asked Questions
Can I use a different sweetener?
Yes, you can swap granulated sugar for honey or maple syrup. Use 1 cup of liquid sweetener for every 1.5 cups of sugar, and reduce other liquids slightly to compensate.
Why do I need dry milk powder?
It adds body and creaminess without fat. Without it, the texture may turn icy or thin. 0.5 cup ensures a smooth, rich result every time.
Can I make this without an ice cream maker?
You can, but it’s tricky. Freeze the base in a shallow dish, stirring vigorously every 30 minutes for 3-4 hours to break up ice crystals.
How long will it keep in the freezer?
Store in an airtight container for up to 1 week for best texture. After that, ice crystals may form, affecting the smoothness.

- 8 Bean Soup Recipe Crock Pot: Hearty Vegetable Medley in One Pot - September 25, 2026
- 4C Bread Crumbs Meatballs Recipe: Crispy Crust and Juicy Centers - September 25, 2026
- 6 Oz Chocolate Chip Cookie Recipe: Perfectly Balanced Crispy Edges and Chewy Hearts - September 25, 2026