
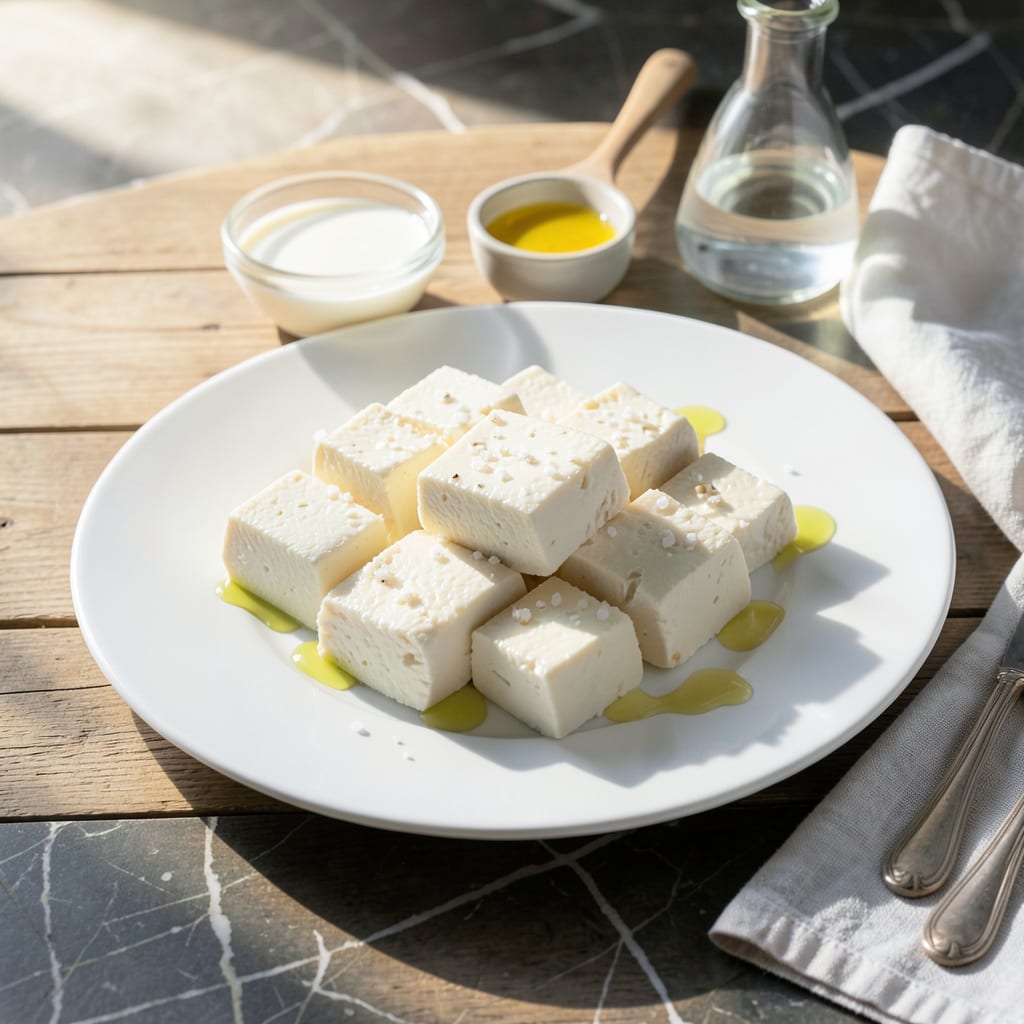
I’ve perfected a way to make fat-free paneer that’s just as satisfying as the traditional version. By using skim milk and a precise curdling process, the texture stays soft and fresh without any added fat.
This method keeps the mild, milky flavor intact while delivering a lighter result. The key is gentle heating and proper straining to achieve the right consistency.
Ingredients for Fat Free Paneer
Skim milk and a few pantry staples create this lighter take on classic paneer.
| Ingredient | Amount | Notes |
|---|---|---|
| Skim Milk 🥛 | 1 lb | Whole milk substitute with water if needed |
| Lemon Juice 🍋 | 3 tbsp | Freshly squeezed preferred |
| White Vinegar 💧 | 1 tbsp | Alternative acid for curdling |
| Water 💧 | 2 cups | For rinsing curds |
| Salt 🧂 | ½ tsp | Adjust to taste preference |
| Cheesecloth 🧻 | 1 piece | For straining curds |
| Heavy Bottom Pot 🍲 | 1 whole | Prevents milk from scorching |
| Wooden Spoon 🥄 | 1 whole | For stirring milk gently |
| Colander 🪣 | 1 whole | For draining curds |
| Ice Cubes ❄️ | 1 cup | Optional for cooling curds faster |
The milk is critical here—use whole milk if skim isn’t available, but the fat content must stay low. Most grocery stores carry skim milk in the dairy aisle. Organic Valley is a reliable brand for consistent quality. Avoid ultra-pasteurized milk as it may not curdle properly. The acid (lemon juice or vinegar) needs to be fresh for best results, so check those bottles in your fridge.
No lemon juice? White vinegar at the same amount works perfectly. If you only have apple cider vinegar, use it sparingly—it adds color. The cheesecloth can be replaced with a clean kitchen towel or fine mesh strainer. For extra firm paneer, press the curds with a heavy pan for 15-20 minutes. Don’t skip the rinsing step—it removes excess acidity.
Fresh paneer keeps 3-4 days submerged in water in the fridge. Freeze for up to 1 month (texture changes slightly). Use in curries, stir-fries, or grilled—absorbs flavors beautifully. Always store in water to maintain moisture.
Why You’ll Love This Recipe
- No Fuss Cooking: I just heat skim milk, add a splash of lemon juice or vinegar, and watch the curds form—no special skills needed.
- Mildly Tangy Bite: The lemon and vinegar give it a subtle tang that’s addictive, especially when fresh.
- Meal Prep Hero: I make a big batch on Sunday and use it in curries, wraps, or salads all week long.
- Penny Pincher: Skim milk is cheap, and I turn it into paneer for a fraction of the store-bought price.
Step-by-Step Instructions for Fat Free Paneer
This method ensures perfectly firm yet tender cheese with minimal effort and maximum yield.
Step 1: Heat the Milk to the Right Temperature
Pour the 1 lb Skim Milk into the heavy bottom pot and place it over medium heat. Stir gently with the wooden spoon to prevent scorching as the milk warms. You want to heat it slowly and evenly—this is crucial for proper curd formation.
Bring the milk to a gentle boil, watching for small bubbles to form around the edges and steam to rise from the surface. At this point, reduce the heat to low to maintain a gentle simmer. The total heating process should take about 5-7 minutes.
Step 2: Curdle the Milk with Acid
Once the milk is simmering, add the 3 tbsp Lemon Juice and 1 tbsp White Vinegar all at once. Stir gently with the wooden spoon for 30 seconds to distribute the acids evenly. You’ll see the milk start to separate almost immediately—the whey will turn a pale greenish-yellow, and the curds will begin to form.
Let the mixture sit undisturbed for 2-3 minutes to allow the curds to fully develop and separate from the whey. The curds should look like soft, white cottage cheese floating in the liquid. If the separation isn’t complete, add another 1 tbsp of lemon juice and wait another minute.
Step 3: Strain and Rinse the Curds
Line the colander with the cheesecloth and place it in the sink or over a large bowl. Carefully pour the curdled milk into the lined colander, allowing the whey to drain away. The curds will collect in the cheesecloth, while the liquid whey runs off.
Once drained, rinse the curds under cold running water for 30 seconds to remove any residual lemon flavor. Alternatively, you can dip the cheesecloth bundle into the 2 cups Water for a quick rinse. This step also helps cool the curds slightly for handling.
Step 4: Press the Curds into Paneer
Gather the edges of the cheesecloth and twist them together to form a tight bundle around the curds. Squeeze gently to remove excess liquid, but don’t press too hard—you want to keep some moisture for a tender texture. Sprinkle the 0.5 tsp Salt evenly over the curds and mix gently with your fingers to incorporate.
Place the bundle in the colander and set a heavy plate or bowl on top to press the curds. For firmer paneer, add the 1 cup Ice Cubes on the plate to increase the weight and speed up the cooling process. Press for 15-20 minutes to form a solid block.
Step 5: Shape and Store the Paneer
After pressing, unwrap the cheesecloth to reveal your paneer block. It should hold its shape but still be slightly springy to the touch. Place it on a clean cutting board and shape it into a neat rectangle or square by pressing the sides gently with your hands.
Let the paneer sit at room temperature for 10 minutes to set further before slicing or cubing. Store it in an airtight container in the refrigerator, submerged in water to keep it fresh, for up to 5 days. The texture will firm up even more as it chills.
Pro Tips For Making Fat Free Paneer
- Heat Milk Slowly: Bring the skim milk to a gentle boil on medium-low heat—I learned this the hard way after scorching a batch on high.
- Use Fresh Lemon Juice: Bottled juice works in a pinch, but fresh lemon juice gives the paneer a cleaner, brighter flavor and better curdling.
- Avoid Over-Stirring: Once the milk curdles, resist the urge to stir too much or you’ll break the curds into tiny, mushy bits.
- Press Under Weight: After draining, place the paneer in a cheesecloth and press it under a heavy pan for 20-30 minutes—this removes excess water without adding fat.
Essential Equipment for This Dish
Heavy Bottom Pot
I always use a heavy bottom pot like my Cuisinart MultiClad Pro to prevent scorching—skim milk burns more easily than whole milk. The even heat distribution is crucial for proper curd formation. A 3-quart size works perfectly for 1 lb of milk. 🔥
Cheesecloth Quality
Invest in unbleached cheesecloth from the baking aisle—it’s stronger than the bleached variety and won’t tear under pressure. I buy Reynolds Kitchens brand in 3-yard rolls. Double-layer it for extra support when draining curds.
Wooden Spoon
A wooden spoon won’t scratch your pot and gently stirs without breaking delicate curds. I keep a dedicated 12-inch bamboo spoon just for cheesemaking. Avoid metal spoons—they can react with acidic ingredients like lemon juice.
Colander Choice
Use a stainless steel colander with small holes—½ inch or smaller—to prevent curds from slipping through. My OXO Good Grips colander fits perfectly over my largest mixing bowl for easy draining.
Optional Ice Bath
For faster cooling, I submerge the cheesecloth bundle in a bowl with 1 cup ice cubes and 4 cups cold water. This speeds up the pressing process and helps set the paneer shape more quickly. Replace ice as needed to maintain cold temperature. ❄️
Thermometer Tip
While not essential, a candy thermometer helps monitor milk temperature precisely—aim for 185°F before adding acid. I use my Taylor Classic for consistent results. Remove it before the milk boils to avoid damaging the thermometer.
Nutrition Facts
Frequently Asked Questions
Can I use vinegar instead of lemon juice?
Yes, white vinegar works perfectly as a substitute. Use 1 tbsp vinegar to replace 3 tbsp lemon juice for similar results. The flavor will be slightly different but still effective for curdling.
Why did my paneer turn out crumbly?
This usually happens from over-pressing or insufficient pressing time. Press gently for 15-20 minutes with just enough weight to form a firm block. Too much pressure removes too much moisture.
How long does homemade paneer last?
Stored in water in the fridge, it stays fresh for 3-4 days. For longer storage, freeze for up to 1 month, though the texture may change slightly.
Can I make this with almond milk?
No, plant-based milks won’t curdle properly for paneer. Stick with skim dairy milk for authentic results. The proteins in cow’s milk are essential for proper curd formation.

- 8 Bean Soup Recipe Crock Pot: Hearty Vegetable Medley in One Pot - September 25, 2026
- 4C Bread Crumbs Meatballs Recipe: Crispy Crust and Juicy Centers - September 25, 2026
- 6 Oz Chocolate Chip Cookie Recipe: Perfectly Balanced Crispy Edges and Chewy Hearts - September 25, 2026