
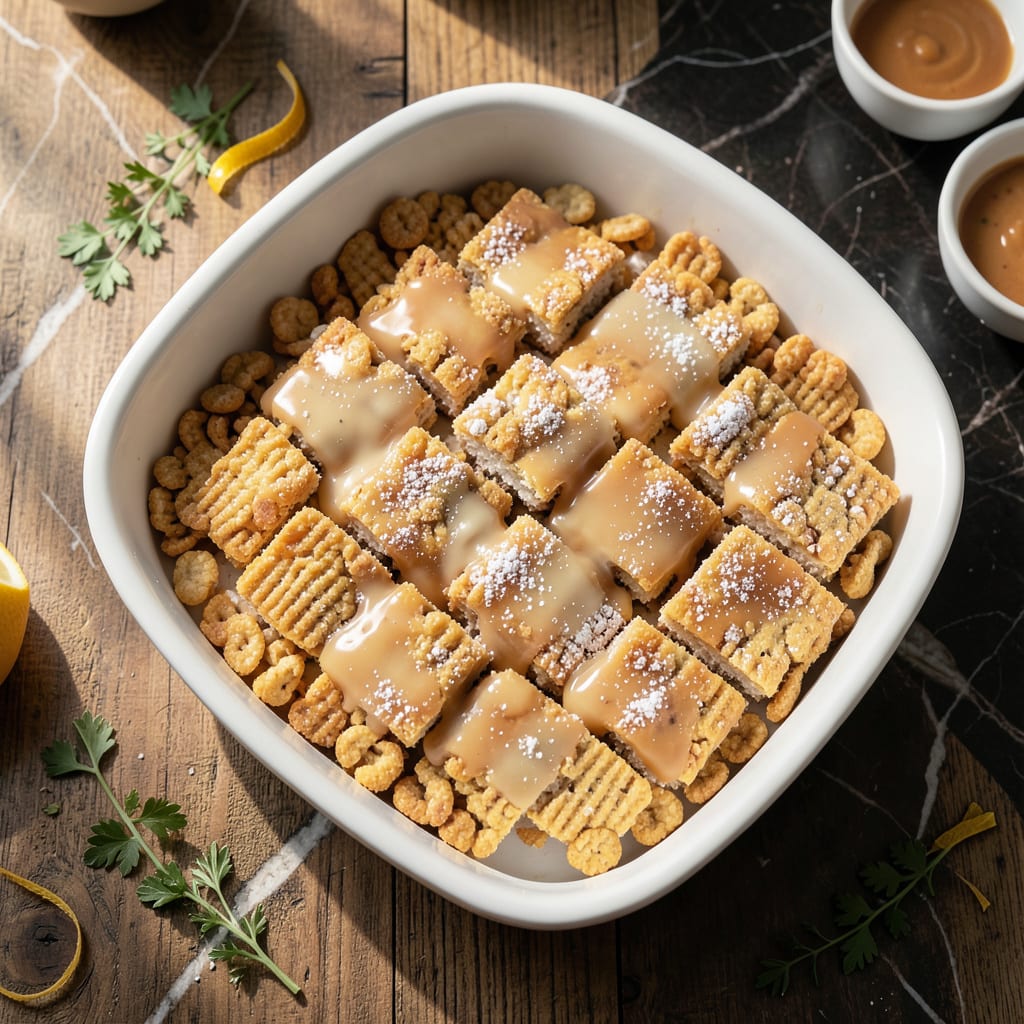
This recipe redefines classic rice crispy treats by eliminating butter while keeping that signature crispy texture. The secret lies in using marshmallows as the sole binding agent.
With just a few simple swaps, you’ll achieve the same chewy-sweet squares without any added fat. The result is a lighter version that still delivers on taste and that satisfying crunch.
Ingredients for Fat Free Rice Crispy Treat
Lighter take on classic squares with just cereal, marshmallows, and clever swaps for perfect texture.
| Ingredient | Amount | Notes |
|---|---|---|
| Rice Krispies Cereal 🥣 | 6 cups | Crispy rice cereal, plain variety |
| Miniature Marshmallows 🍬 | 10 cups | Fresh for best melt |
| Vegetable Cooking Spray 🫗 | 1 can | For nonstick surface |
| Vanilla Extract 🌿 | 1 tsp | Pure extract preferred |
| Salt 🧂 | ¼ tsp | Fine grain for even distribution |
| Granulated Sugar 🍚 | 2 tbsp | Optional for extra sweetness |
| Almond Milk 🥛 | 2 tbsp | Unsweetened for binding |
| Cinnamon 🌶️ | ¼ tsp | Ground for even flavor |
The marshmallows are doing all the binding work here, so freshness matters—stale ones won’t melt right. I grab mine from Kroger or Walmart in the baking aisle. For the cereal, only Kellogg’s Rice Krispies give that signature snap (the knockoffs go soggy fast). Vegetable cooking spray is your nonstick hero—Pam for Baking has the best coverage without any added fat.
No mini marshmallows? Large ones cut into quarters work in a pinch (but melt slower). Want extra flavor? Swap vanilla for almond extract at half the amount. The almond milk is just for cohesion—any unsweetened plant milk works. Skip the sugar if your cereal is already sweet enough. Cinnamon adds warmth, but pumpkin pie spice gives a fun twist.
Store in an airtight container at room temp for 2-3 days—they soften fast. Freeze for up to 1 month (thaw at room temp before serving). Press them lightly in the pan—too much compression kills the crispy texture.
Why You’ll Love This Recipe
- One Pot Wonder: I melt the marshmallows in the same pan I mix everything in—no extra bowls, no fuss.
- Vanilla Magic: That splash of vanilla extract turns the marshmallow-goo into something ridiculously good.
- Party or Lunchbox: Equally at home at a birthday party or tucked into my kid’s lunchbox on a random Tuesday.
- Budget Hero: A bag of cereal and mini marshmallows feeds a crowd for under five bucks. I’ll be real: that’s my kind of math.
Step-by-Step Instructions for Fat Free Rice Crispy Treats
This method delivers perfectly crispy treats with a light texture—no butter required.
Step 1: Prepare the Work Surface and Melting Mixture
Lightly coat a large mixing bowl, silicone spatula, and 9×13-inch baking dish with the vegetable cooking spray. This nonstick barrier is essential since we’re omitting butter. In the prepared mixing bowl, combine the 10 cups Miniature Marshmallows, 2 tablespoons Granulated Sugar, 2 tablespoons Almond Milk, 1 teaspoon Vanilla Extract, 0.25 teaspoon Salt, and 0.25 teaspoon Cinnamon.
The almond milk replaces traditional butter, providing moisture for binding without added fat. The cinnamon and vanilla add depth to compensate for the absence of butter’s richness.
Step 2: Melt the Marshmallow Base
Microwave the marshmallow mixture in 30-second intervals, stirring vigorously between each, until fully melted and smooth. This should take about 2 to 2.5 minutes total, depending on your microwave’s power. Watch closely toward the end to prevent burning.
You’ll know it’s ready when the mixture is glossy and free of lumps. The sugar will dissolve completely into the warm marshmallow, creating a slightly thicker, more cohesive binder. This step is critical—under-melting leads to grainy texture, while over-melting can cause the sugar to caramelize prematurely.
Step 3: Incorporate the Cereal
Immediately add all 6 cups Rice Krispies Cereal to the melted marshmallow mixture. Using the prepared spatula, fold gently but quickly until every piece is evenly coated. The cereal will soften slightly from the heat, but should retain its signature snap.
Work swiftly here—the mixture sets fast as it cools. If it begins to stiffen before fully mixed, return the bowl to the microwave for 10-15 seconds to soften. Distribute any remaining cereal bits by pressing them into the mixture with the spatula.
Step 4: Press and Set into the Pan
Transfer the mixture to the prepared baking dish. Using the spatula or lightly sprayed hands, press firmly and evenly into the pan. Aim for a uniform 1-inch thickness for consistent texture throughout.
Press down with enough force to compact the mixture—this ensures the treats hold together when sliced. However, avoid over-compressing, which can make them dense rather than light and crispy. Let the pan sit at room temperature for 15-20 minutes to cool and set completely.
Step 5: Cut and Serve
Once fully cooled and firm to the touch, use a sharp knife to cut into squares. For clean cuts, dip the knife in hot water and wipe dry between each slice. This prevents sticking and drag.
Store in an airtight container at room temperature for up to 3 days. For best texture, consume within the first 24 hours while the cereal retains maximum crispness. Each treat will have a subtle cinnamon warmth and a satisfying snap with every bite.
Pro Tips For Making Fat Free Rice Crispy Treat
- Spray Generously: Coat your pot, spatula, and even your hands with vegetable cooking spray—I learned this the hard way after scraping melted marshmallow off my tools for 20 minutes.
- Low and Slow: Melt the marshmallows on low heat, stirring constantly. High heat makes them burn fast, and burnt marshmallows ruin the flavor.
- Use Fresh Cereal: Skip the stale Rice Krispies—fresh cereal snaps better and holds shape, while old stuff gets soggy fast.
- Press Evenly: Spread the mixture into the pan and press down firmly with greased hands or a spatula—this keeps the treats from crumbling when you cut them.
Creative Variations of These Flavors
Chocolate Lover’s Version
Add ½ cup cocoa powder to the melted marshmallow mixture before combining with cereal. This creates rich chocolate treats without adding fat. I use Hershey’s Special Dark for deeper flavor. 🔥
Peanut Butter Twist
Stir in ½ cup powdered peanut butter (like PB2) with the marshmallows. The peanut flavor comes through strong while keeping the recipe fat-free. Press in 1 tbsp mini chocolate chips on top before setting.
Fruity Variation
Fold in 1 cup freeze-dried strawberries or raspberries with the cereal for a tangy twist. The fruit rehydrates slightly from the warm marshmallow mixture, adding chewy texture and bright color.
Spiced Chai
Replace cinnamon with 1 tsp chai spice blend and add ¼ tsp cardamom. The warm spices pair beautifully with the sweet marshmallow. I find this version tastes like a cozy dessert.
Coconut Delight
Substitute 1 cup toasted coconut flakes for 1 cup Rice Krispies. The coconut adds tropical flavor and extra crunch. Press the mixture firmly to help it hold together with the flakes.
Drizzle with 1 tbsp honey after cutting for added sweetness. ✨
Nutrition Facts
Frequently Asked Questions
What can I use instead of almond milk?
Any unsweetened plant milk works as a 1:1 substitute. Soy, oat, or cashew milk all provide the needed moisture without adding fat to the recipe.
Why do my treats turn out hard?
Over-melting the marshmallows or pressing too firmly causes this. Stick to 2-2.5 minutes total microwaving and press just enough to hold the shape.
Can I make these ahead of time?
Yes! Prepare up to 1 day in advance for best texture. Store in an airtight container at room temperature to maintain crispness.

- 8 Bean Soup Recipe Crock Pot: Hearty Vegetable Medley in One Pot - September 25, 2026
- 4C Bread Crumbs Meatballs Recipe: Crispy Crust and Juicy Centers - September 25, 2026
- 6 Oz Chocolate Chip Cookie Recipe: Perfectly Balanced Crispy Edges and Chewy Hearts - September 25, 2026