
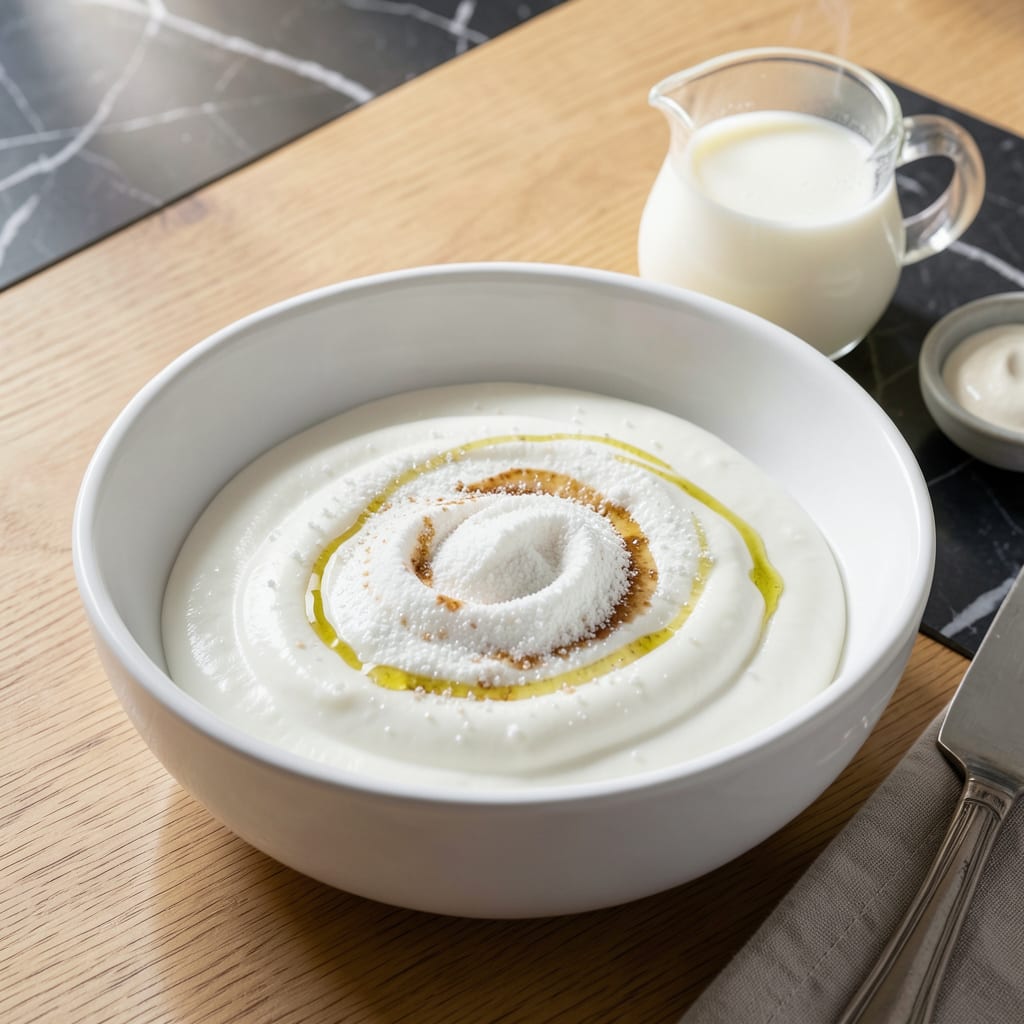
Making homemade yogurt without fat is simpler than you think, and the results are rich and tangy. This method uses just milk and a starter culture to create a thick, creamy texture.
With a little patience and the right temperature, you’ll have fresh yogurt that rivals store-bought. The process is straightforward and rewarding, delivering a smooth, velvety finish.
Ingredients for Fat Free Yogurt
Five simple ingredients transform into velvety, tangy homemade goodness with zero fat.
| Ingredient | Amount | Notes |
|---|---|---|
| Skim Milk 🥛 | 8 cups | Ultra-pasteurized preferred for best results |
| Plain Yogurt Starter Culture 🧫 | 2 tbsp | Active live cultures required |
| Granulated Sugar 🍚 | 1 tsp | Optional for sweeter yogurt |
| Vanilla Extract 🌿 | 1 tsp | Pure extract for best flavor |
| Non-Fat Dry Milk Powder 🥛 | ¼ cup | Boosts thickness and creaminess |
The milk is the foundation here. Skim milk labeled ultra-pasteurized gives you the thickest, most reliable results—look for it in the dairy case (often near the cream). I grab mine from Whole Foods or Trader Joe’s since they stock organic options. The starter culture needs to be fresh and active—check the expiration date. If you’ve made yogurt before, 2 tbsp of your last batch works perfectly as a starter.
No plain yogurt for starter? Store-bought plain non-fat yogurt with live active cultures works (just verify the label). Want it sweeter? Honey or maple syrup can replace the sugar, but add after incubation. The dry milk powder thickens it up—Carnation or store brand both do the job. If you skip it, strain the yogurt through cheesecloth for Greek-style thickness.
Fresh yogurt lasts 7-10 days in the fridge. The longer it sits, the tangier it gets—perfect for smoothies or parfaits. Freeze extras in ice cube trays for up to 3 months (thaw in the fridge before using).
Why You’ll Love This Recipe
- No Fuss Setup: I just heat the skim milk, mix in the starter culture, and let it do its thing overnight.
- Sweet Simplicity: Honestly, the vanilla and sugar turn plain yogurt into a treat that tastes indulgent Refreshing Summer Drink Without the Guilt”>without the guilt.
- Meal Prep Hero: I make a big batch on Sunday and it fuels my smoothies and parfaits all week.
- Pocket Friendly: Between us, non-fat dry milk powder keeps the cost low while stretching the yield.
Step-by-Step Instructions for Fat Free Yogurt
Here’s the method I’ve perfected for consistently thick, tangy homemade yogurt without any guesswork.
Step 1: Heat the Skim Milk to the Perfect Temperature
Pour all 8 cups Skim Milk into a heavy-bottomed pot and heat over medium heat until it reaches 180°F. I use a candy thermometer clipped to the side for accuracy—don’t trust your eyes here, as the milk won’t visibly boil at this temperature.
This heating step serves two critical purposes: it pasteurizes the milk to eliminate competing bacteria, and it denatures the proteins so they can form a better gel during fermentation. Stir occasionally to prevent scorching, and watch for tiny bubbles forming at the edges—that’s your cue to check the temperature.
Step 2: Cool and Prepare the Milk Mixture
Remove the pot from heat and let the milk cool to 110-115°F. This cooling is crucial—too hot and you’ll kill the live cultures, too cool and they won’t activate properly. To speed this up, I place the pot in an ice bath and stir gently.
Once cooled, whisk in the 0.25 cup Non-Fat Dry Milk Powder, 1 tsp Granulated Sugar, and 1 tsp Vanilla Extract. The dry milk powder boosts thickness and creaminess, while the sugar feeds the cultures. The mixture should look smooth with no lumps before you add the starter.
Step 3: Add the Starter Culture and Incubate
In a small bowl, mix the 2 tbsp Plain Yogurt Starter Culture with a ladle of the warm milk mixture to temper it. Then pour this back into the pot and whisk thoroughly to distribute the cultures evenly throughout the milk.
Transfer the mixture to clean glass jars or a ceramic bowl, cover with lids or plastic wrap, and keep warm at 110-115°F for 8-12 hours. I use a yogurt maker, but an oven with the light on or a warm cooler with hot water bottles works too. The longer it incubates, the tangier it becomes—check at 8 hours for mild yogurt or 12 hours for extra tang.
Step 4: Chill and Thicken
After incubation, you’ll see the yogurt has set with a jiggly, custard-like consistency. At this point, give it a gentle stir to break up any separation, then cover and refrigerate for at least 4 hours to stop the fermentation process and allow it to thicken further.
The cold temperatures firm up the yogurt significantly. I’ve found that ultra-pasteurized skim milk yields the thickest results, but even with regular skim milk, this method produces a spoonable consistency. If it’s still too thin after chilling, you can strain it through cheesecloth for 30-60 minutes to achieve a Greek-style thickness.
Pro Tips For Making Fat Free Yogurt
- Heat Milk Slowly: Warm the skim milk to 180°F over medium-low heat—any hotter and you risk scorching, which ruins the texture. I learned this the hard way after two batches turned grainy.
- Use Fresh Starter: Always check the expiration on your plain yogurt starter culture. Old or weak cultures won’t thicken properly, even if the milk is perfect.
- Skip the Boiling: Resist the urge to boil the milk—it doesn’t help and can actually kill off the good bacteria before they even get started.
- Add Dry Milk Last: Whisk in the non-fat dry milk powder after cooling the milk to 110°F. Adding it too early can clump, and nobody wants lumpy yogurt.
Serving Suggestions for Leftovers
Breakfast Parfaits
Layer ½ cup yogurt with ¼ cup granola and ½ cup mixed berries in a glass. Repeat for a beautiful, protein-packed breakfast. I love using homemade granola with almonds and honey for extra crunch. 🥗
Smoothie Base
Blend 1 cup yogurt with 1 frozen banana and ½ cup frozen mango for a creamy, tropical smoothie. Add a splash of orange juice if you prefer it thinner. This is my go-to post-workout refreshment.
Dip for Fruit
Mix 1 cup yogurt with 1 tbsp honey and a dash of cinnamon for a sweet fruit dip. Serve with apple slices, strawberries, or pineapple chunks. Kids especially love this healthy snack option.
Savory Toppings
Stir in 1 tsp dried dill and ½ tsp garlic powder
for a savory twist perfect with pita chips or veggie sticks. I also add a pinch of salt and pepper to enhance the flavors. This makes a great appetizer for gatherings. Combine ½ cup yogurt, ½ cup rolled oats, and ½ cup almond milk in a jar. Let it sit overnight in the fridge, then top with fresh fruit in the morning. This no-cook breakfast saves me time on busy mornings. 💛 Freeze yogurt in popsicle molds with chunks of fruit for a refreshing summer treat. Mix in 1 tsp vanilla extract for extra flavor. These are a hit with both kids and adults during warm days.Overnight Oats
Frozen Treats
Nutrition Facts
Frequently Asked Questions
What kind of milk works best?
Ultra-pasteurized skim milk yields the thickest, most consistent results. It has fewer competing bacteria and denatures proteins better for proper setting. Avoid raw milk as it may contain unwanted bacteria.
Can I make it without a yogurt maker?
Yes! Use an oven with the light on, a slow cooker on warm, or a cooler with hot water bottles. The key is maintaining 110-115°F for 8-12 hours.
Why is my yogurt runny?
This usually means the milk wasn’t hot enough initially or incubation temperature was too low. Straining through cheesecloth for 30-60 minutes can thicken it afterward.
How do I know when it’s done?
It should have a jiggly, custard-like consistency. The longer it incubates, the tangier it gets—8 hours for mild or 12 hours for extra tang.

- 8 Bean Soup Recipe Crock Pot: Hearty Vegetable Medley in One Pot - September 25, 2026
- 4C Bread Crumbs Meatballs Recipe: Crispy Crust and Juicy Centers - September 25, 2026
- 6 Oz Chocolate Chip Cookie Recipe: Perfectly Balanced Crispy Edges and Chewy Hearts - September 25, 2026