
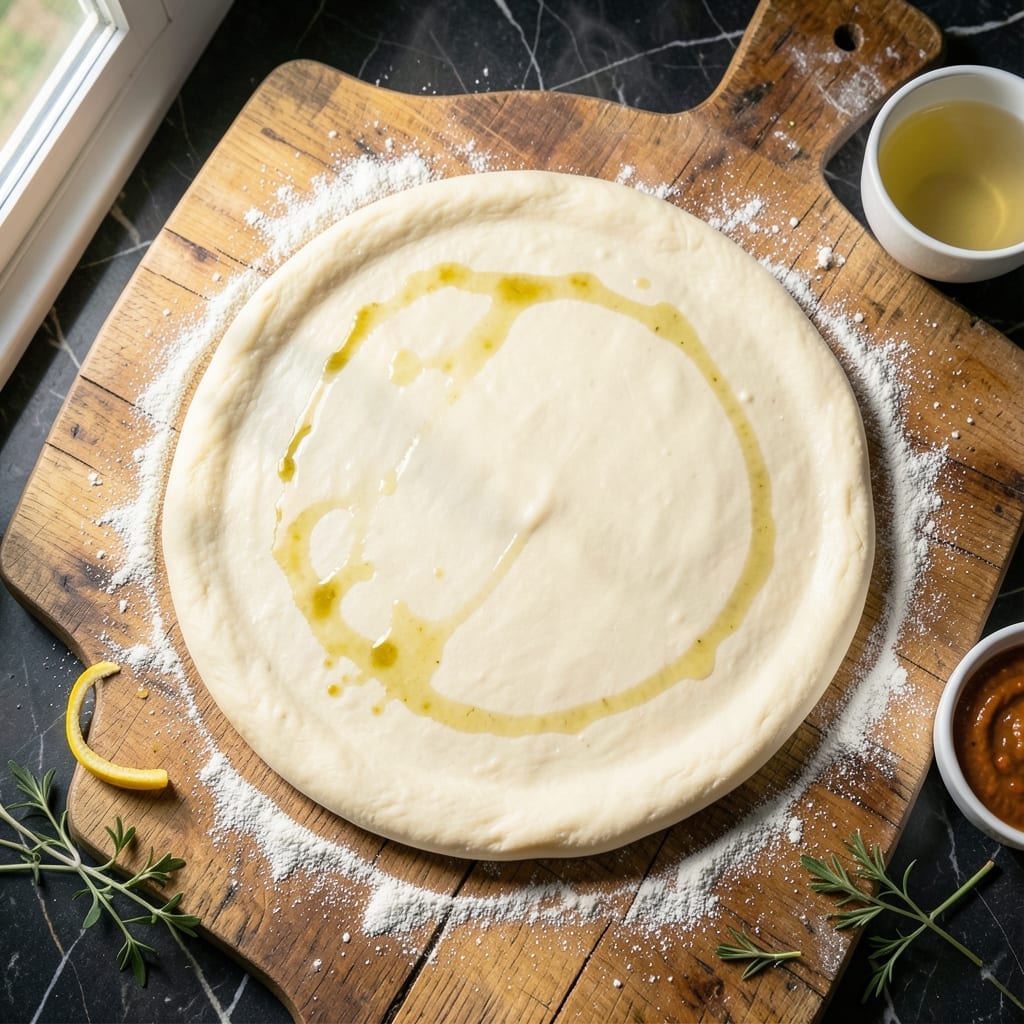
This pizza dough delivers the signature chew and bounce of classic New York style pies. The long fermentation develops deep flavor while creating an airy, stretchy texture.
With just 5 ingredients and a 24-hour rise, you’ll achieve professional-quality results at home. The extended proofing time ensures a crisp exterior with a soft, pillowy interior.
Ingredients for Fatboy Pizza Dough
Five simple ingredients create that iconic New York style chew and bounce at home.
| Ingredient | Amount | Notes |
|---|---|---|
| Bread Flour 🌾 | 4 cups | High-protein for chewiness |
| Water 💧 | 1 ½ cups | Room temperature, about 70°F |
| Active Dry Yeast 🍞 | ¼ tsp | Instant yeast works too |
| Fine Sea Salt 🧂 | 2 tsp | Diamond Crystal preferred |
| Extra-Virgin Olive Oil 🫒 | 2 tbsp | For dough elasticity |
The flour is critical here—King Arthur Bread Flour or Caputo Tipo 00 (blue bag) deliver the right protein content for that signature stretch. Yeast freshness matters: check the expiration date and store unopened packets in the freezer. Whole Foods or King Arthur’s online store are reliable sources for high-quality flour. Room temperature water ensures even activation of the yeast.
No bread flour? All-purpose in a pinch, but expect slightly less chew. Instant yeast can be used 1:1 with active dry—no need to proof it first. For a richer flavor, replace 1 tbsp olive oil with melted butter (vegetarian-friendly). If your kitchen is cold, use slightly warmer water (75-80°F) to help the dough rise properly.
The dough can rest in the fridge for up to 72 hours—longer fermentation means more flavor. Store in an oiled bowl, covered tightly with plastic wrap. For same-day use, let it proof at room temperature for 4-6 hours. Freeze dough balls for up to 3 months if you want to make ahead.
Why You’ll Love This Recipe
- 5-Minute Mix: I just dump bread flour, water, yeast, and olive oil in a bowl—no fancy steps, and it’s ready to rise while I prep toppings.
- Crispy Yet Chewy: The olive oil and sea salt give it that bakery-style bite with a golden crust I can’t resist.
- Freezer Friendly: I always double the batch and freeze half for those last-minute pizza cravings.
- Pocketbook Pleaser: Bread flour and yeast cost pennies compared to takeout, and honestly, it tastes better.
Step-by-Step Instructions for Fatboy Pizza Dough
This method ensures the perfect balance of chew and airy texture characteristic of New York style.
Step 1: Activate the Yeast and Begin Hydration
In a large mixing bowl, combine the 1.5 cups Water with the 0.25 tsp Active Dry Yeast. I use room temperature water (about 70°F) to wake the yeast without shocking it. Let this sit for 5-10 minutes until you see a foamy layer forming on top—this is your visual confirmation that the yeast is active and ready to work.
The foam should be bubbly and smell slightly sweet. If you don’t see any activity after 10 minutes, your yeast may be expired, and you’ll need to start over with fresh yeast to ensure proper rise.
Step 2: Incorporate Dry Ingredients for Structure
Add the 4 cups Bread Flour and 2 tsp Fine Sea Salt to the yeast mixture. Using a wooden spoon or dough whisk, stir until a shaggy dough forms. The bread flour’s high protein content is critical here—it develops the gluten network that gives this dough its signature chew.
At this stage, the dough will look rough and dry. Don’t be tempted to add more water. The hydration will balance out as the flour absorbs the liquid during kneading. Let the dough rest for 5 minutes to allow the flour to fully hydrate before proceeding.
Step 3: Knead and Develop Gluten
Drizzle in the 2 tbsp Extra-Virgin Olive Oil and begin kneading the dough by hand on a lightly floured surface for 8-10 minutes. The oil enhances elasticity and adds richness to the crust. You’ll notice the dough transforming from sticky and uneven to smooth and supple.
Use the heel of your hand to push the dough forward, then fold it back onto itself. Repeat this motion, rotating the dough a quarter turn after each fold. You’re aiming for a dough that springs back slowly when poked—this is the windowpane test. Stretch a small piece thinly; if it holds without tearing, your gluten is well-developed.
Step 4: First Rise for Flavor Development
Shape the dough into a ball and place it in a lightly oiled bowl, turning once to coat all sides. Cover with a damp kitchen towel or plastic wrap and let it rise in a warm, draft-free area for 1.5-2 hours, or until doubled in size.
This slow fermentation allows the yeast to produce carbon dioxide, which creates air pockets for that coveted bounce. The dough should look puffy and jiggle slightly when shaken. If your kitchen is cool, extend the rise time—patience here ensures maximum flavor and texture.
Step 5: Divide, Shape, and Cold Ferment
Turn the risen dough onto a clean surface and divide it into 4 equal portions (about 10-12 oz each). Shape each piece into a tight ball by tucking the edges underneath and rolling gently on the counter. This tension creates a strong surface, which helps the dough hold its shape during baking.
Place the dough balls on a lightly floured tray, cover with plastic wrap, and refrigerate for at least 24 hours or up to 72 hours. Cold fermentation slows yeast activity, allowing enzymes to break down starches into sugars for a sweeter, more complex flavor. When ready to use, let the dough sit at room temperature for 1 hour before stretching and topping.
Pro Tips For Making Fatboy Pizza Dough
- Warm Your Water: I learned this the hard way—use 110°F water for the yeast. Any hotter and you’ll kill it, any colder and it won’t activate properly.
- Measure Flour Right: Spoon the bread flour into the measuring cup and level it off—don’t scoop directly from the bag. Packed flour adds too much and makes the dough tough.
- Skip the Rush: Let the dough rise for at least 2 hours, or until doubled in size. I was skeptical until I tried it, but the texture is night-and-day better.
- Oil the Bowl: Coat the rising bowl with a good glug of extra-virgin olive oil—about 1 tablespoon—to keep the dough from sticking and add a little extra flavor.
Essential Equipment for fatboy pizza dough
Mixing Bowls
Start with a large stainless steel mixing bowl—I love my Cuisinox for its durability. The size matters: aim for at least 5-quart capacity to give your dough room to rise without overflowing. A wide base makes kneading easier before transferring to the counter. 💪
Kitchen Scale
Precision is key for consistent results. I use an OXO Good Grips 11lb scale for accurate measurements down to the gram. Weigh your 4 cups bread flour and other ingredients rather than using volume measurements. This eliminates guesswork, especially for high-protein flours.
Dough Scraper
A bench scraper is indispensable for dividing and handling sticky dough. I prefer the Ateco 4-inch model—its sharp edge cleanly cuts through dough. Use it to portion your 4 equal dough balls and scrape up every last bit from your work surface.
Proofing Setup
For the 24-hour cold ferment, use a half-sheet pan with parchment paper to hold your dough balls. Cover with plastic wrap or a lid to prevent drying. If your fridge runs cold, place the pan on the top shelf where it’s slightly warmer.
Pizza Peel
Invest in a wooden pizza peel for easy transfer to your oven. I recommend 14-inch size to accommodate stretched dough. Dust it generously with semolina or flour to prevent sticking. The long handle keeps your hands safe from the hot oven.
Thermometer
Check your water temperature with a Thermoworks instant-read to ensure it’s exactly 70°F. This prevents shocking your yeast. I also use it to monitor my kitchen’s ambient temperature during the initial rise phase. ✨
Nutrition Facts
Frequently Asked Questions
What if my dough doesn’t rise?
Check your yeast freshness first. If it’s expired, start over. Cold kitchens may need warmer water (75-80°F) or a longer rise time. Be patient—proper fermentation is key.
Can I skip the cold ferment?
You can, but flavor and texture will suffer. For best results, refrigerate for at least 24 hours. If short on time, a 4-hour room-temp rise works in a pinch.
Why use bread flour instead of all-purpose?
Bread flour has higher protein, creating more gluten for that signature chew. All-purpose works but yields a less elastic, slightly denser crust.
How do I store leftover dough?
Wrap dough balls tightly in plastic and freeze for up to 3 months. Thaw overnight in the fridge before using. Never refreeze after thawing.

- 4C Bread Crumbs Meatballs Recipe: Crispy Crust and Juicy Centers - September 25, 2026
- 6 Oz Chocolate Chip Cookie Recipe: Perfectly Balanced Crispy Edges and Chewy Hearts - September 25, 2026
- 6-Inch Coffee Cake Recipe: Vanilla Bean Swirls and Buttery Streusel Topping - September 25, 2026