
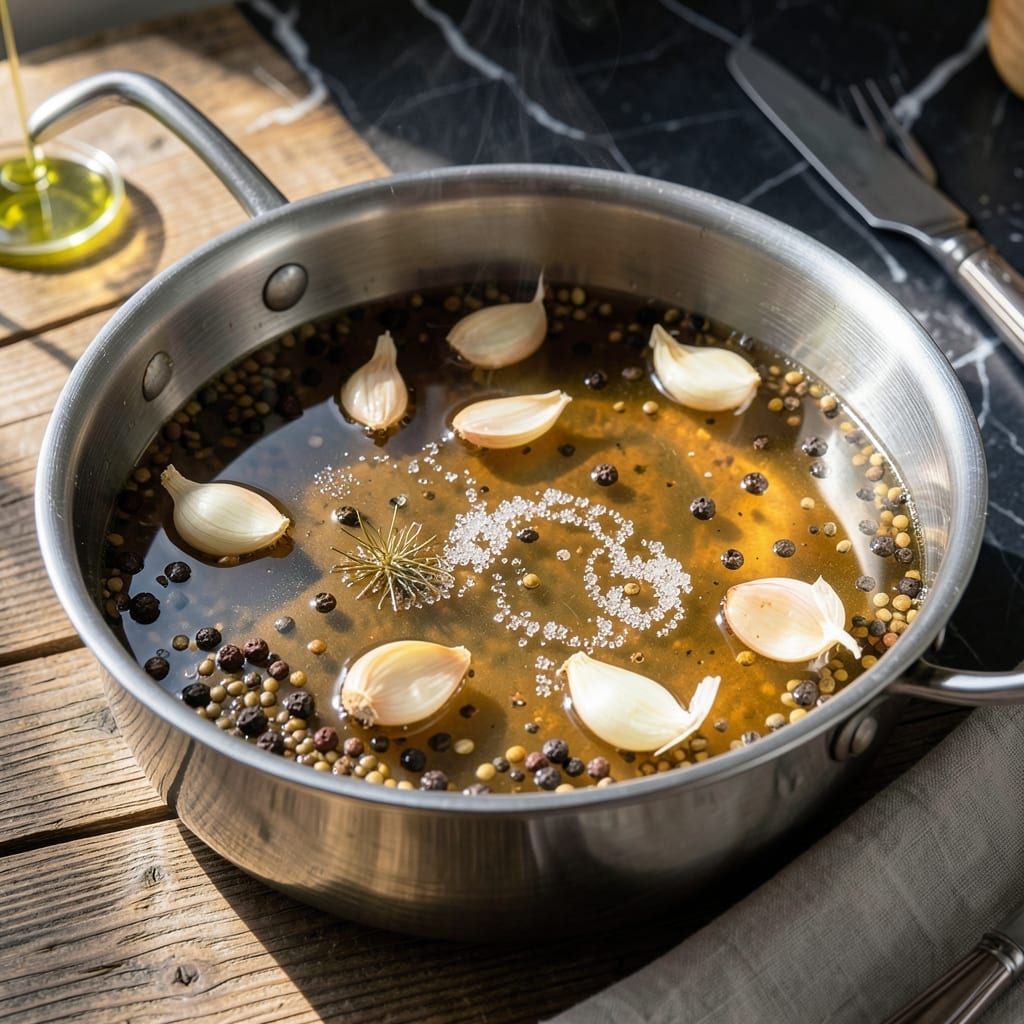
This fermentation brine serves as the foundation for all your pickling needs. A precise salt-water solution creates the perfect environment for tangy, crunchy results every time.
With just a few simple ingredients, you’ll have a versatile starter ready for vegetables, eggs, or even meats. Store in a cool, dark place for consistent, professional-quality fermentation.
Ingredients for Father of the Brine
Ten simple ingredients create this tangy, versatile fermentation foundation for all your pickling projects.
| Ingredient | Amount | Notes |
|---|---|---|
| Water 💧 | 4 cups | Filtered or distilled preferred |
| Kosher Salt 🧂 | ½ cup | Diamond Crystal or Morton coarse |
| White Vinegar 🍶 | 1 cup | 5% acidity for consistency |
| Apple Cider Vinegar 🍏 | ½ cup | Raw unfiltered for depth |
| Granulated Sugar 🥄 | 2 tbsp | Balances acidity and salt |
| Garlic Cloves 🧄 | 6 cloves | Lightly crushed, peeled |
| Black Peppercorns 🌶️ | 1 tbsp | Whole for even distribution |
| Mustard Seeds 🌿 | 1 tbsp | Yellow or brown varieties |
| Dill Seeds 🌿 | 1 tsp | Optional for classic dill flavor |
| Bay Leaves 🍃 | 2 whole | Dried, whole leaves |
The salt is critical here—Diamond Crystal kosher salt is my go-to for its clean flavor and consistent grains (Morton works too, just adjust weight). Water quality matters more than you think; filtered or distilled prevents unwanted minerals from affecting fermentation. I grab my vinegars from Whole Foods or Trader Joe’s since their turnover is high, meaning fresher product. The garlic? Fresh heads from the produce section, not the pre-peeled stuff.
No kosher salt? Pickling salt is actually ideal (just finer grains). Swap apple cider vinegar for rice vinegar if you want a milder tang. Out of dill seeds? Coriander or celery seeds add interesting complexity. The sugar can be honey or maple syrup (use 1.5 tbsp liquid sweeteners). Skip the mustard seeds if you prefer a cleaner brine, but they add great texture.
This keeps indefinitely at room temperature (the salt and acidity preserve it). Store in a glass jar away from light. The garlic and spices will infuse over time—2-3 weeks for peak flavor. Refrigerate after opening if you’re not using it daily.
Why You’ll Love This Recipe
- 5-Minute Mix: I just stir water, salt, vinegars, and sugar—no cooking, no fuss, ready before the grill heats up.
- Tangy Balance: The white vinegar’s sharpness mellows into apple cider’s sweetness, giving every bite a bright, clean zing.
- Pickle Anything: I’ve used this brine for chicken, veggies, even hard-boiled eggs, and it works every time.
- Pantry Staples: Honestly, I always have these ingredients on hand, so I can brine tonight without a grocery run.
Step-by-Step Instructions for Tangy Fermentation Starter for Pickling
This method ensures a perfectly balanced brine with consistent tang and depth every time.
Step 1: Combine Liquids and Dissolve Solids
In a large saucepan, combine the 4 cups Water, 1 cup White Vinegar, and 0.5 cup Apple Cider Vinegar. The mix of vinegars creates that signature tangy complexity that defines this brine.
Add the 0.5 cup Kosher Salt and 2 tbsp Granulated Sugar to the saucepan. Heat over medium-high heat, stirring occasionally, until the salt and sugar fully dissolve. You’ll know it’s ready when no visible granules remain and the liquid appears clear.
This step is crucial for even distribution in your final brine. The sugar balances the sharp acidity, while the salt preserves and enhances flavor. Don’t let the mixture boil—just heat until dissolved.
Step 2: Toast the Whole Spices
While the liquid heats, add the 1 tbsp Black Peppercorns, 1 tbsp Mustard Seeds, and 1 tsp Dill Seeds to a dry skillet over medium heat. Toast for 1-2 minutes, stirring constantly, until the spices become fragrant.
You’ll notice the mustard seeds start to pop slightly—that’s your cue they’re ready. This toasting step wakes up the essential oils in the spices, giving your brine a more robust, aromatic foundation. Remove from heat immediately to prevent burning.
Step 3: Infuse with Aromatics
Add the toasted spices to the warm vinegar mixture in the saucepan. Then add the 6 cloves Garlic Cloves (lightly crushed) and 2 whole Bay Leaves. The crushed garlic releases more flavor into the brine without falling apart.
Let the mixture steep off heat for 15-20 minutes. This infusion period allows the garlic, bay leaves, and toasted spices to meld with the tangy liquid base. You should start smelling the aromatic blend after just a few minutes.
The bay leaves add a subtle earthy depth, while the garlic provides that classic pickling punch. The longer you let it steep (up to 1 hour), the more pronounced the flavors will be.
Step 4: Cool and Strain the Brine
After steeping, strain the mixture through a fine-mesh sieve into a clean jar or bowl. Discard the solids—you want a clear, particle-free brine for the best results. The liquid should be room temperature or slightly warm at this point.
Let the strained brine cool completely to room temperature before using. This takes about 30-45 minutes at room temperature or 15 minutes in an ice bath if you’re in a hurry. Using hot brine on vegetables can make them mushy.
You’ll know it’s ready when the jar feels cool to the touch. The brine should have a balanced aroma—tangy from the vinegars, slightly sweet from the sugar, with subtle spice notes from the toasted seeds and garlic.
Pro Tips For Making Father Of The Brine
- Dissolve Salt First: Add kosher salt to warm water before mixing in vinegars and sugar—this prevents undissolved crystals from settling at the bottom of your brine.
- Balance the Vinegars: Use a 2:1 ratio of apple cider vinegar to white vinegar for depth without overpowering sharpness. I learned this the hard way after a batch tasted like straight acid.
- Skip the Cold Water: Warm water helps sugar and salt dissolve faster, so resist the urge to start with cold—just cool the brine before using.
- Stir, Don’t Shake: Gentle stirring prevents air bubbles that can make your brine look cloudy. Sounds weird, but it works: my first few batches were murky until I switched.
Make-Ahead Tips for This father of the brine
Brine Prep Ahead
I always make a double batch of this brine and store it in a gallon glass jar. It keeps indefinitely at room temperature, so you can have it ready whenever inspiration strikes. The flavors actually improve over 2-3 weeks as the spices infuse further. 💡
Quick Cooling Method
When I’m in a hurry, I pour the strained warm brine into a clean stainless steel bowl and set it in an ice bath. This cools it to room temperature in about 15 minutes, so you can start pickling right away. Just stir occasionally to distribute the heat.
Portion for Later
Divide the cooled brine into smaller pint or quart jars for easier use. This way, you can grab exactly what you need for small batches of pickles or experiments. I label each jar with the date to track infusion time.
Vegetable Prep Tip
While the brine cools, prep your vegetables—slice cucumbers, trim green beans, or quarter cauliflower. Having everything ready means you can start pickling immediately once the brine reaches room temperature. This saves 20-30 minutes of waiting.
Flavor Boost Over Time
If you plan to use the brine within a week, add fresh aromatics like dill sprigs or extra garlic cloves directly to each jar. This gives each batch a personalized touch. I love how the flavors develop with just a little extra attention. ✨
Emergency Substitution
In a pinch, you can use this brine immediately after cooling, but it’s even better if you let it sit for 24 hours first. The spices need time to fully infuse. I’ve used it fresh in emergencies, and while good, it’s not as complex as aged brine.
Nutrition Facts
Frequently Asked Questions
Can I use table salt instead of kosher?
Table salt works but use 1/3 less by volume. Kosher salt has larger flakes, so the measurement differs. For best results, stick with Diamond Crystal or pickling salt.
How long does this brine last?
Stored in a glass jar at room temperature, it keeps indefinitely. The salt and acidity prevent spoilage. Flavor peaks after 2-3 weeks of infusion.
What if my brine is too salty?
Add more water or vinegar to dilute. Start with 1/2 cup at a time and taste. Balance is key for perfect pickling results.

- 4C Bread Crumbs Meatballs Recipe: Crispy Crust and Juicy Centers - September 25, 2026
- 6 Oz Chocolate Chip Cookie Recipe: Perfectly Balanced Crispy Edges and Chewy Hearts - September 25, 2026
- 6-Inch Coffee Cake Recipe: Vanilla Bean Swirls and Buttery Streusel Topping - September 25, 2026