
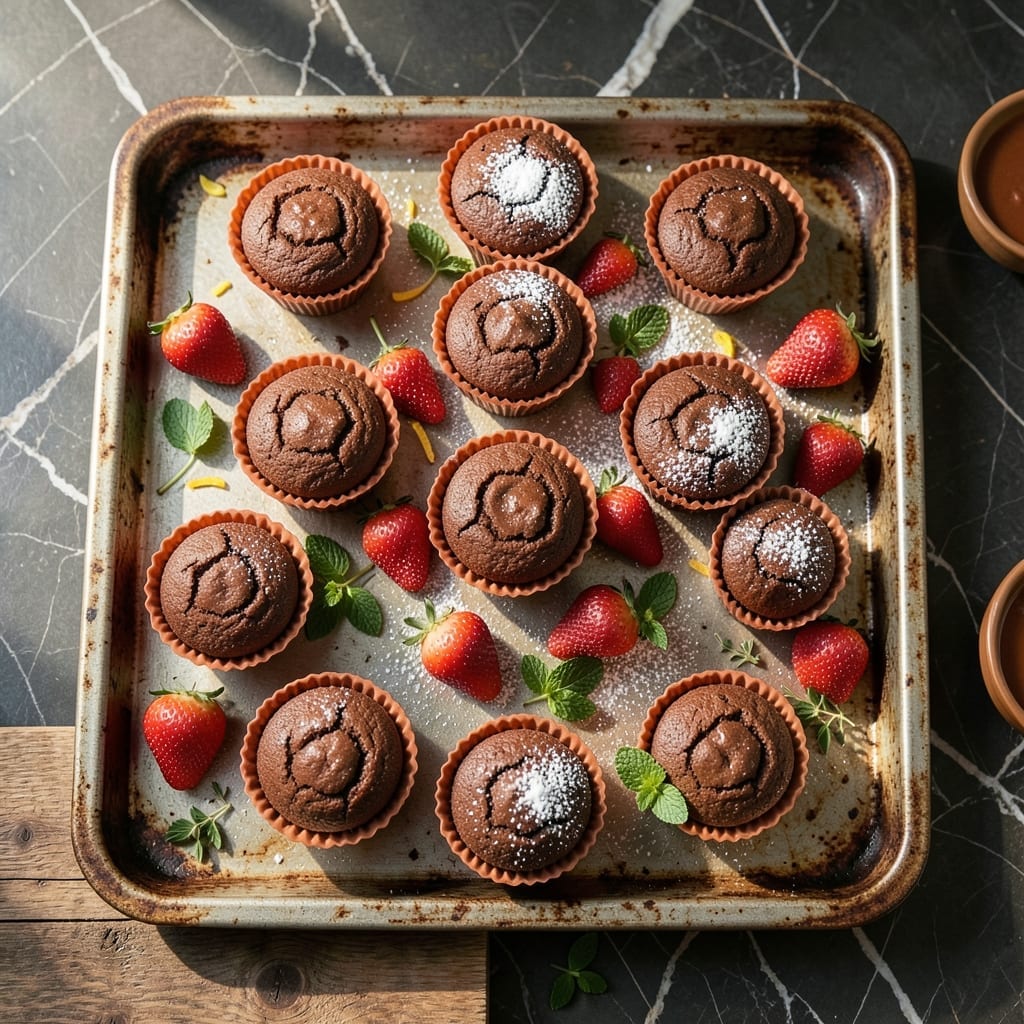
Transform your dessert table into a blooming garden with these charming, edible creations that look just like miniature flower pots. This clever baking project combines moist vanilla cupcakes with rich chocolate frosting, all presented in a way that delights both eyes and taste buds.
The magic lies in the presentation—terra cotta pots, candy-coated chocolates as soil, and green coconut for grass create the illusion. I’ve perfected the technique for piping frosting to resemble overflowing blooms, making these as fun to craft as they are to eat.
Each bite delivers soft cupcake, creamy frosting, and the whimsical joy of edible gardening. The contrast between the earthy presentation and sweet flavors makes these perfect for spring parties, baby showers, or garden-themed events.
No special baking skills required—just a willingness to play with your food. The results will have everyone reaching for seconds.
Ingredients for Flower Pot Cupcakes
A dozen ingredients transform into whimsical edible gardens with these playful cupcakes.
| Ingredient | Amount | Notes |
|---|---|---|
| All-Purpose Flour 🌾 | 2 ½ cups | Sifted for lighter texture |
| Granulated Sugar 🍚 | 1 ½ cups | Fine white sugar preferred |
| Unsalted Butter 🧈 | ½ cup | Room temperature, softened |
| Large Eggs 🥚 | 2 whole | Room temperature preferred |
| Vanilla Extract 🌿 | 2 tsp | Pure extract for best flavor |
| Baking Powder ⚗️ | 2 tsp | Fresh for maximum rise |
| Salt 🧂 | ½ tsp | Fine table salt |
| Whole Milk 🥛 | ¾ cup | Room temperature preferred |
| Unsweetened Cocoa Powder 🍫 | ½ cup | Dutch-processed preferred |
| Powdered Sugar 🍬 | 3 cups | Sifted for smooth frosting |
| Heavy Cream 🥛 | ½ cup | Cold for whipping stability |
| Terra Cotta Flower Pots 🌱 | 12 pieces | New, clean, food-safe |
| Candy-Coated Chocolate Candies 🍫 | 2 cups | For soil effect |
| Shredded Coconut 🥥 | 1 cup | Sweetened, green food coloring |
The vanilla and cocoa are the flavor base here. Penzeys has excellent vanilla extract, but most grocery stores carry decent options. For cocoa, Hershey’s Special Dark gives a rich chocolate flavor that pairs perfectly with the sweet frosting. Always check your baking powder expiration—old leavening agents won’t give you the lift you need for tender cupcakes.
No terra cotta pots? Oven-safe ramekins work in a pinch (just watch the baking time). Swap the candy chocolates for crushed Oreos if that’s what you’ve got. The green coconut can be made with spinach powder for a natural color, but food coloring is quicker. For the frosting, half-and-half works at a 1:1 ratio if you’re out of heavy cream.
Cupcakes stay fresh in an airtight container at room temperature for 3 days. The assembled flower pots are best served the same day (the coconut loses its vibrancy). You can bake the cupcakes a day ahead and decorate when ready to serve. Freeze undecorated cupcakes for up to 3 months.
Why You’ll Love This Recipe
- One Bowl Magic: I mix everything in a single bowl—flour, sugar, butter, eggs, and that splash of vanilla—and they turn out perfect every time.
- Buttery Vanilla Bliss: The unsalted butter and real vanilla extract make these cupcakes rich and fragrant, like a bakery in my kitchen.
- Party-Ready Cuties: These look adorable as flower pots for birthdays, showers, or just because—my kids beg me to make them for every event.
- Budget-Friendly Batch: A handful of pantry staples and under an hour gives me two dozen cupcakes, so I can treat the whole class without breaking the bank.
Step-by-Step Instructions for Flower Pot Cupcakes
Transform simple cupcakes into charming edible gardens with these straightforward, creative steps.
Step 1: Prepare and Bake the Chocolate Cupcakes
Preheat your oven to 350°F and line a standard muffin tin with cupcake liners. In a large bowl, sift together the 2.5 cups All-Purpose Flour, 1.5 cups Granulated Sugar, 0.5 cup Unsweetened Cocoa Powder, 2 tsp Baking Powder, and 0.5 tsp Salt. Sifting ensures a lighter texture, which is crucial for tender cupcakes.
In a separate bowl, cream together the 0.5 cup Unsalted Butter with the 2 whole Large Eggs, 2 tsp Vanilla Extract, and 0.75 cup Whole Milk until smooth. Gradually fold the dry ingredients into the wet mixture until just combined—overmixing will make the cupcakes dense. Divide the batter evenly among the liners, filling each ⅔ full.
Bake for 18-20 minutes or until a toothpick inserted into the center comes out clean. Allow the cupcakes to cool completely in the pan for 10 minutes, then transfer them to a wire rack to cool fully. Cool cupcakes are essential for frosting adhesion.
Step 2: Whip the Chocolate Frosting
In a stand mixer fitted with the whisk attachment, beat the 3 cups Powdered Sugar with the 0.5 cup Heavy Cream on low speed until combined. Increase the speed to medium-high and whip for 3-4 minutes until the frosting is light, fluffy, and holds soft peaks.
If the frosting is too thick, add a splash more of the Heavy Cream, 1 tablespoon at a time. If it’s too thin, add a bit more of the Powdered Sugar. The ideal consistency should be spreadable but hold its shape when piped. This frosting will serve as the “soil” for your edible garden.
Step 3: Prepare the Terra Cotta Flower Pots
Before assembling, ensure the 12 pieces Terra Cotta Flower Pots are clean and free of any dust or debris. If they are new, soak them in warm water for 10 minutes to remove any manufacturing residue, then dry thoroughly. These pots will be the base for your cupcakes, so they must be food-safe and spotless.
Line each pot with a cupcake liner or a small piece of parchment paper to create a barrier between the cupcake and the pot. This step prevents the cupcakes from sticking and makes them easier to remove if desired.
Step 4: Assemble the Edible Garden
Place one cooled cupcake into each prepared Terra Cotta Flower Pot. Pipe or spread a generous layer of the chocolate frosting over the top of each cupcake. The frosting should resemble fresh, dark soil in a garden bed.
Crush the 2 cups Candy-Coated Chocolate Candies into small pieces to mimic garden soil. Sprinkle this “soil” generously over the frosting, pressing lightly to adhere. For the finishing touch, tint the 1 cup Shredded Coconut with green food coloring to resemble grass, then sprinkle it around the edges of the pot. Arrange the coconut to look like fresh moss or grass peeking through the soil.
Allow the assembled cupcakes to set for 15 minutes before serving. This gives the frosting time to firm up slightly, ensuring all the elements stay in place.
Pro Tips For Making Flower Pot Cupcakes
- Preheat the Oven: Always preheat to 350°F (175°C) for 15 minutes before baking—cold ovens cause uneven rising, and I learned this the hard way with lopsided flower pot cupcakes.
- Room Temp Butter: Leave the unsalted butter out for at least an hour so it creams properly with the sugar; my grandmother swore by this, and she was right.
- Skip Overmixing: Mix the batter just until the flour disappears—overdoing it makes dense cupcakes, and after three tough batches, I finally figured out why.
- Line the Pots: Use parchment liners in your flower pots to prevent sticking and make removal easier—sounds weird, but it works.
Creative Variations of These Flavors
Springtime Garden Variations
Swap the chocolate frosting for vanilla buttercream tinted pastel pink or lavender to create a floral base. Use piping tip #104 to create petal shapes with the frosting, forming delicate roses or daisies on top of each cupcake. 🌸
Tropical Paradise Style
Transform your creation into a beachy escape by using blue candy melts for ocean-like frosting. Add umbrella drink picks and mini paper parasols to create a tiki bar aesthetic. The terra cotta pots become tiny tropical planters.
Holiday Themed Pots
For Christmas, use red and green sprinkles instead of candy soil, and add candy cane pieces as edible stakes. For Halloween, tint the coconut orange and add mini chocolate spiders crawling through your edible garden. ✨
Miniature Herb Garden
Create a savory twist by using white chocolate frosting as your base. Add crushed graham crackers for soil and top with fresh mint leaves or small rosemary sprigs for a realistic herb garden look.
Fairy Garden Whimsy
Add mini fondant mushrooms, edible glitter, and tiny fondant fairies to create a magical scene. Use toothpick flags with printed fairy sayings for extra charm. This version is perfect for children’s parties.
Elegant Tea Party
Use white frosting piped in elegant swirls and top with edible pearls and gold leaf flakes. Add fresh berries like raspberries or blueberries for color. These sophisticated pots work beautifully for bridal showers or afternoon teas.
Nutrition Facts
Frequently Asked Questions
Can I use regular mugs instead of terra cotta pots?
Yes, oven-safe mugs or ramekins work as substitutes. Just ensure they’re clean and heat-resistant to 350°F. The presentation won’t look as authentic, but the taste will be just as delightful
How do I keep the coconut grass from fading?
Add the green food coloring to the coconut just before assembling. Store finished pots in a cool, dark place until serving to preserve the vibrant color for up to 24 hours
Can I make these without a piping bag?
Use a zip-top bag with a corner snipped off or simply spread the frosting with a knife. The candy “soil” will cover any imperfections perfectly
What’s the best way to clean the terra cotta pots afterward?
Hand-wash with warm, soapy water and scrub gently. Avoid dishwashers as the heat can crack the pots. Let them air-dry completely before storing for future use

- 6 Oz Chocolate Chip Cookie Recipe: Perfectly Balanced Crispy Edges and Chewy Hearts - September 25, 2026
- 6-Inch Coffee Cake Recipe: Vanilla Bean Swirls and Buttery Streusel Topping - September 25, 2026
- 1 Hour Soup Recipe: Velvety Richness Without the Wait - September 25, 2026